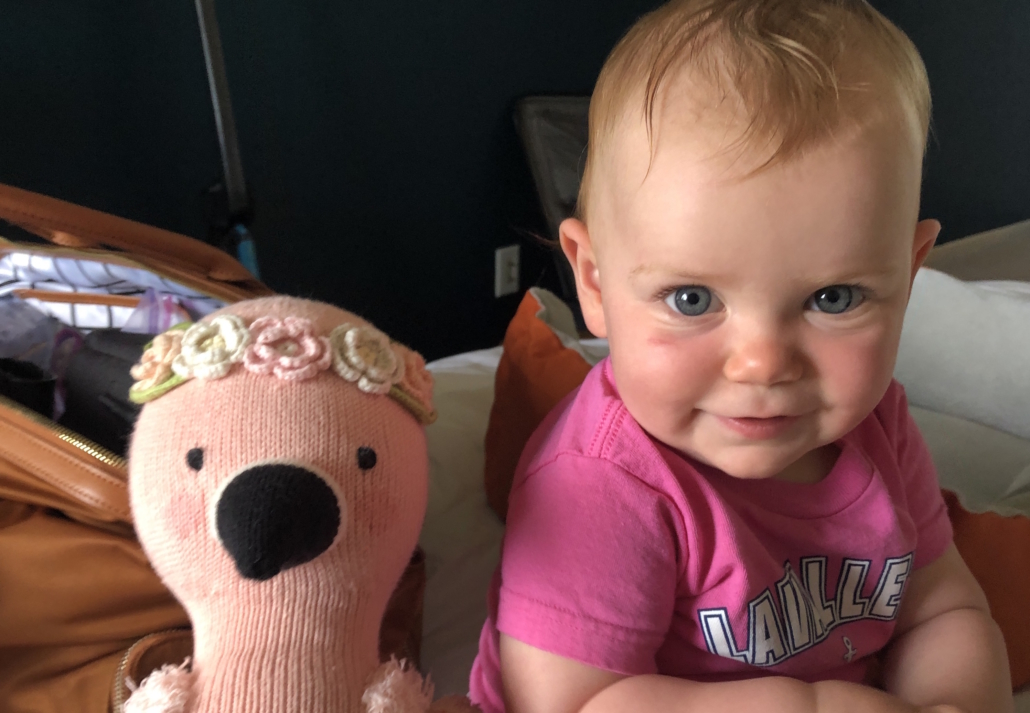
Santa Monica’s Best Hotel: A Hidden Gem

Being a local resident in one of the most famous beach towns in the world is quite a special position. I know a LOT about Santa Monica and have a lot of advice and recommendations for those coming to visit. I have been on almost every street in Santa Monica, dined at the top spots, seen its most stunning sunsets (and its foggiest of mornings) and have run up and down almost every inch of the beach. I frequent street fairs, farmer’s markets, beach concerts and parties where people are wearing items like that one piece swimwear, pier events and promenade parties. I am a very active part of this community because I love it here!

Now as a mom, I am at the playgrounds, parks, public libraries, splash pads with Aurora–and generally out and about all day.

Since so many friends, family and followers visit Santa Monica, I’ve made it my duty to be well equipped to answer that most important question:

“So…where should I stay?”

Some of my favorites are Fairmont Miramar, The Huntley, Loews Santa Monica Beach Hotel, Palihouse, The Proper, Shutters on the Beach and Viceroy Santa Monica. Each have unique qualities and advantages, depending on the type of stay that you are after and your budget. I’ve stayed and/or dined at all so I can point you in the right direction if you need. 

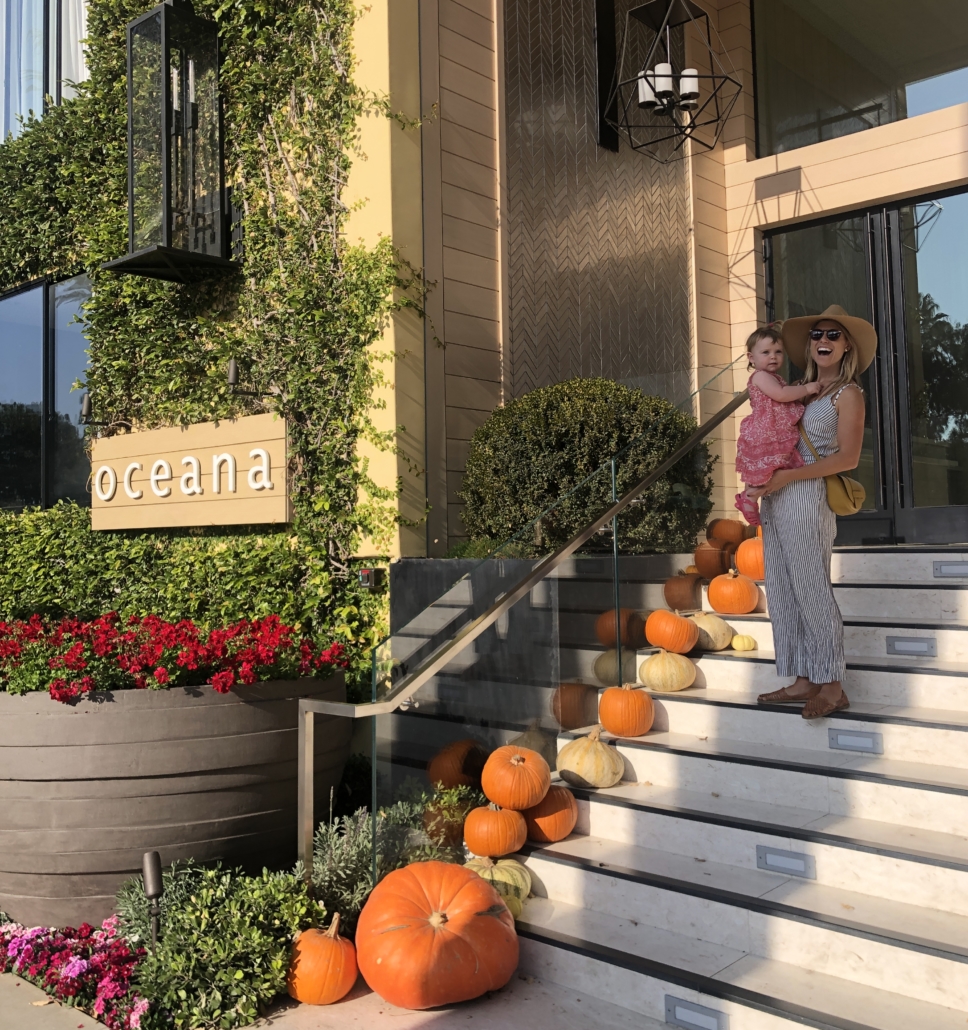
However, there’s one that I think is truly a cut above the rest right now. It’s not actually new as it’s been a fixture for decades, but  Oceana feels brand new. It has recently undergone a 30 million dollar renovation (!) elevating it from very good to absolutely OUTSTANDING.

During my parents’ week stay in one of their oceanfront suites, I was able to experience (and analyze) all aspects of this hotel and here’s what I found. 


AMBIANCE

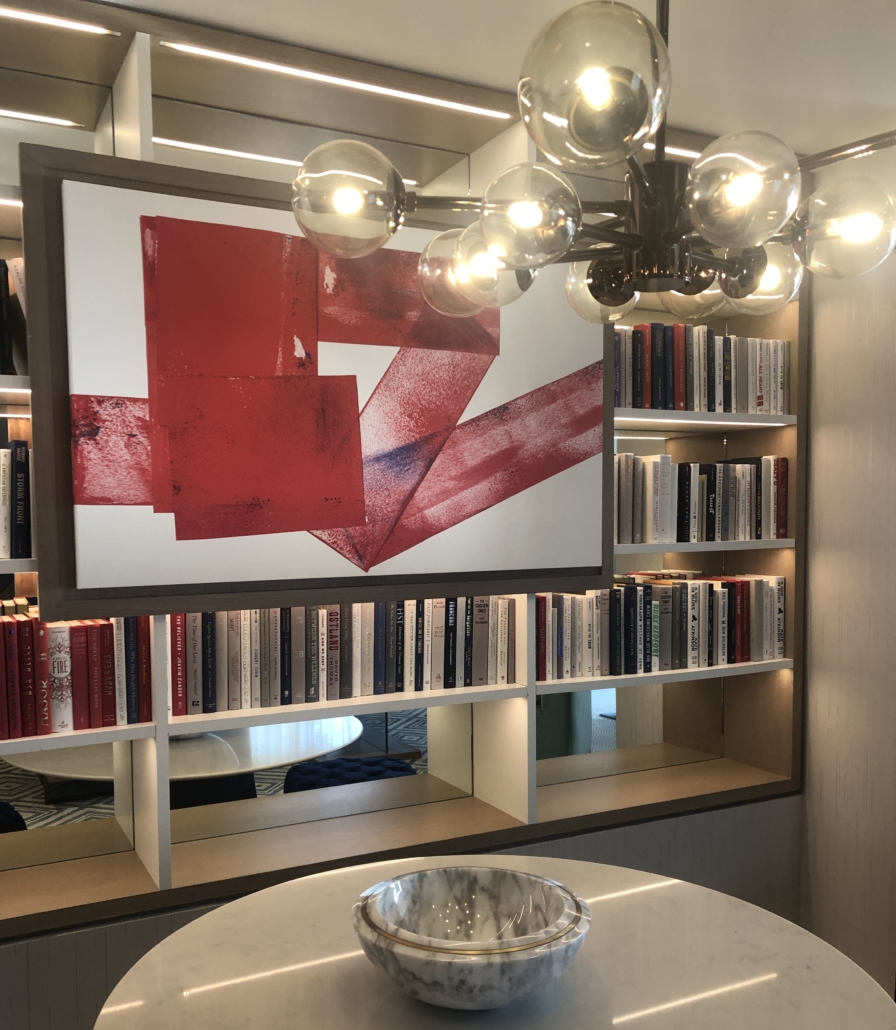
The ivy clad exteriors makes it feel like Oceana is a living and breathing part of this ocean front avenue, yet after entering it’s hard to remember that there was ever a world outside. The vivid, modern coastal aesthetic was surprising–in a good way. I appreciated the nautical touches and also appreciated that they were subtle. 

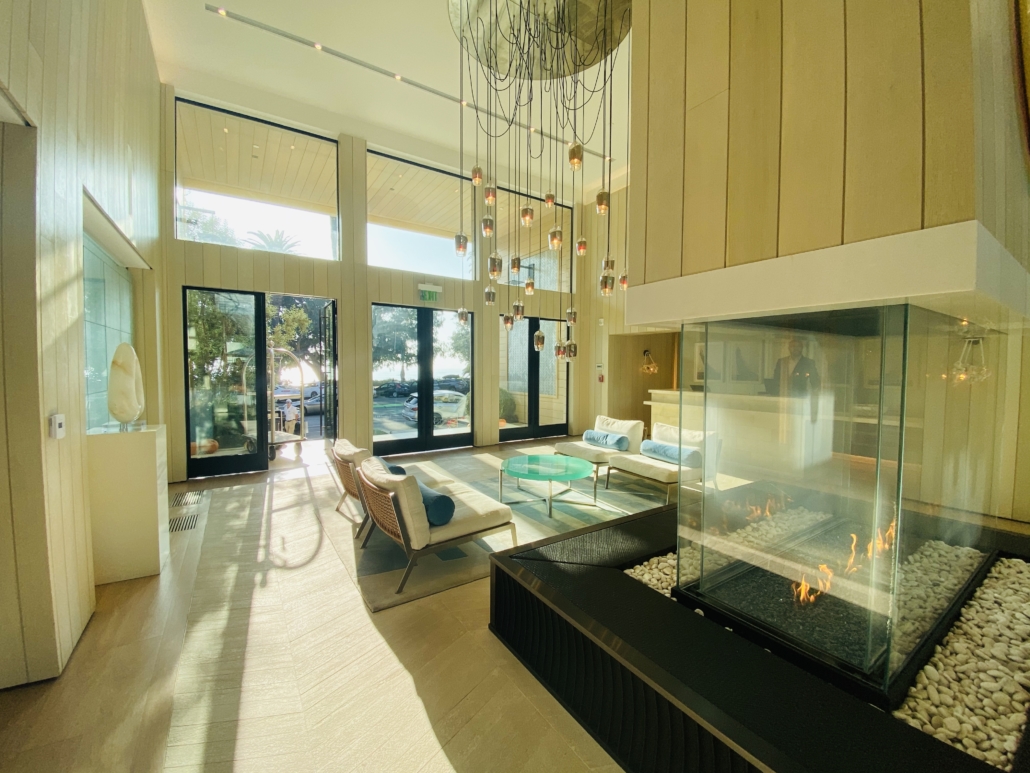
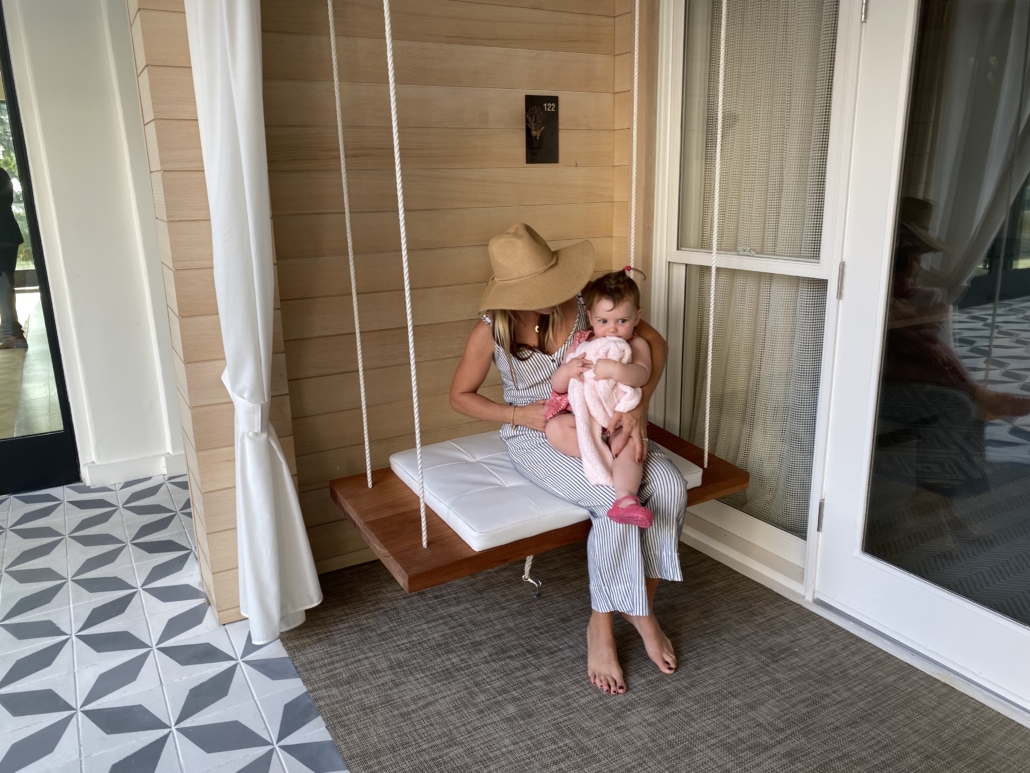
Throughout the property there’s a touch of whimsy, from the rope swing seats in front of interior facing suites to the vivid cloud blue onyx that adorns the fireplace and bar in the restaurants. And there’s always a fireplace nearby to remind guests that they can relax because they are home. 


ROOMS

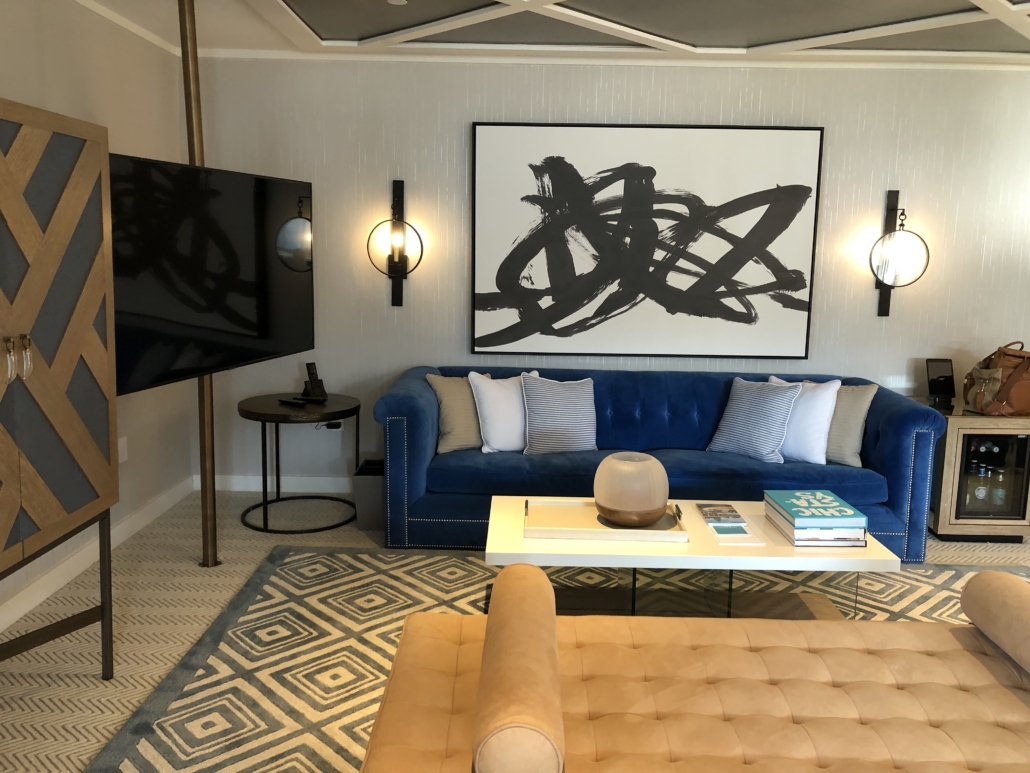
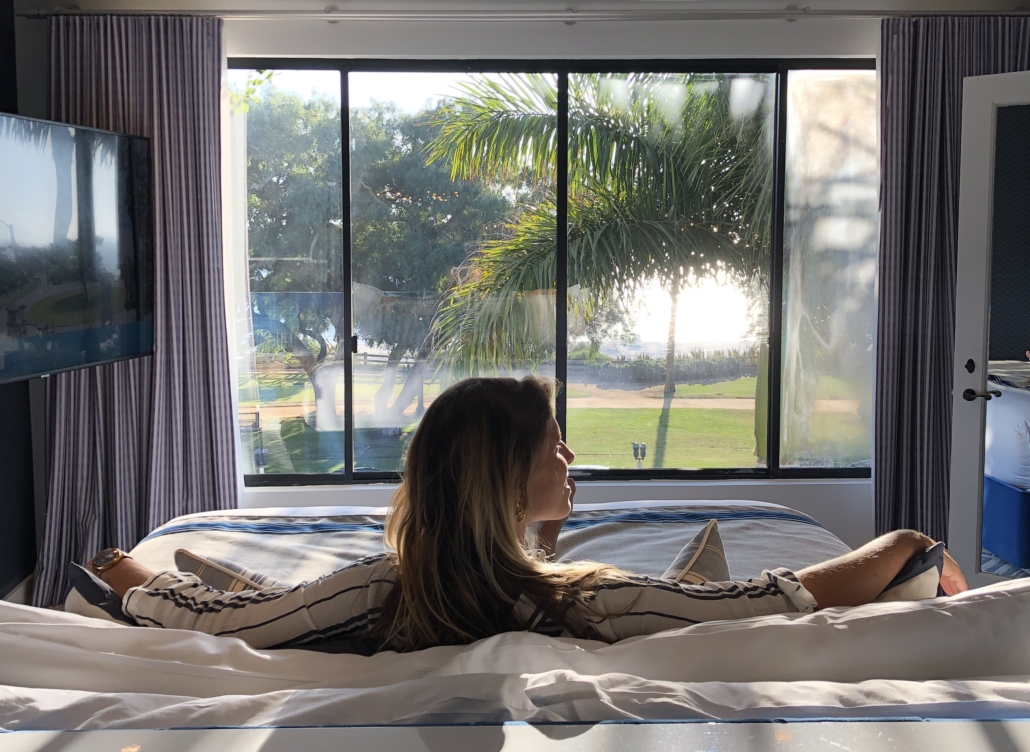
Oceana has 70 suites, and I experienced the Ocean View Suite on the top floor. I wasn’t prepared for what was behind that white door. A lapis and tan sitting area with ample seating, bar armoire, updated flooring which may have utilized the best paint to care for real wood floors, dining table and floor to ceiling windows. The bed faced the ocean, and though there was a large flat screen, I’d prefer the view of the waves and swaying palms. 

The tiled bathroom was fresh and polished. An oversized walk in shower is always a nice touch and the bathroom was tucked out of the way to be discreet. 

Nightly chocolates by the pillow and speedy room service were other bonuses. 


POOL

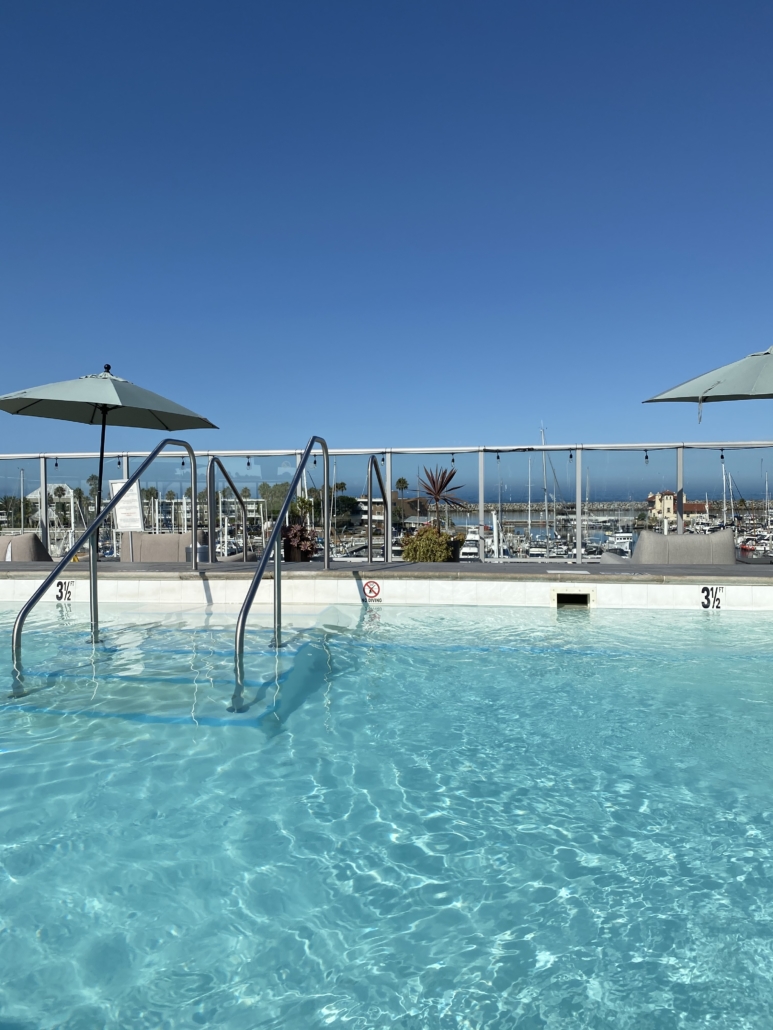
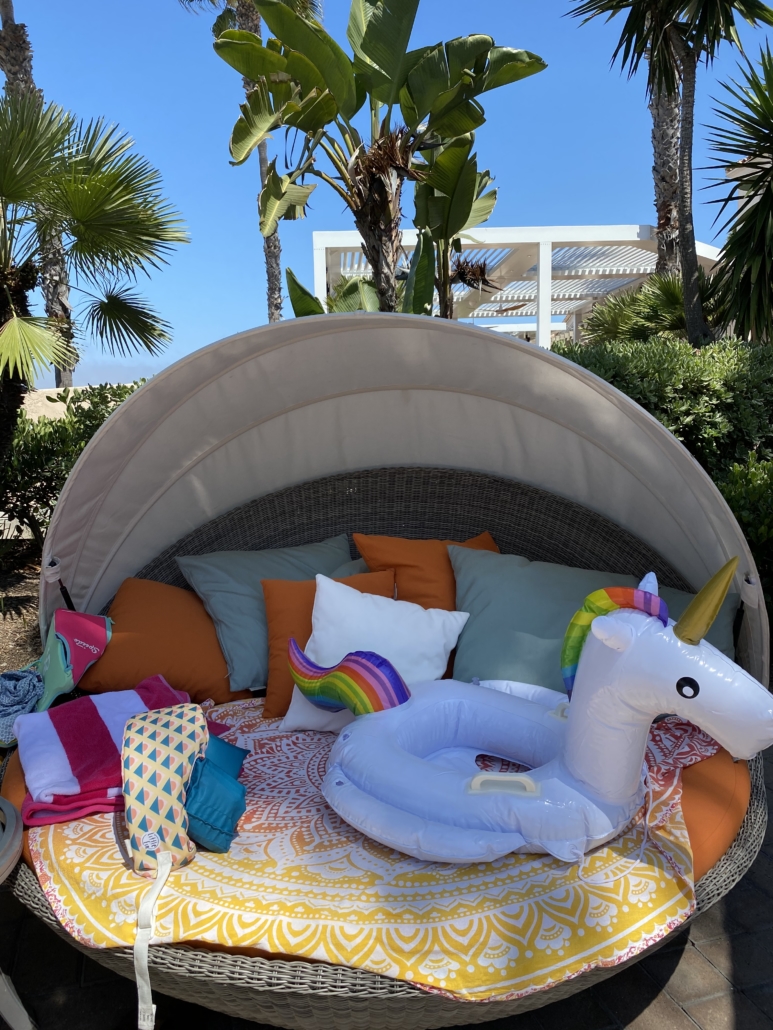
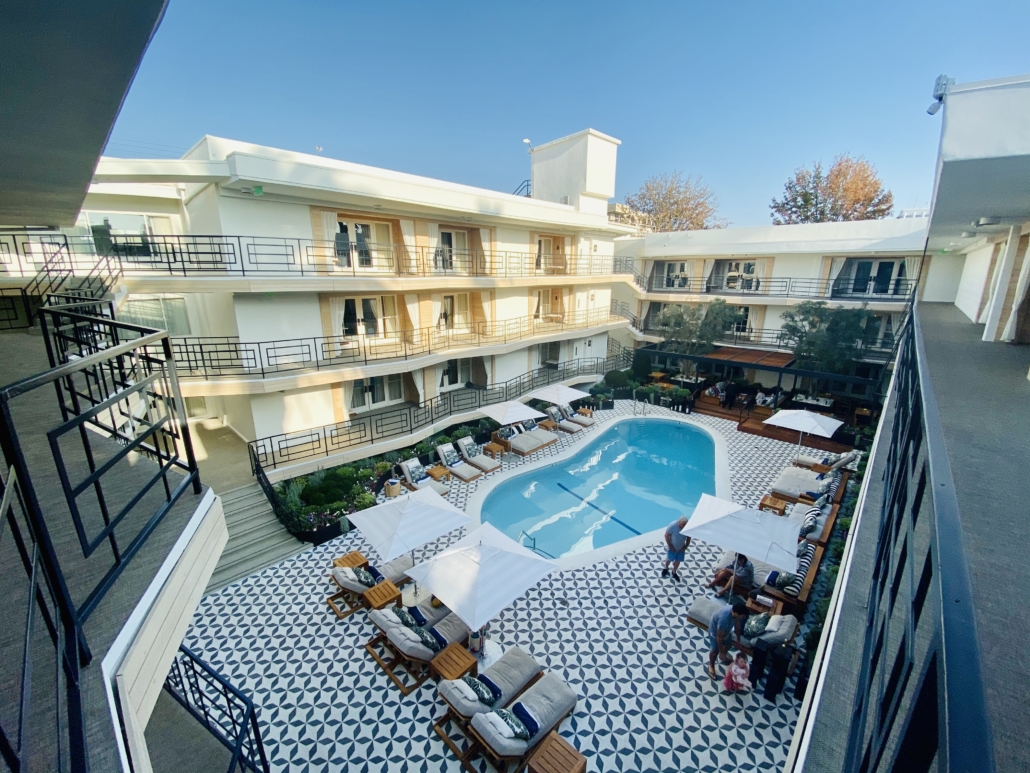
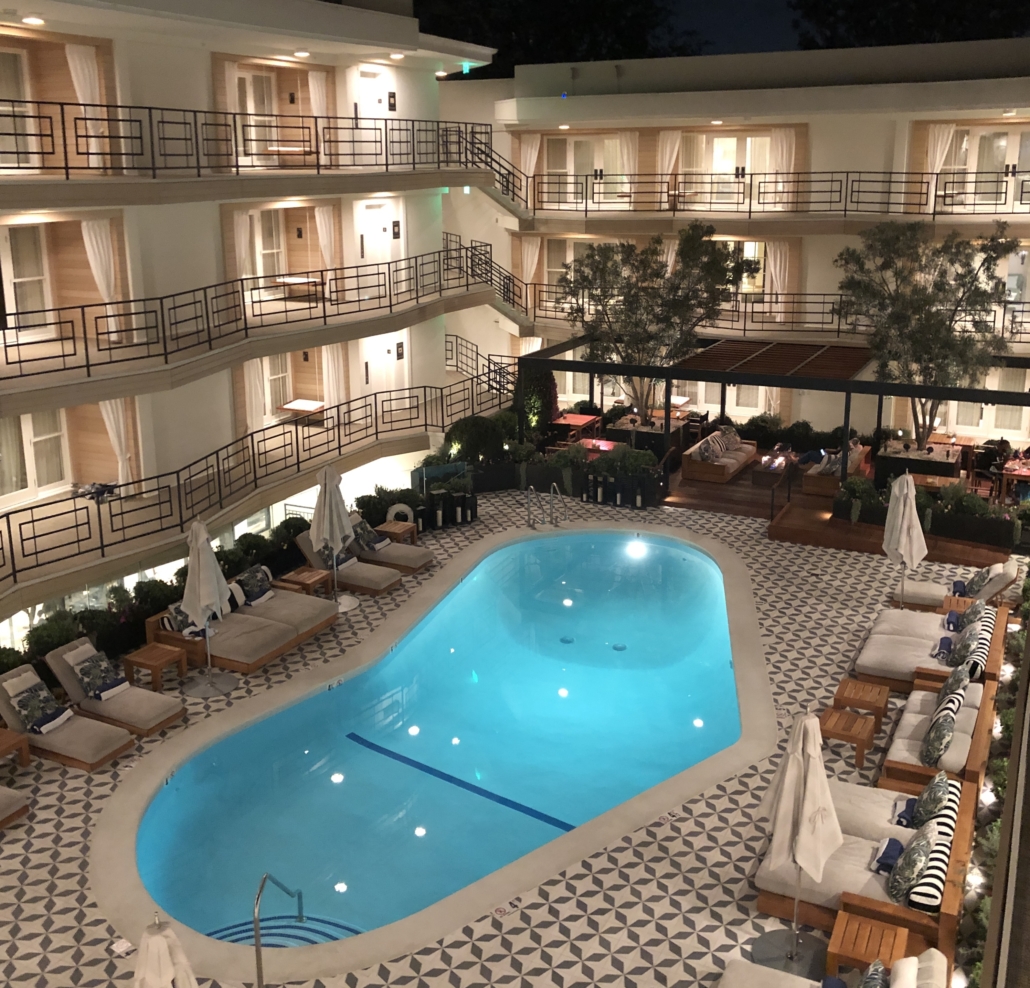
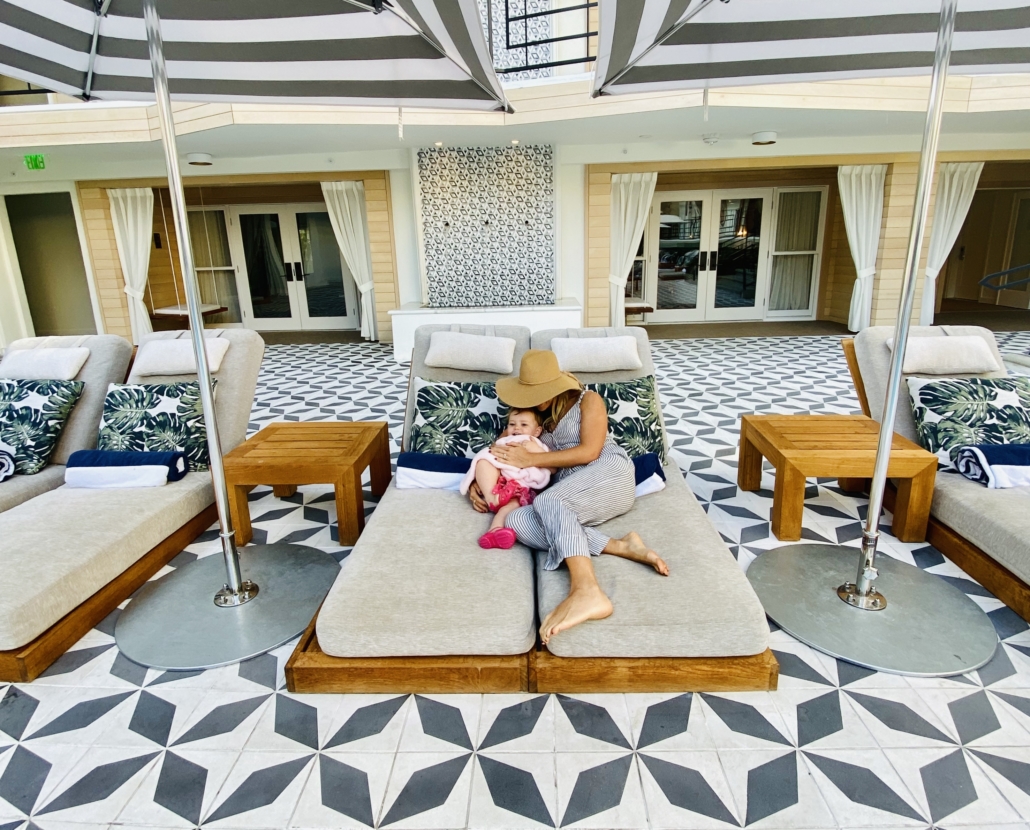
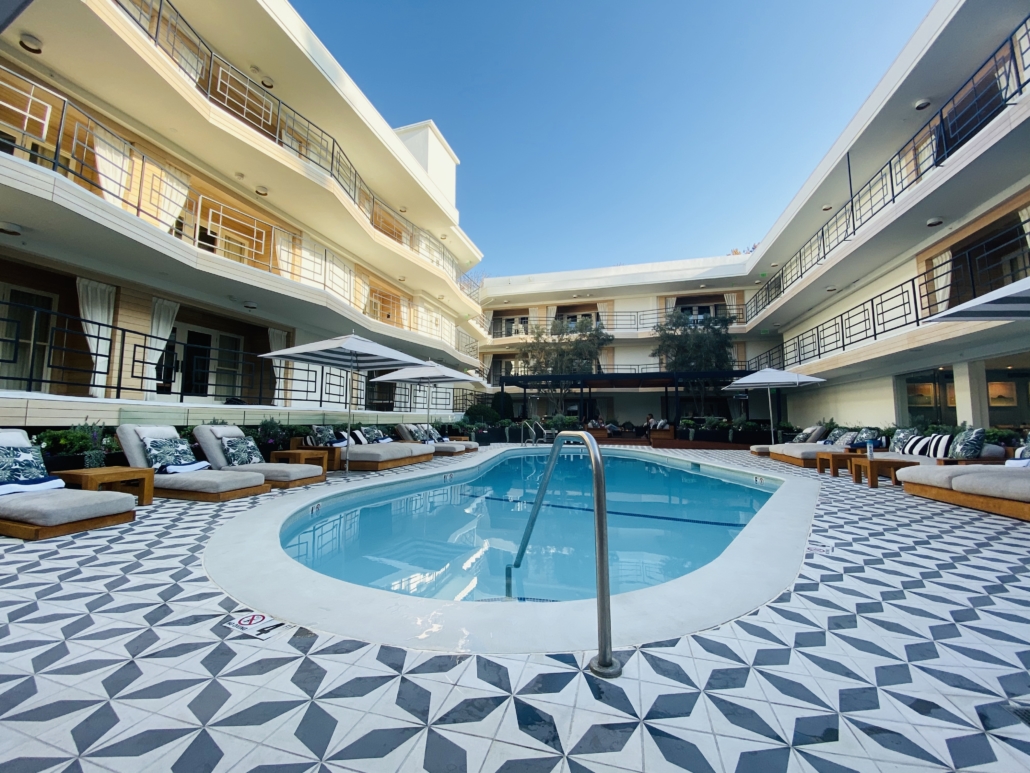
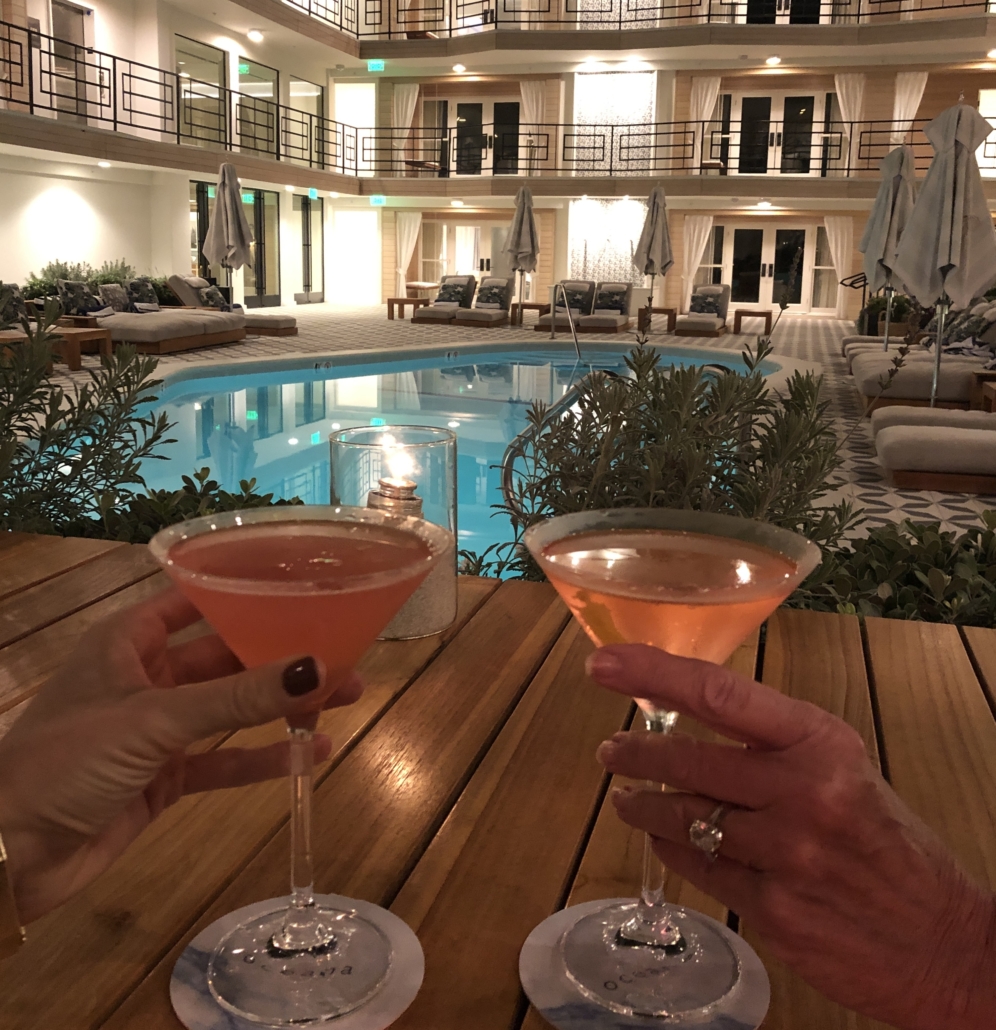
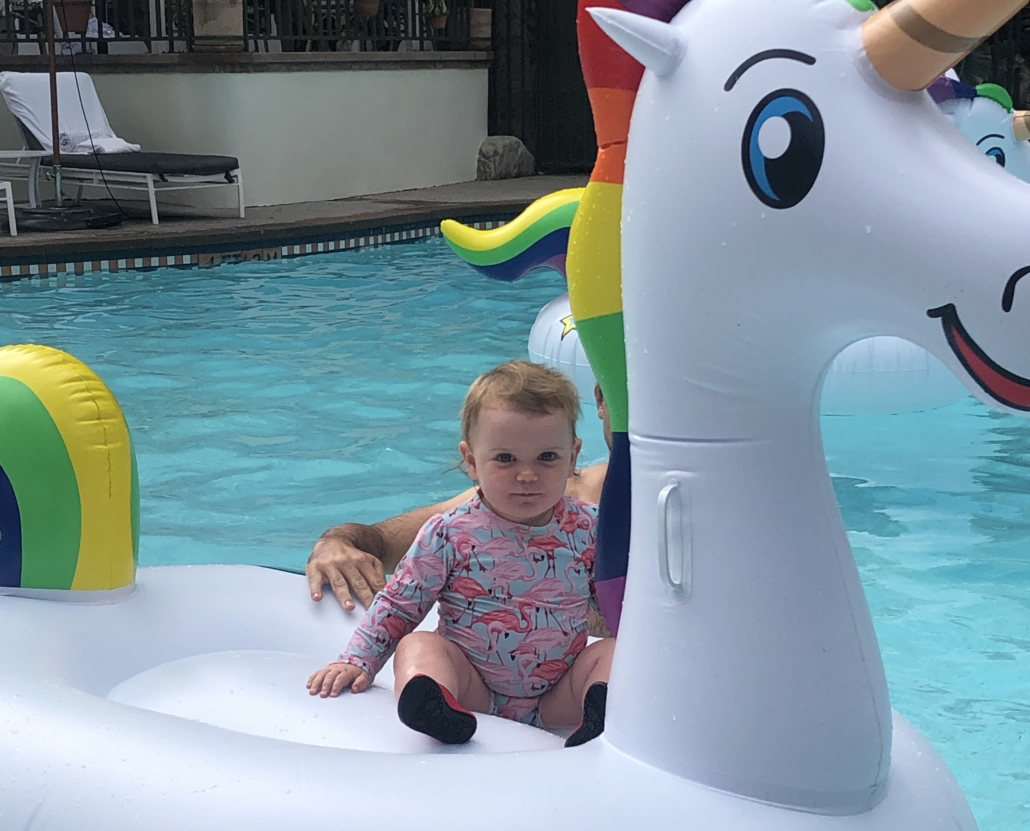
There’s no doubt that the pool is the focal point of the hotel. Low cushioned loungers encircle this deep pool (8 ft on one end) and the banana palm pillows transported me to the tropics. Though it’s not heated, we still swam almost daily even on overcast November days, and we enjoyed the poolside dining and drinks. Note: the pool was especially great for our little girl!

GYM

Though small, the gym packs a punch! This is the perfect place to exercise while taking a plant protein powder.

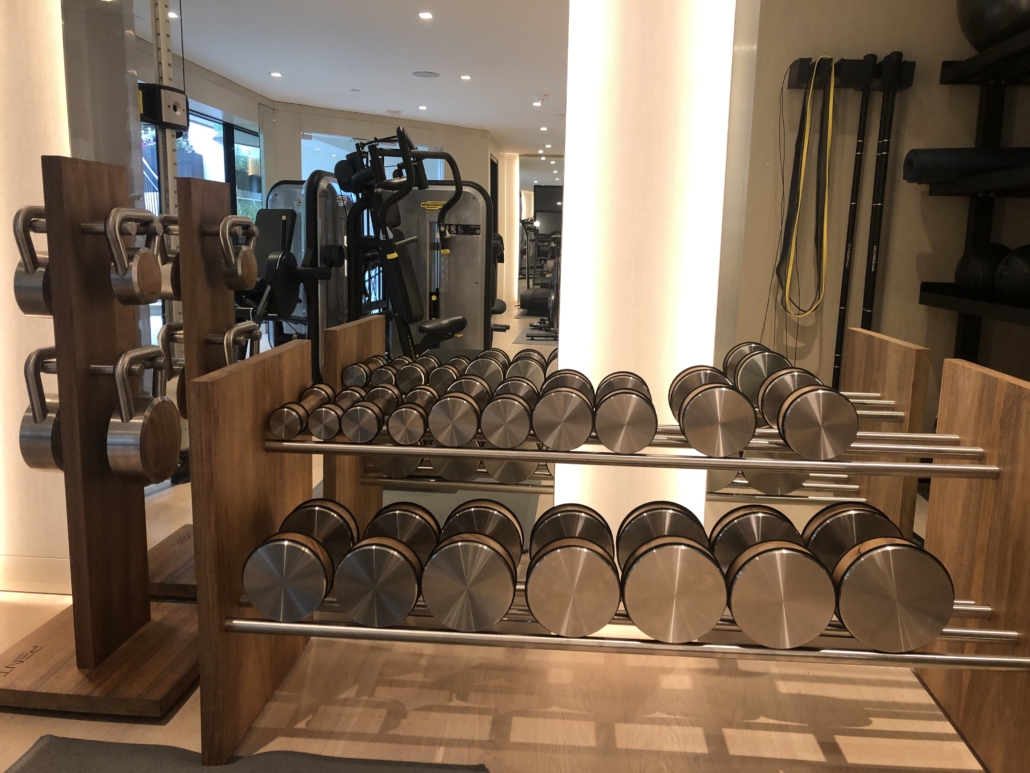
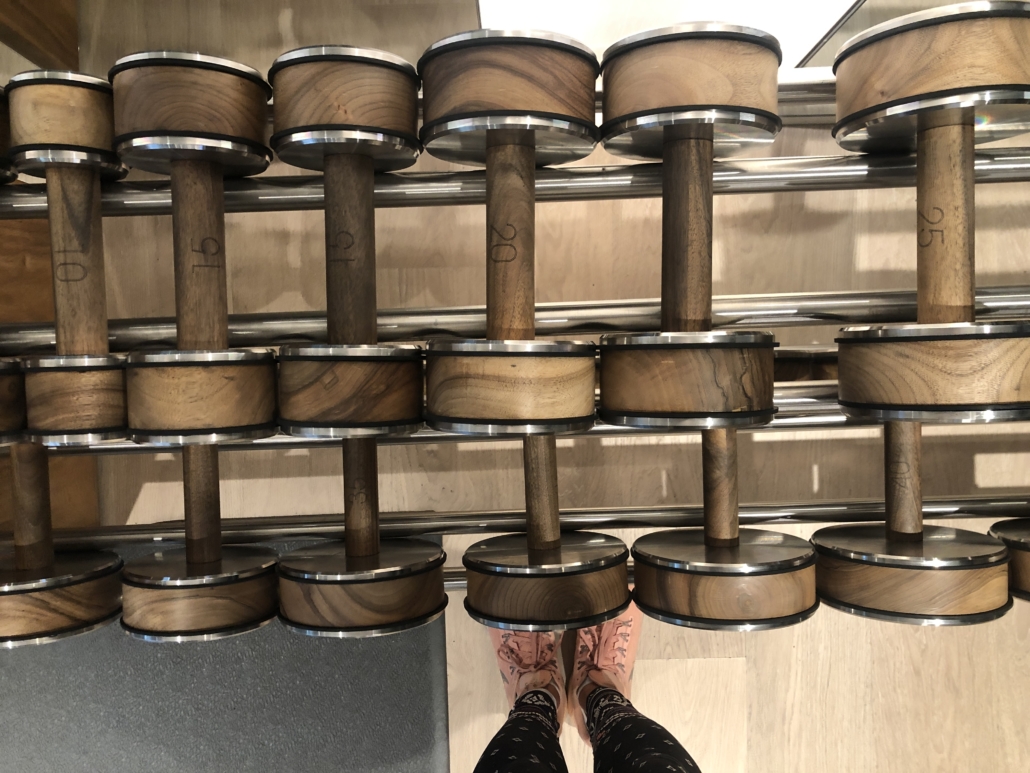
Rarely would I call a gym “beautiful” but this one is definitely attractive. Peloton machinery, Technogym equipment and the coolest wood clad weights that I’ve ever seen. 

DINING

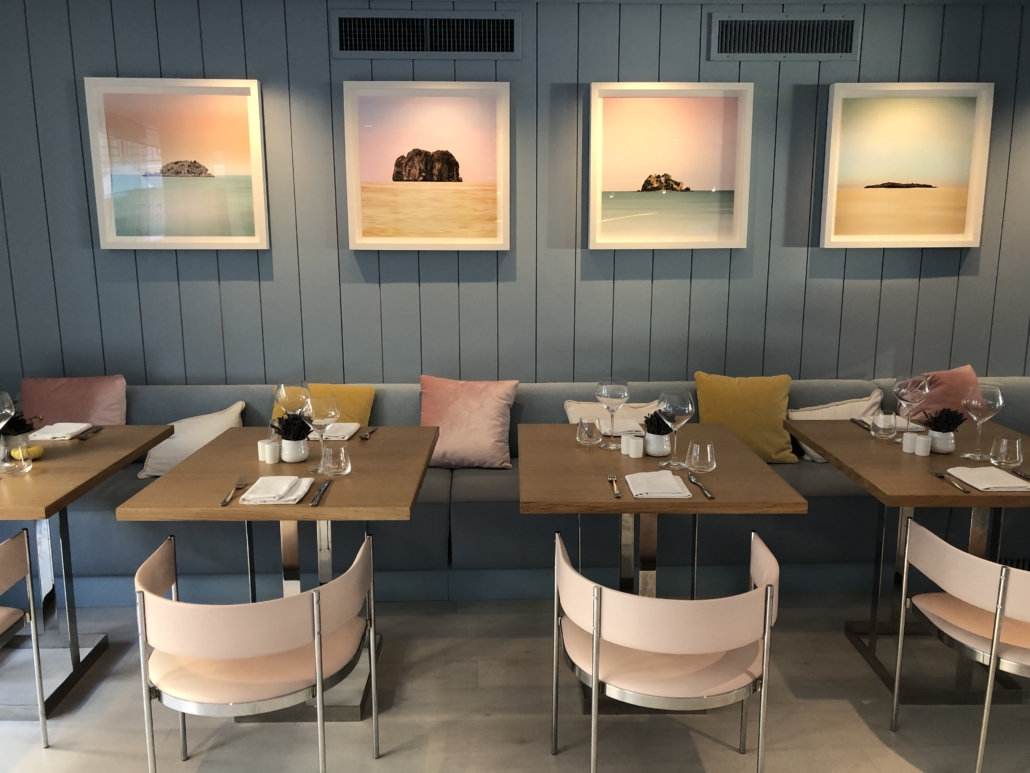
The color palette of the Dining Room was delicious. The coral hues and blue tones set an elegant stage for breakfast, lunch or dinner. I found their breakfast to be delicious (order the benedict!) and their burger was a winner for lunch. 

We had poolside hummus and guacamole, both of which I’d order again. 


Drinks can be enjoyed inside or out, alongside of the pool. The elevated seating area with fireplace is the perfect place for a sunset cocktail.


LOCATION

Possibly the best location in all of Santa Monica, Oceana has access to all the highlights but is not in the thick of it. Just removed enough from the hustle and bustle of the Pier and Promenade, yet walking distance to both. Oceana is also a few blocks from the locally loved shops and dining of Montana Avenue and directly across from the Palisades Park (best sunset viewing spot in the city). There’s also a beach path located right in front for easy access to and from the beach. 


TRAVELER TYPE

I’d recommend Oceana for couples, solo travelers and families alike, but specifically for those individuals that appreciate a calm home base with very high quality rooms. You will want to spend time in the rooms here because these suites are expertly designed by professionals similar to that Wellesley Interior Designer. This hotel isn’t for a “scene” or for meeting clients or for the budget conscious. Oceana is decidedly built for the discerning luxury traveler that wants to be in the heart of this beach town, but not in the thick of the crowds. I truly think if you stay here, you will be more than impressed.


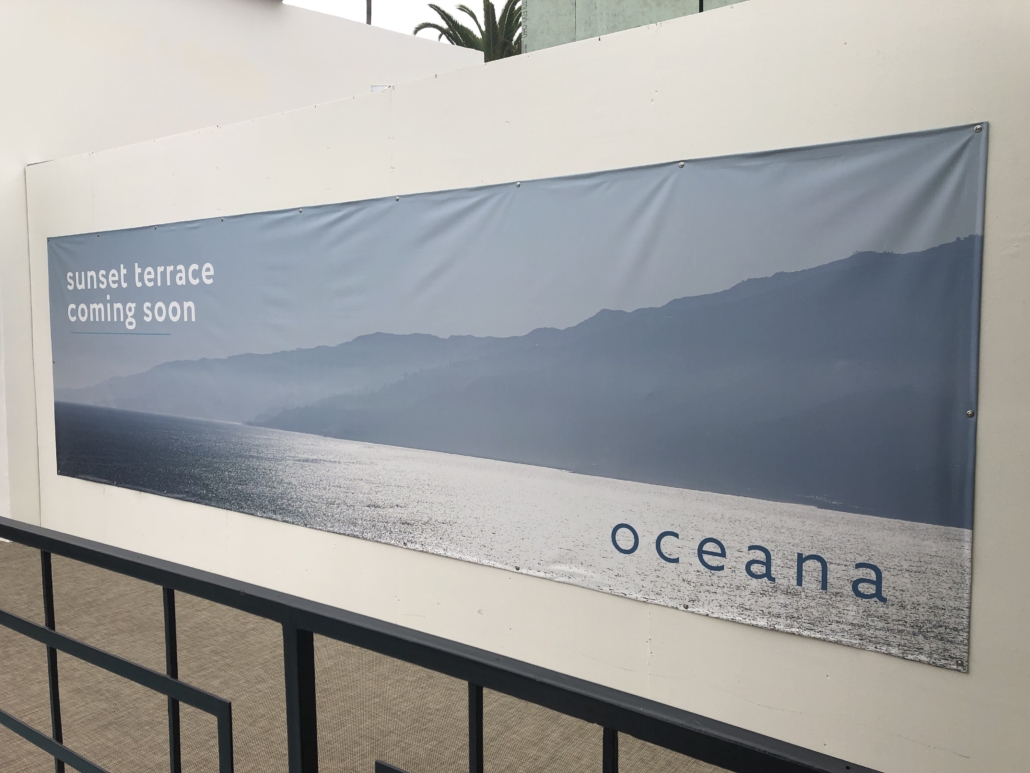
BONUS: SUNSET TERRACE COMING SOON! 

Oahu Travel with Toddlers: Our Favorites as a Family

At this point, our 14 month old has 15 flights and 15 hotels/rental houses under her tiny belt. I wouldn’t say it has gotten easier, but we all have learned –often the hard way– how to travel together, better. The most important lesson that we learned when traveling with her is to pick the right destination for her interests and stage in her development. We made a little checklist on where we can go now with our little energizer bunny and that is how we selected our big summer trip this year.

Note: It’s challenging to anticipate your child’s needs when you plan trips in advance because we don’t always know where they will be emotionally/physically/mentally in months from now, but it is important to make your best guess and adjust your destination around that finding. 
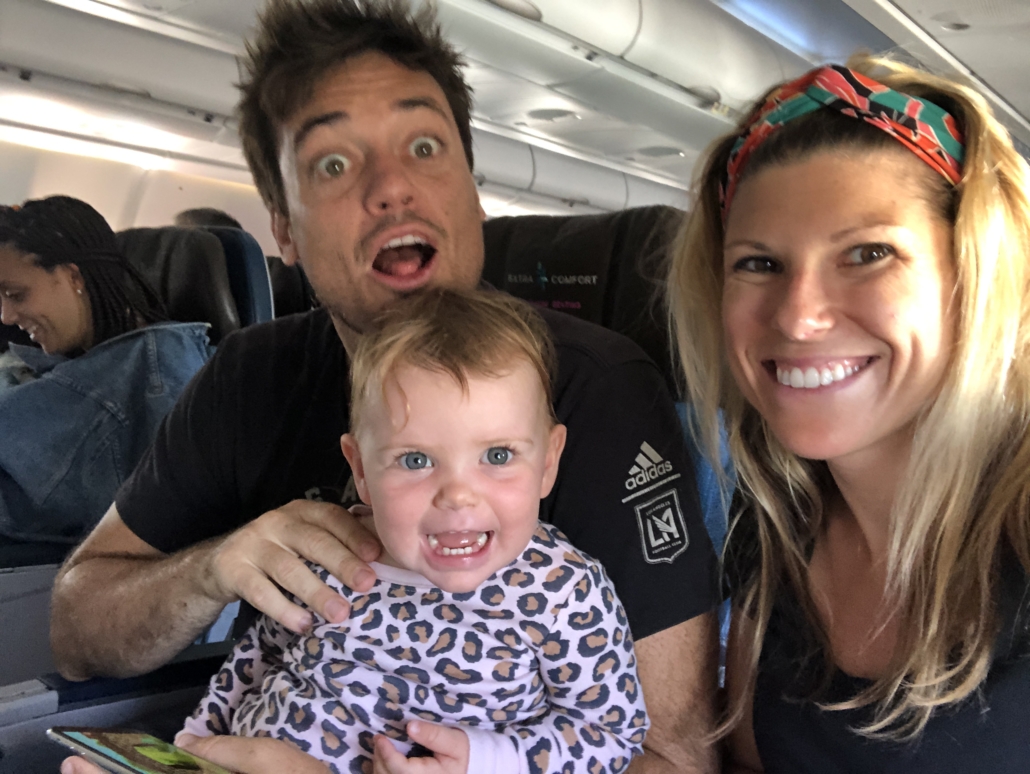
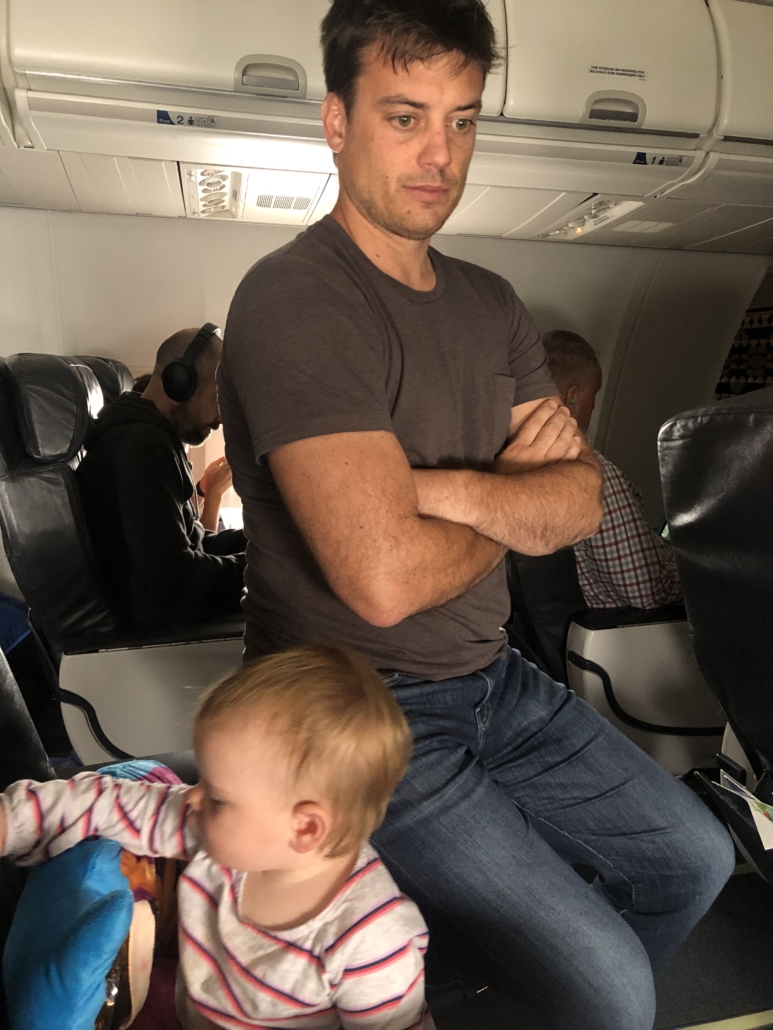
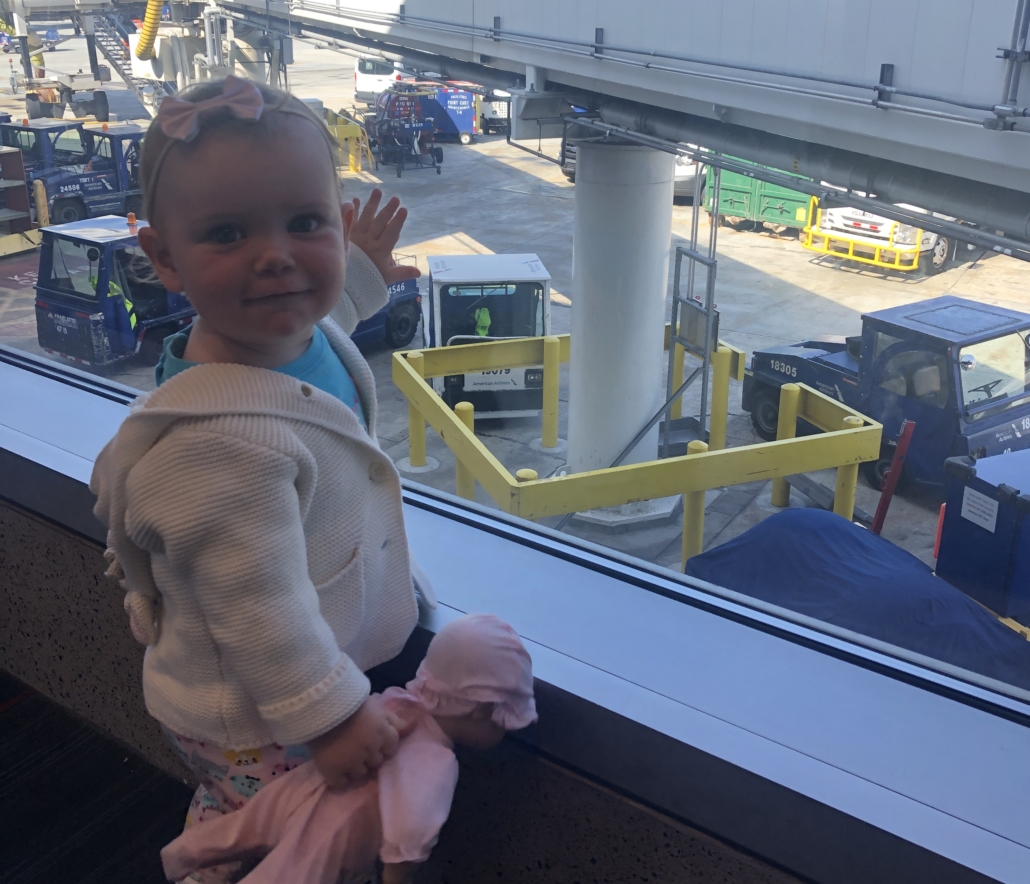
Braving the flight!

Our checklist for travel with Aurora at 14 months:

  1. Not too far by plane (under 5-6 hours direct)
  2. Lots of outdoor areas for play including water
  3. Relaxed atmosphere where most things will be nearby 
  4. Culture that embraces family life with lots of child friendly activities, hotels and dining
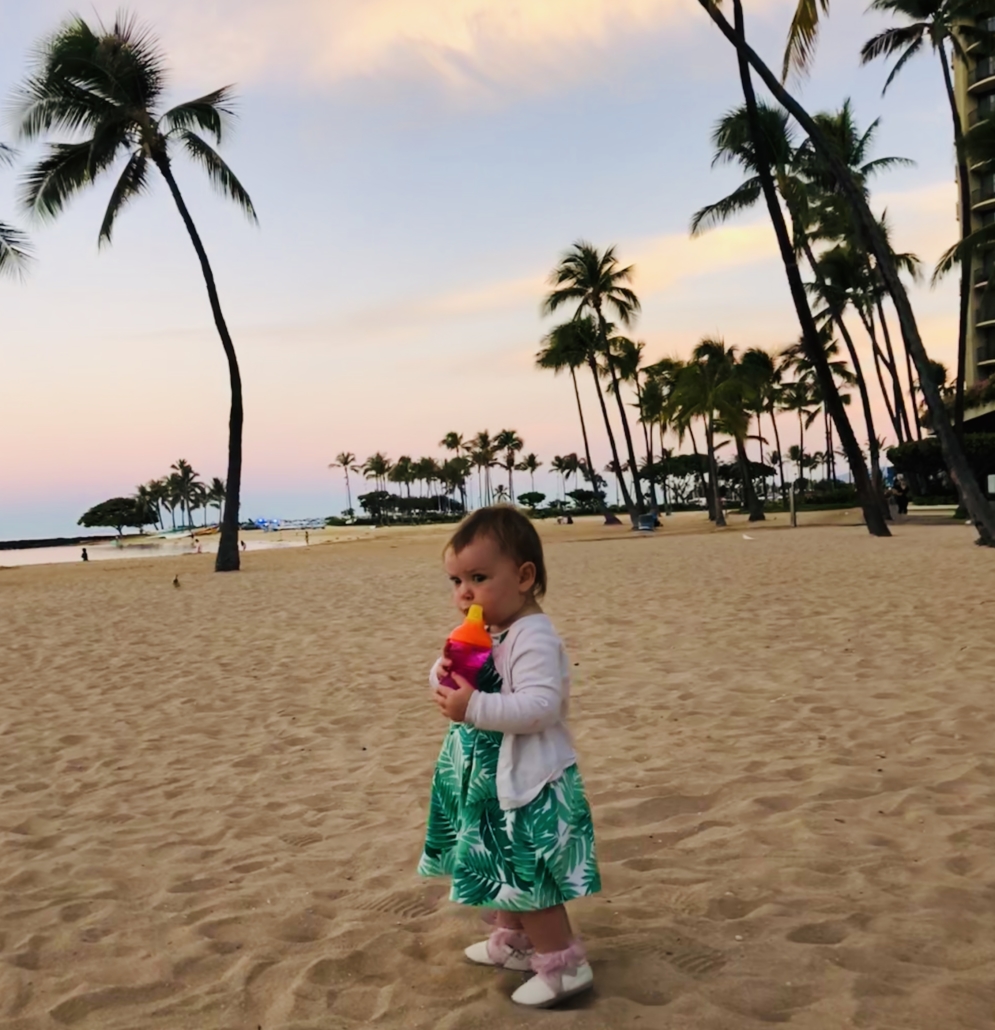
Where did we land?

HAWAII! Oahu to be exact. Just about 5.5 hours on one of my favorite airlines–Hawaiian (not an ad)– and we were in a warm, tropical, kid friendly paradise. Aurora’s favorite thing to do is touch, splash, drink or generally be immersed in water so that led us to be thinking of warmer climes with lots of pool and ocean possibilities. Oahu has the ideal mix of accessibility for kids, a really strong, welcoming culture and some of the most beautiful beaches that I’ve ever seen.  
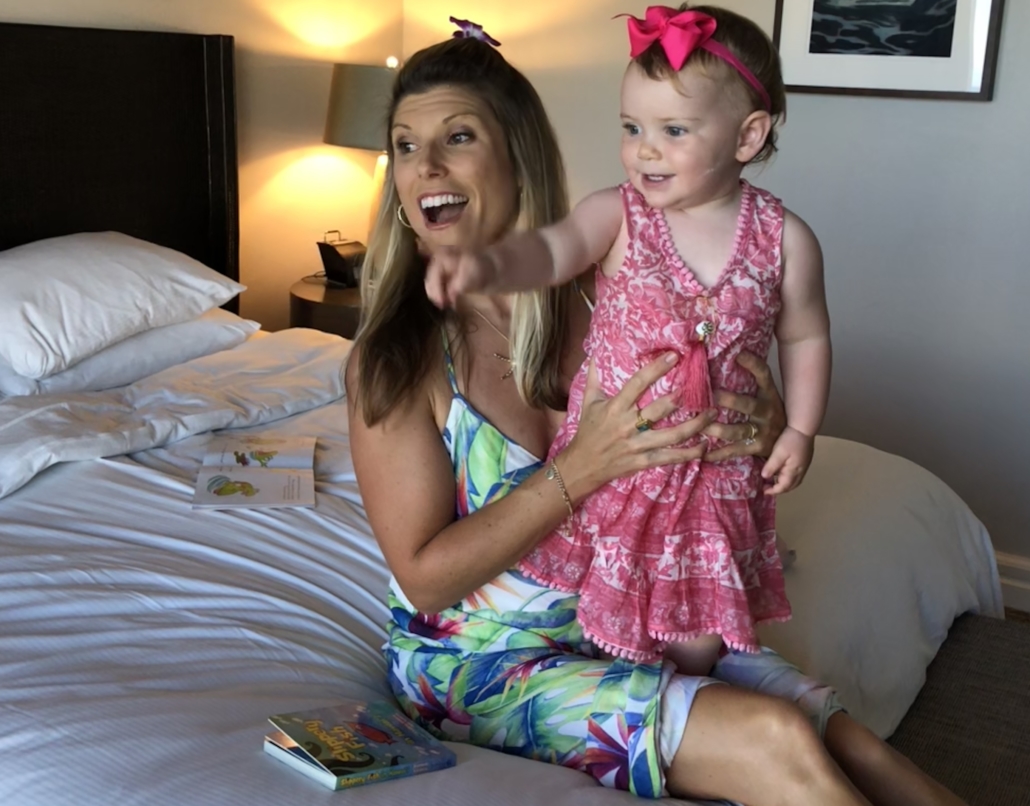
We spent 7 full days on this island, exploring (in between naptime) and here’s our top list for best experiences with a toddler. 


OUTDOORS

WAIKIKI BEACH, HONOLULU
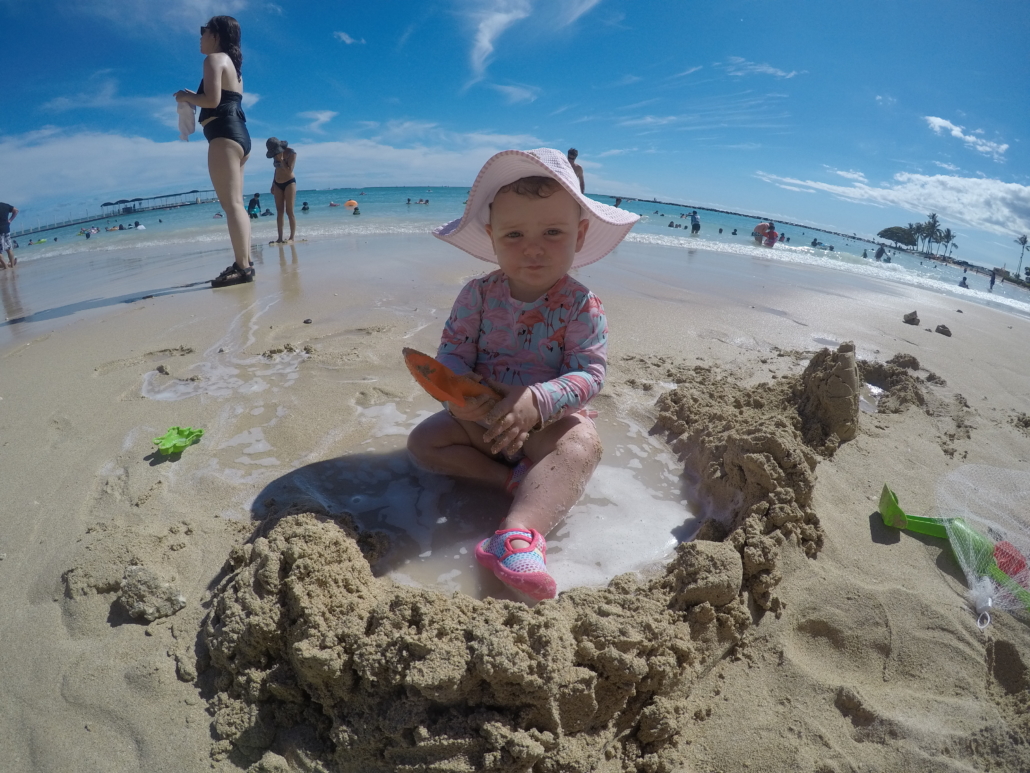
Beaching in front of Hilton Hawaiian Village

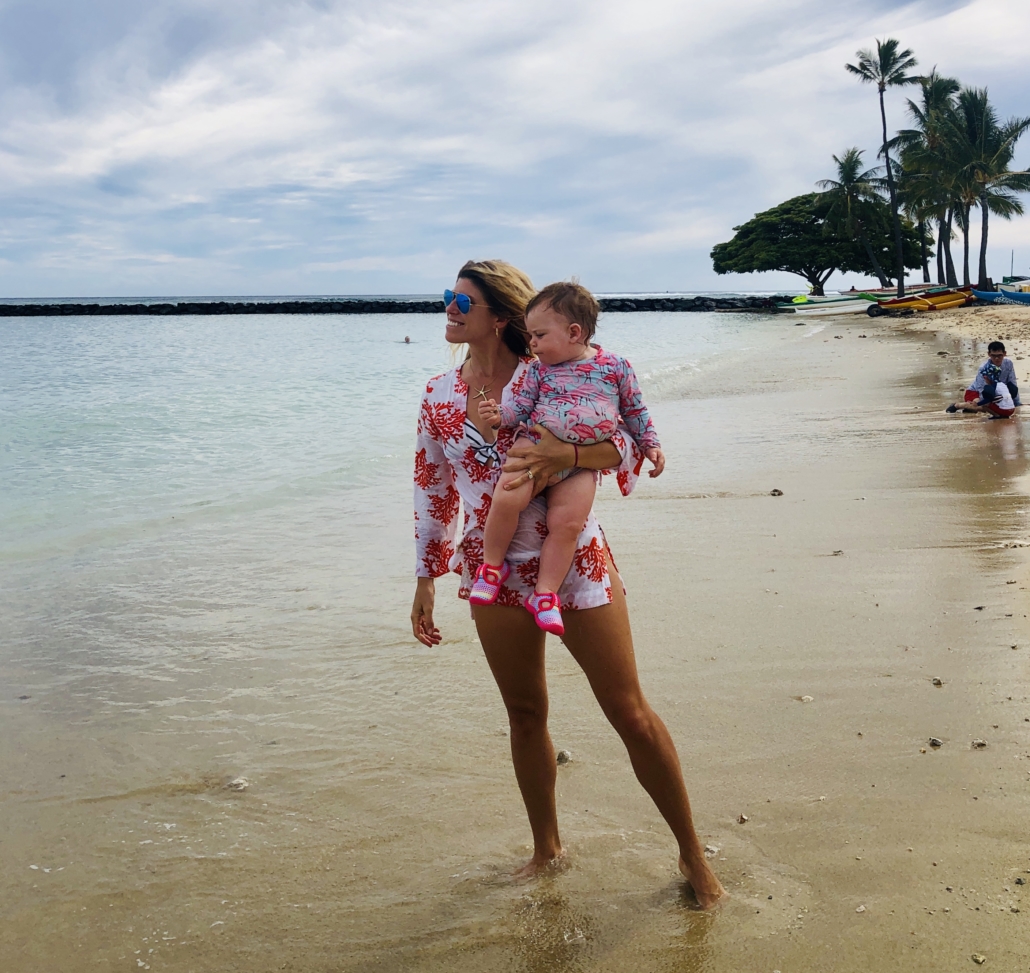
This may seem surprising but Oahu’s famous beach is also an ideal place for children. With Diamond Head soaring at one end, a lively vacation atmosphere, and the novice surfers catching waves further out, the whole beach feels iconically Hawaii.  Since these island are also known for warm water year round (during our late August the water was in the 80s) the temperature is extremely comfortable. The waves are gentle enough to be safe for young kids, under parental supervision. We could carry Aurora in passed the break and then use her swim floaties, or a small inflatable tube with leg holes, to help her float. 
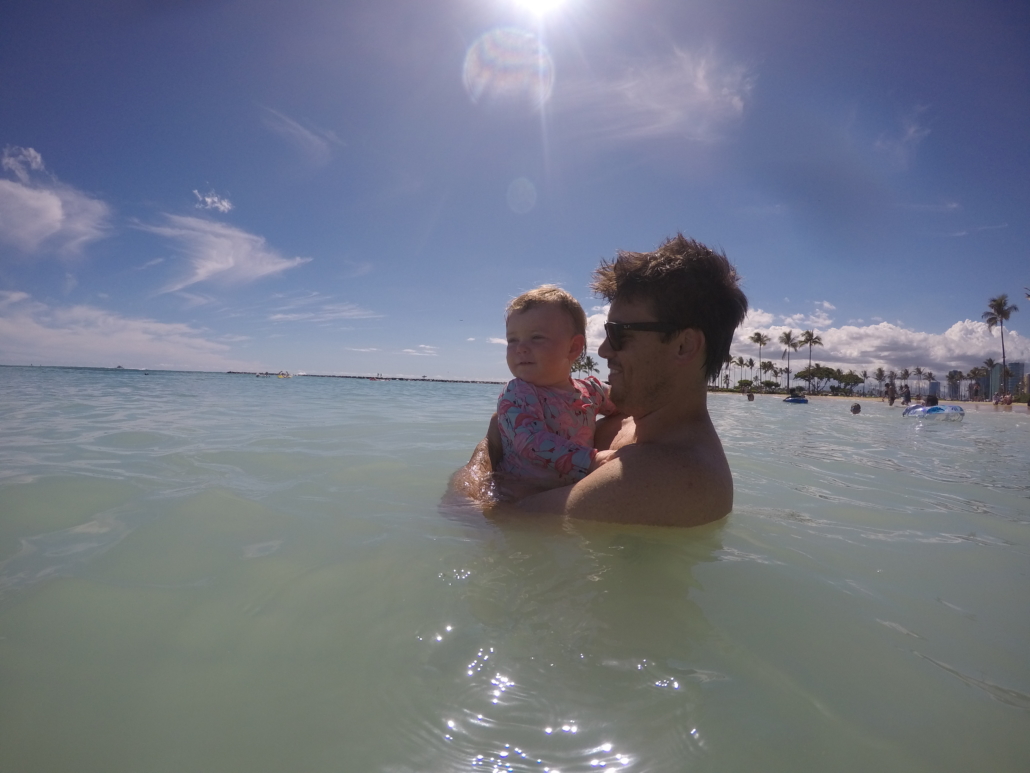
The only drawback is this beach is naturally, very popular. To avoid the crowds and have more space, we loved spending time at the beach in front of the  Hilton Hawaiian Village. This is the widest stretch of beach and a bit away from the busiest central area of Waikiki so we could always find ample room for our towels and sand toys.
Beach chairs are available to rent but we spent most of the time in the water or digging in the sand, so it wasn’t necessary for us. 

The sand is very clean and quite soft but be careful as it can get HOT during the day. We always had Aurora in covered swim shoes while we were at the beach to protect those tootsies. 


SUNSET BEACH, NORTH SHORE

Just under an hour from Honolulu, the North Shore is home to world renowned big wave surfing. That doesn’t mean, however, that all of its beaches aren’t kid friendly. It just depends on the time of year. From May to September, waves are much smaller, making the North Shore beaches ideal for families. 
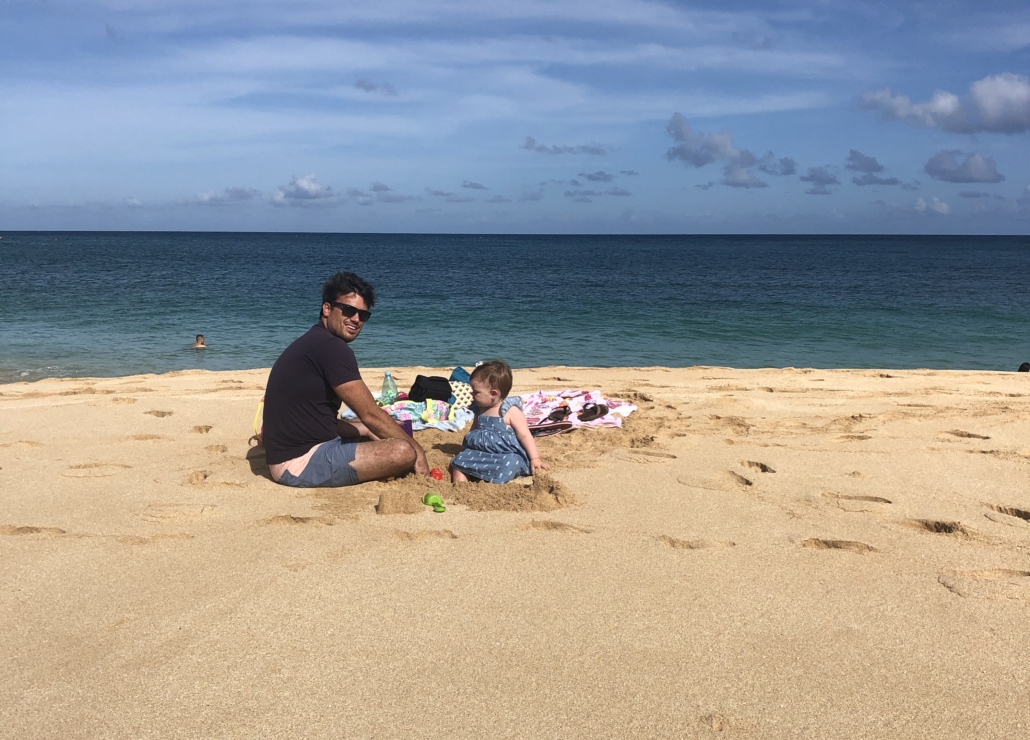
Sunset Beach is a pristine stretch that runs along Kamehameha Highway. It actually took my breath the two times that I’ve stopped here. The sunburnt coral sand, the vividly blue water, and the palm lined backdrop made this whole place feel like it was a dictionary definition of paradise.  There are no facilities nearby so pack what you need– especially water, towels, beach toys and sunscreen– so you can make the most of your time here. 
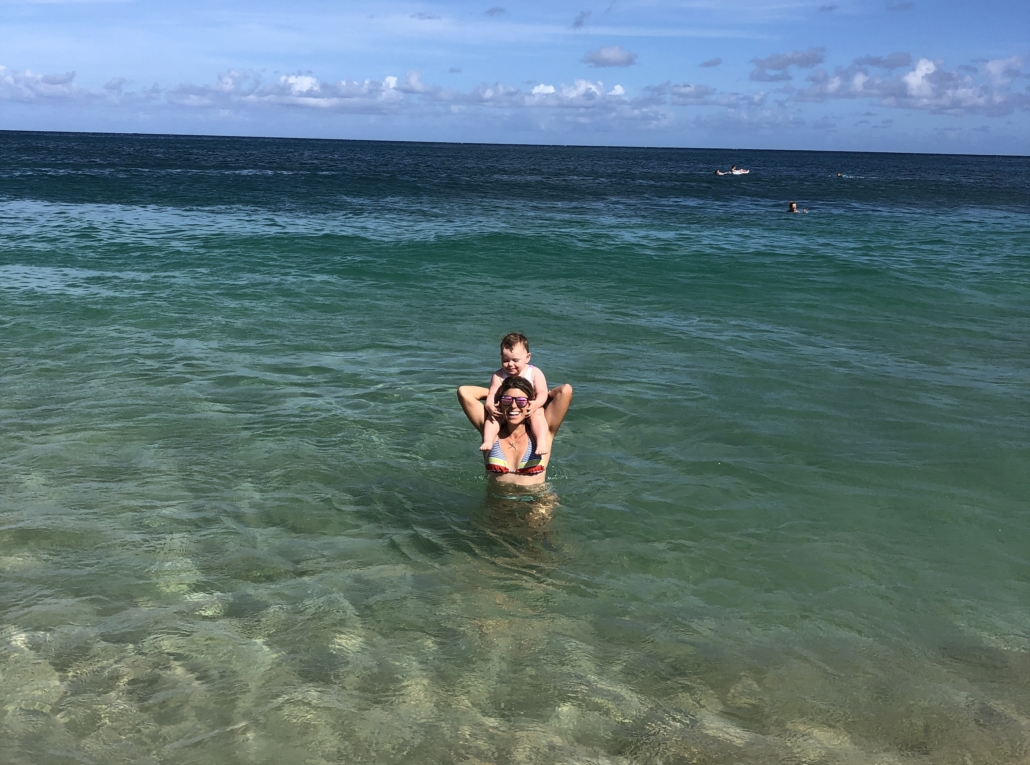
We drove up North early and arrived at Sunset Beach before 9am so we could enjoy two blissful hours of frolicking in the water, building sand castles and collecting seashells before the sun even reached its peak.  


DUKE KAHANAMOKU LAGOON,

HILTON HAWAIIAN VILLAGE WAIKIKI BEACH RESORT

I didn’t think that a man-made lagoon, set just off the real beach, would be where I’d want us to spend time but I was wrong! The Lagoon is actually a great place for families with young kids. For starters, there are no waves–just a very gradual incline. This allowed both my husband and I to sit on the sand and watch Aurora splash in the shallow water, without worry. She loved this independence as she freely walked around, sitting in the shallow water and giggling at the fish flitting near her toes.
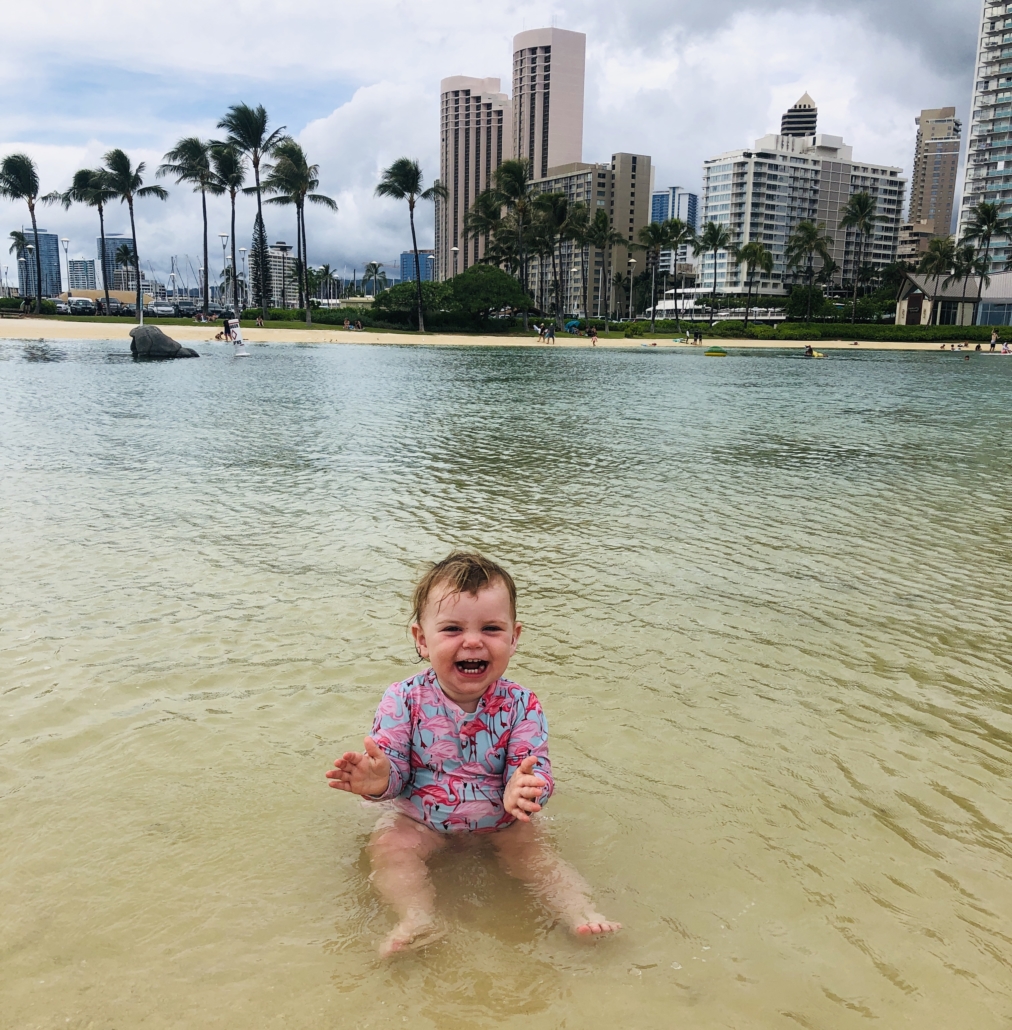
The Lagoon is great for little mermaids

At the Lagoon, the Hilton Hawaiian Village also offers kayak, SUP, paddle boat and aqua biking rentals. We tried out the paddle boat and kayak, both with Aurora on board. The kayak turned out to be more kid friendly as it was easier to keep her sitting still on our lap since we didn’t have to paddle with our feet. 


EXPERIENCES


WAIKIKI AQUARIUM

I wasn’t sure how Aurora would react to her first aquarium visit but I was astounded by how much she loved every minute we spent here. The Waikiki Aquarium is set on the water next to a living reef and it 115 years old–the second oldest in the US. Though there are over 3000 marine specimens, inside it is not overwhelming and doable in a morning or afternoon. Inside, many tanks have padded ledges, allowing little ones to get a better view of the aquatic wonders in the tank.
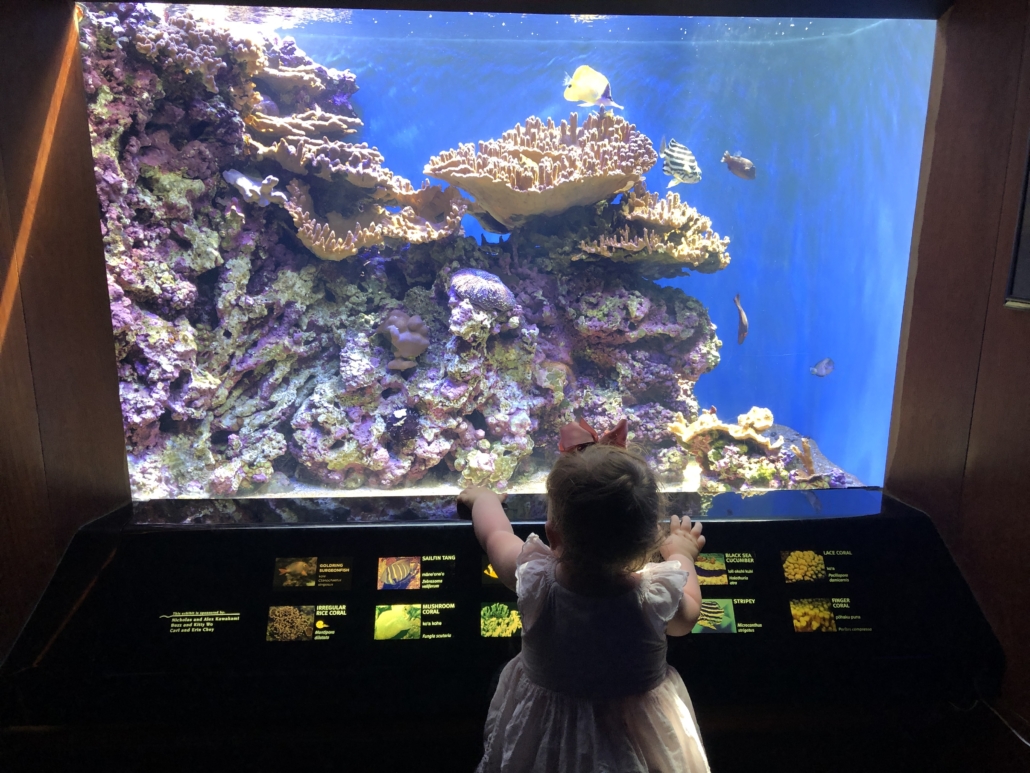
A highlight was catching the octopus feeding, when we saw an incredible day octopus devour his shrimp and change colors just inches from us. We learned that he is given toys for enrichment and sometimes his food is given in a jar that he has to open–what!
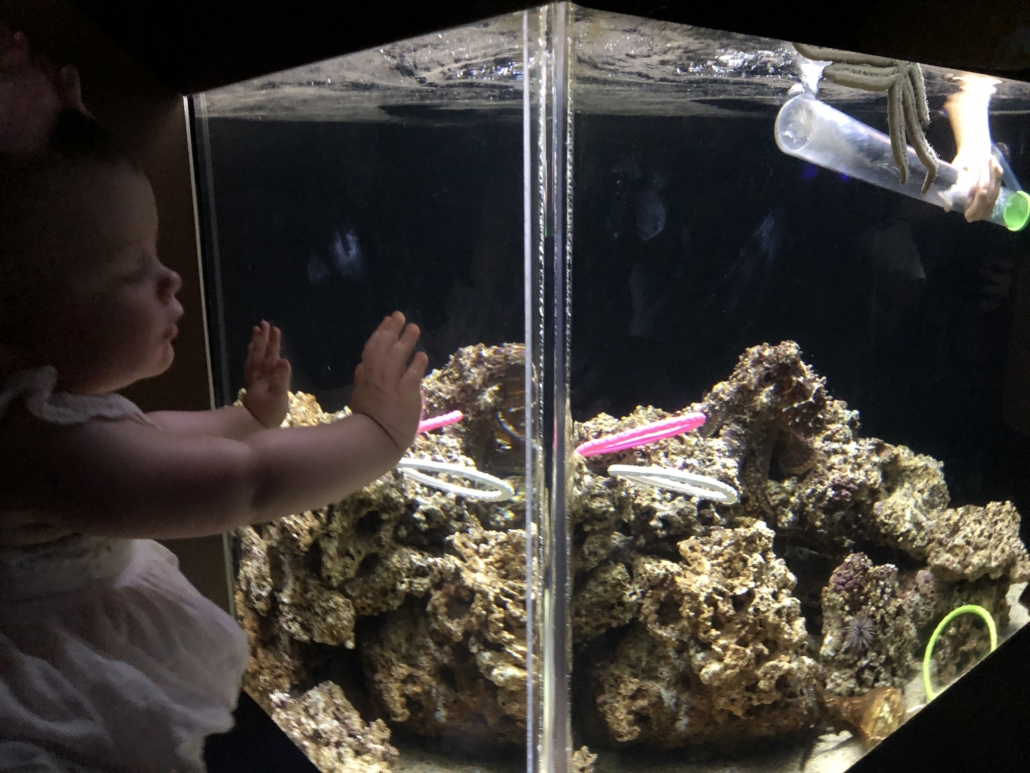
Octopus Feeding

Aurora also was fascinated by the top predators tank, the largest in the aquarium, which gave an up close view of jacks, grouper and shark in the same space. I was amazed to see a chambered nautilus, a prehistoric species that has been unchanged for millions of years. 
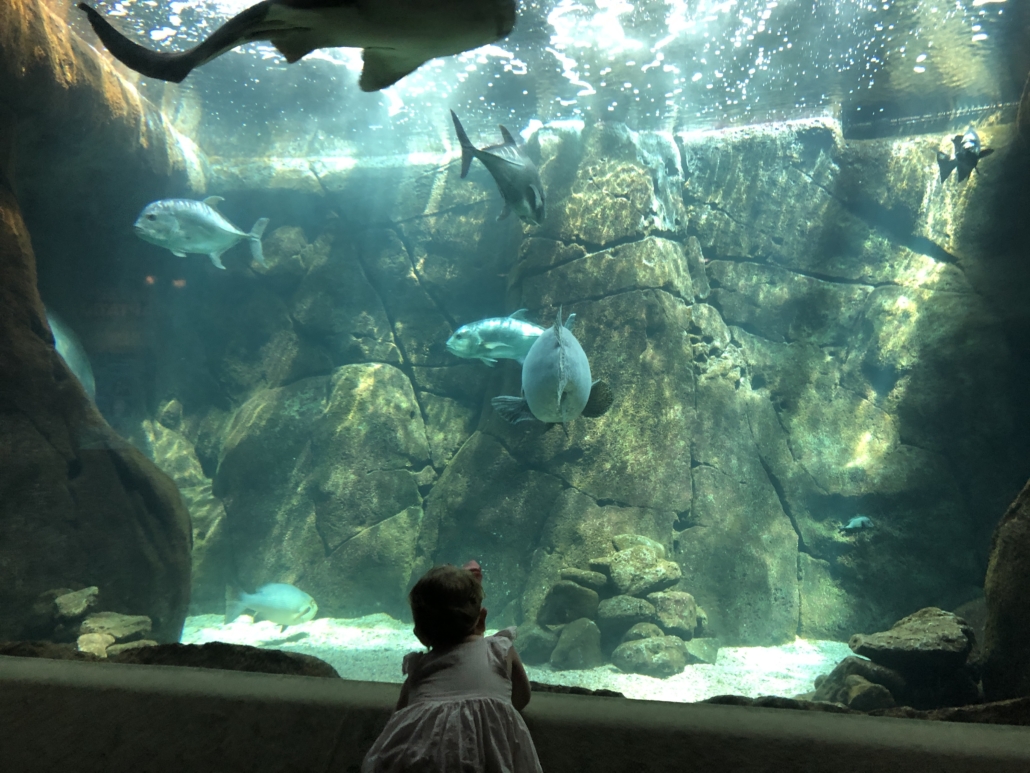
Top Predators Tank

Outside, a rescued Hawaiian Monk Seal swam and played in the waters as Aurora happily clapped on in awe. The aquarium has attempted to reintroduce this monk seal back into the wild but the efforts have failed, so she’s happily hanging out in her habitat at the Aquarium and in doing so, sharing the plight of this critically endangered species. 

Details:

Adults are $12 and Children under 3 are free! 

Waikiki Aquarium Website


HONOLULU ZOO
Kid Petting Zoo

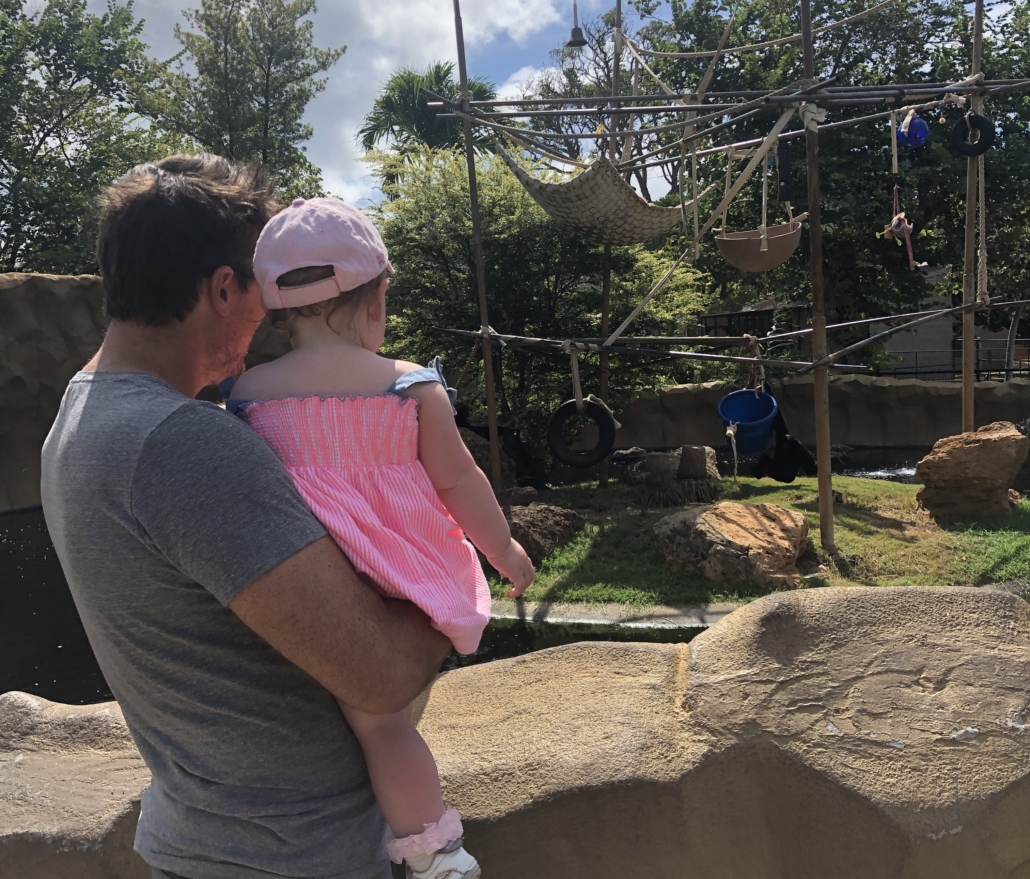
It’s hard to believe that there is a full zoo right in the heart of downtown Waikiki, but it is true. We stopped here after a healthy breakfast at nearby Da Cove. This was Aurora’s first zoo experience and she was very interested in all the wildlife especially the gibbons. Overall, highlights were the elephants, tiger and the rhino. There is also a petting farm and Aurora was able to pet some friendly goats. 
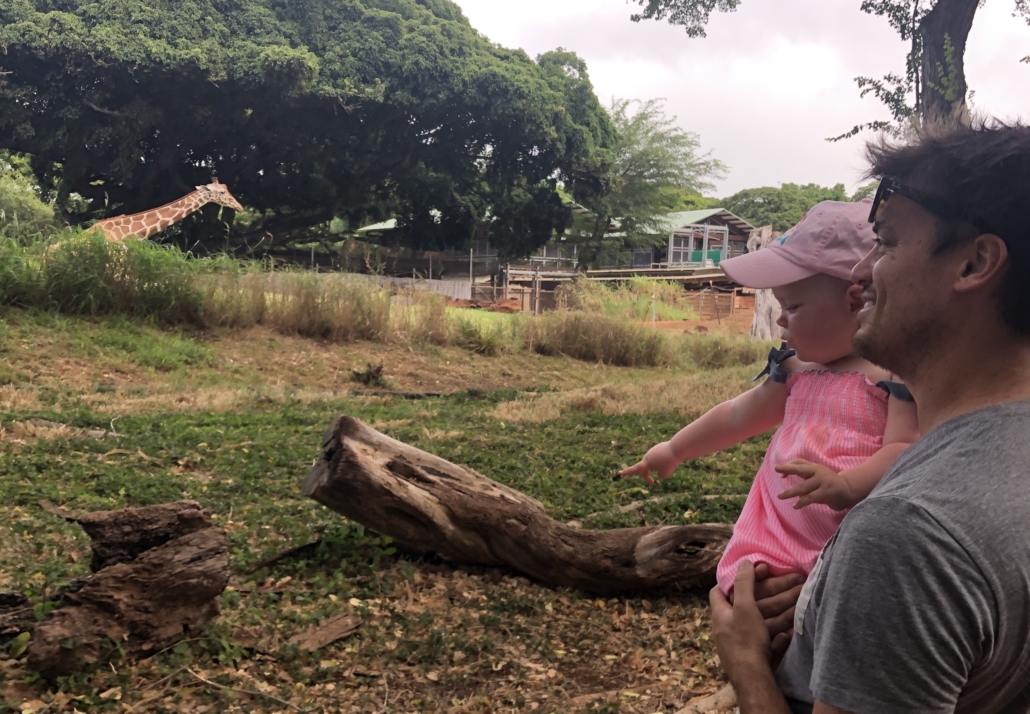
It’s not large and there are some renovations going on so certain exhibits were closed, however we felt it was still worth a stop especially with animal-loving kids!
Details:
Adults are $19, Children under 3 are free!

Honolulu Zoo Website

CULTURE

ALOHA FESTIVALS

For the entire month of September, Oahu hosts events, parades and festivals that celebrate Hawaiian culture, tradition and history. We were lucky enough to be in town for the opening ceremony and Royal Court Investiture. A new king, queen, prince and princess were crowned in a regal ceremony modeled after the historical ceremony of Hawaiian royalty. All of this took place on the lovely grounds of the Royal Hawaiian Hotel.   
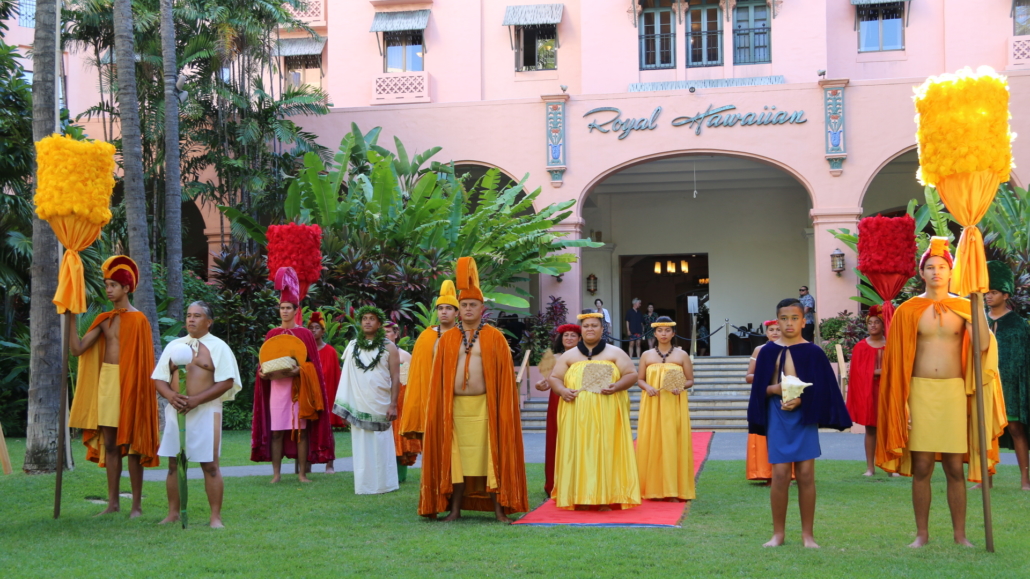
Royal Investiture

Aurora loved the live music and hula that followed the Investiture. While she might not have understood the historical significance of this event, she was definitely interested in the bright costumes and lively atmosphere. 
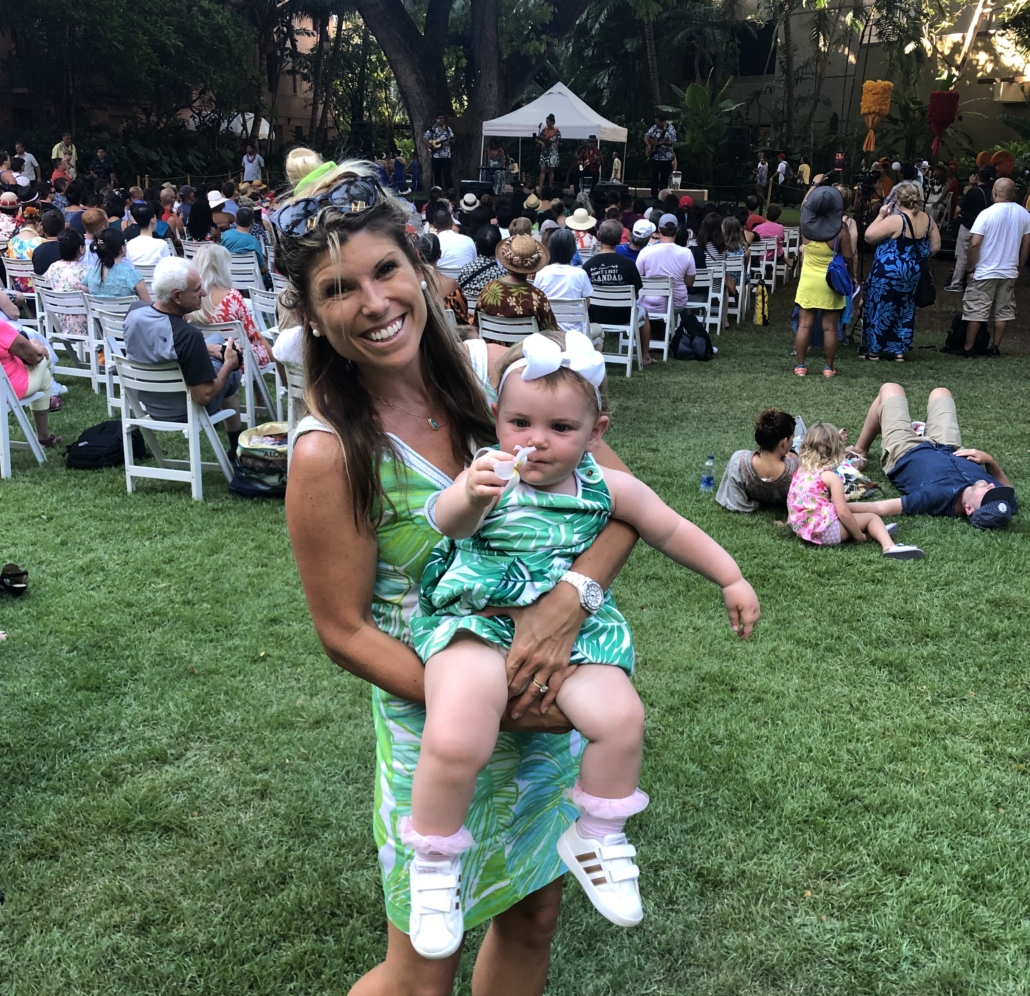
Opening Ceremony for the Aloha Festivals

We won’t be in town for the following events, but the block party and flower parade look incredible!

All the Aloha Festivals are listed here


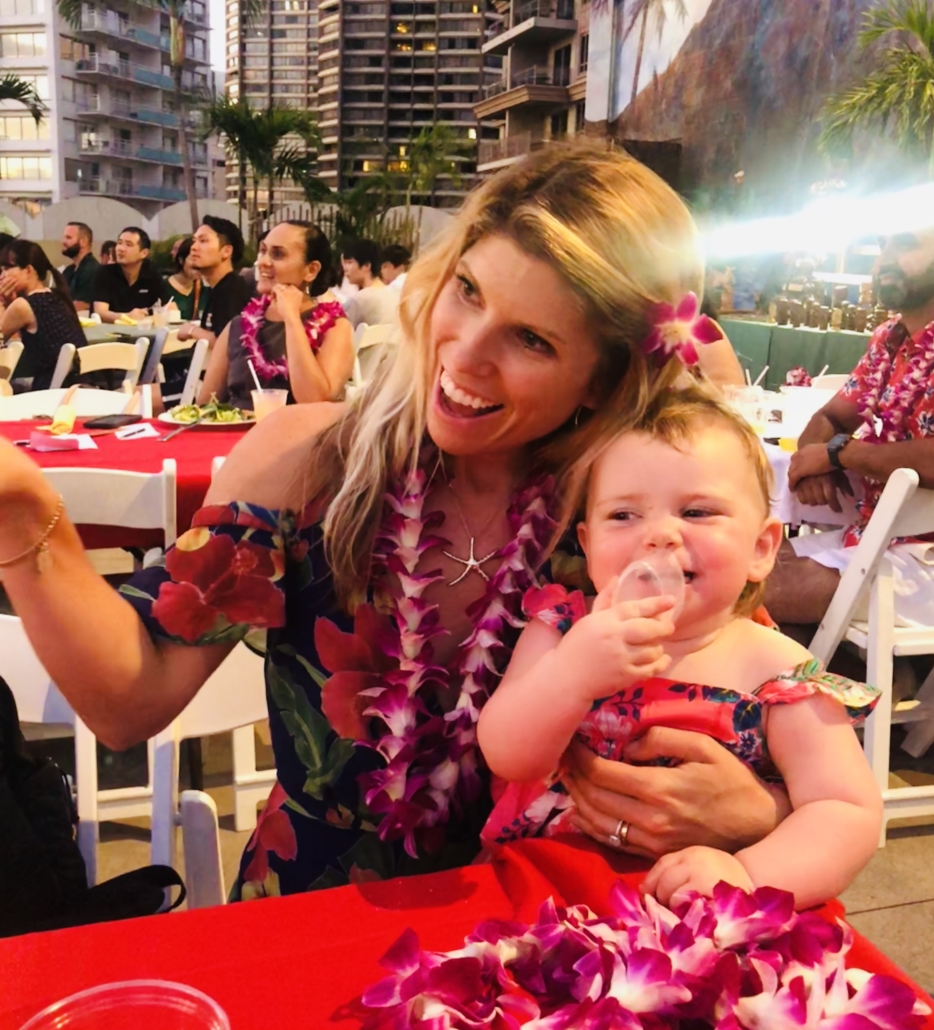
WAIKIKI STARLIGHT LUAU

A luau is more than just dinner and a show. It’s a chance for the whole family to learn more about Hawaiian culture through the stories, dance and music. The Waikiki Starlight Luau takes place at the Hilton Hawaiian Village, with a view of the ocean. 
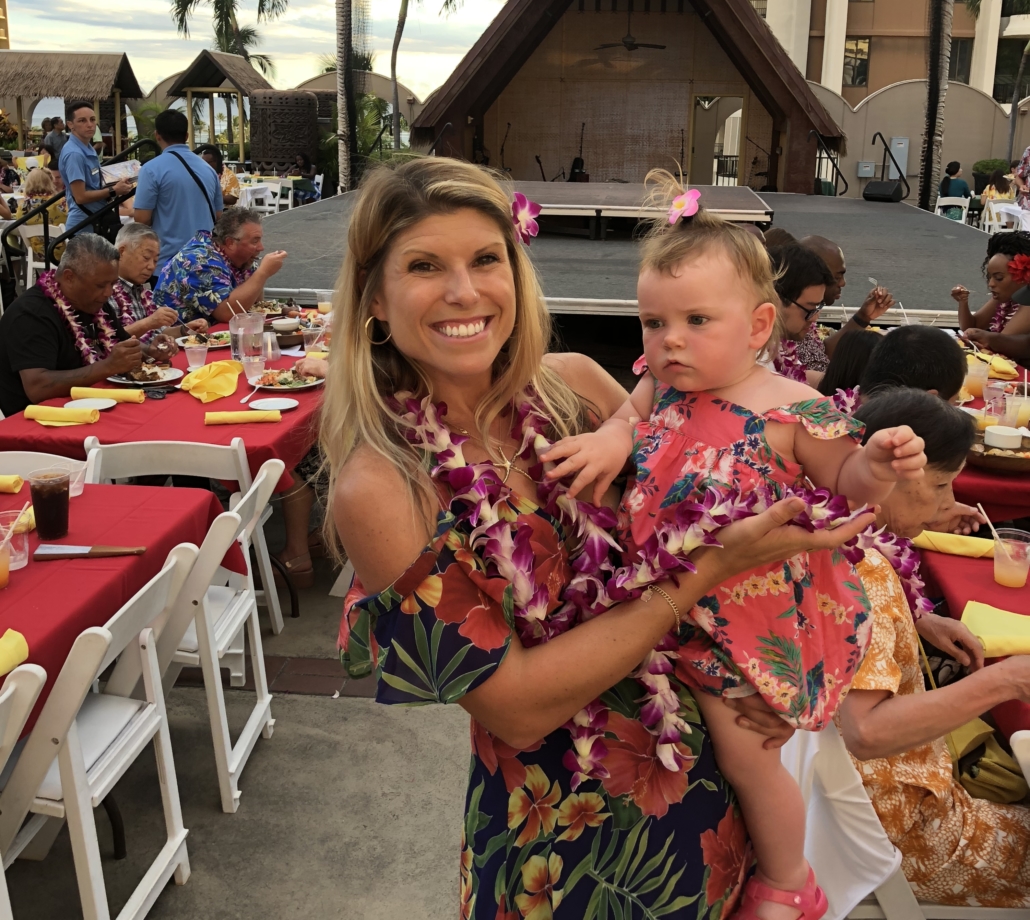
Waikiki Starlight Luau

The children’s buffet was the right height for kids and had a lot of kid friendly options. The hula was wonderful and seeing Aurora try to dance along with the performers brought many smiles from onlookers. 
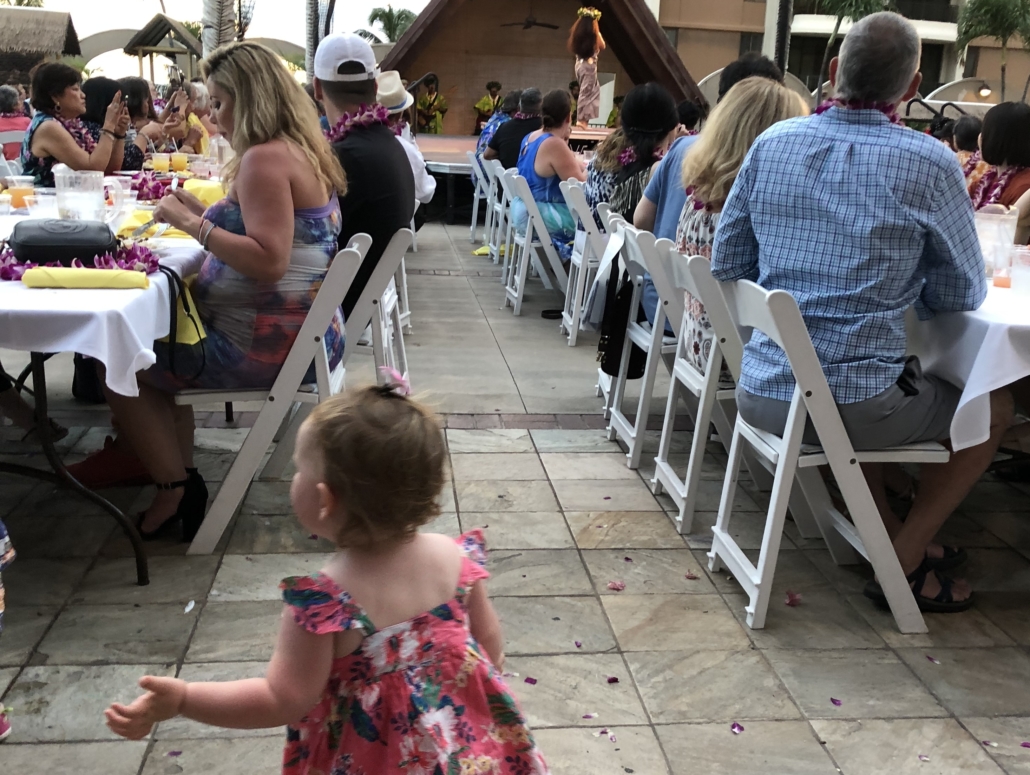
Details:

$111 Adults, $71 for Children 4-11, Children under 3 Free

Website: Waikiki Starlight Luau


DINING 


While there’s a lot of restaurants on Oahu that we have on the mainland, we found some incredible local fare that also worked well for young appetites. 

The Street Food Hall by Michael Mina

The 12 food stalls inside this modern, vibrant food hall has something for everyone at all hours of the day. We came here 4 separate times at different times of day–breakfast, lunch, happy hour and dinner!
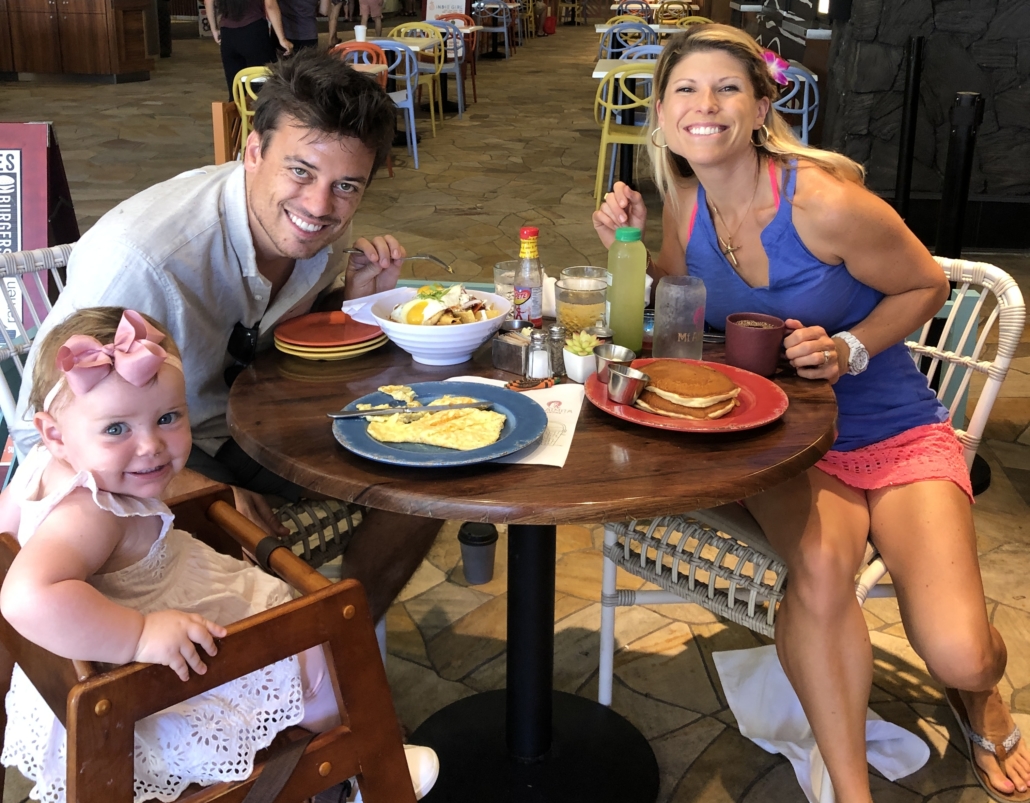
Breakfast at Mi Almita

The food is prepared to order, using fresh ingredients and at affordable price points. They also have a  Street Party pass that allows you to sample 7 of the restaurant stalls and 3 of the bars, at a 
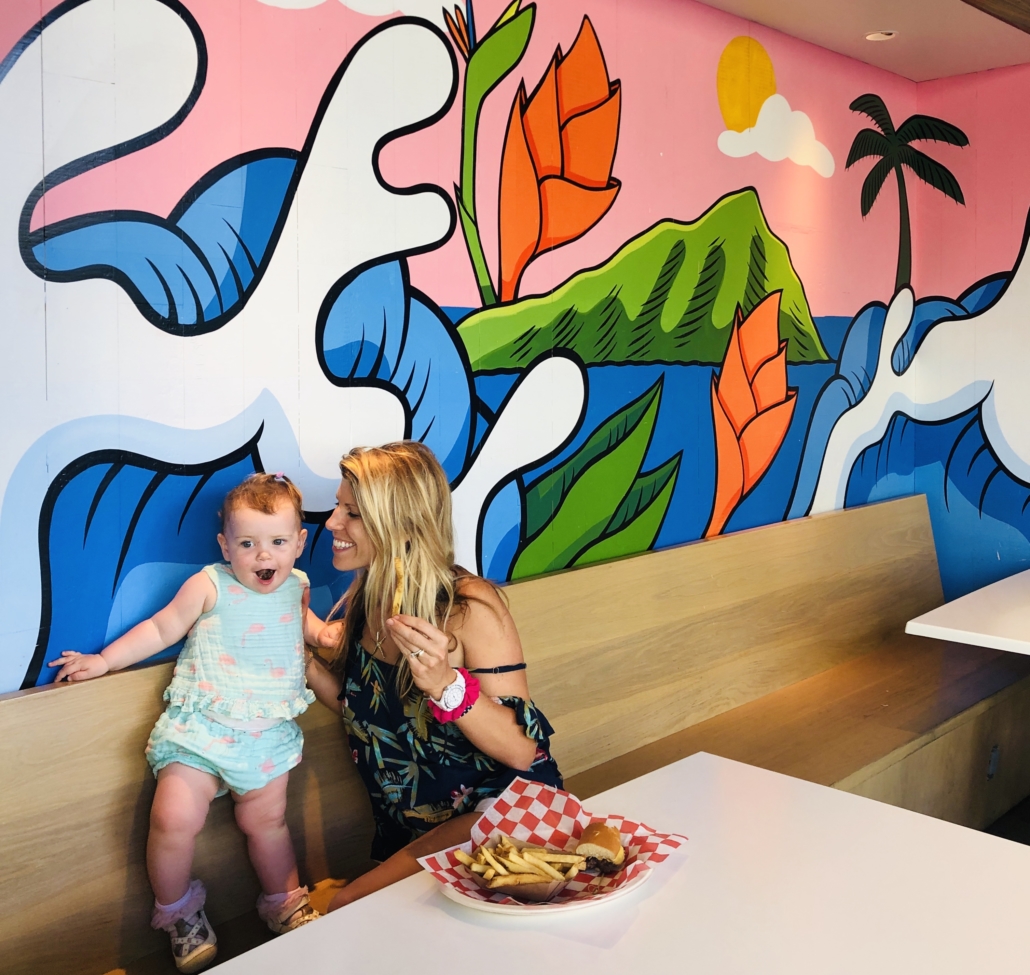
Burger Hale at The Street Food Hall

Our favorites were: 

  • The Myna Bird a tiki bar with great $5 piña coladas
  • Mi Almita for a delicious al fresco breakfast including mochi pancakes and loco moco
  • Burger Hale for sliders and hand cut fries–this was great especially for Aurora
  • Little Lafa for an easy grab and go savory lafa
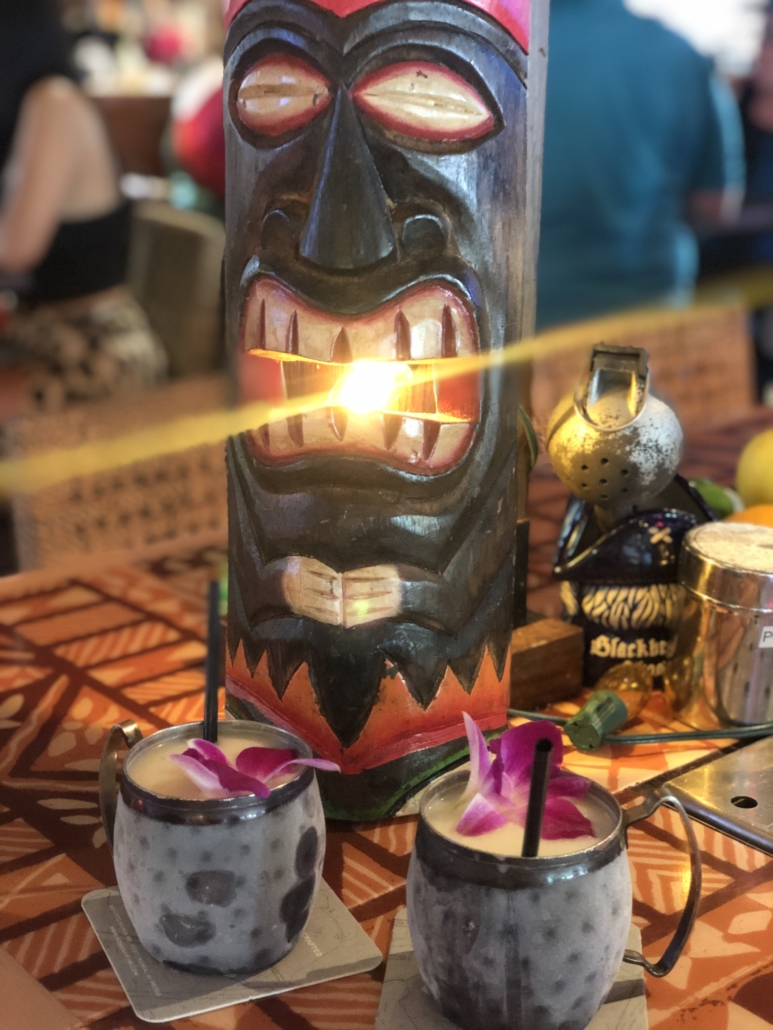
    These piña coladas are incredible at The Myna Bird

Details: 

2330 Kalakaua Avenue, Suite 330
Honolulu, HI 96815

Website: The Street Social House


HIGHWAY INN

With local owners and a long legacy of serving up authentic food in an approachable setting, the Highway Inn is a must stop for those that want to taste real Hawaiian food. 
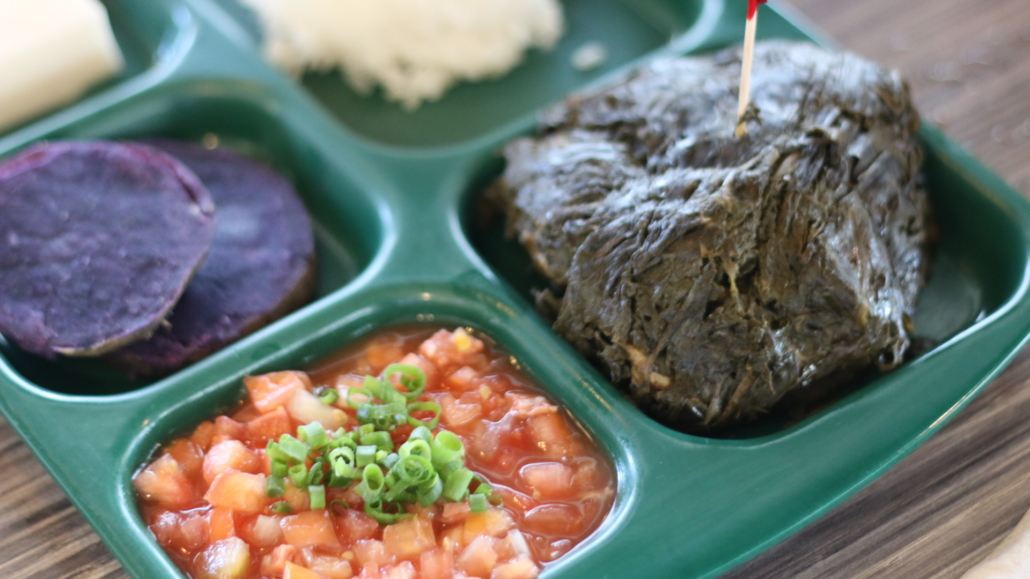
Local Specialties at Highway Inn

We stopped in the Kaka’ako location for lunch and tried out signature dishes like lau lau, poke and kalua pork. Each were rich, flavorful and different than we had anywhere else. Aurora was a fan of the lau lau and kalua pork and I couldn’t get enough of their sesame poke. The restaurant was packed, with local residents and tourists alike. If you are in the know, you come here.

Next time, we are coming for breakfast because we saw the pancakes go by and look amazing. 

Details:

680 Ala Moana Boulevard #105
Honolulu, HI 96813

Website: Highway Inn


da COVE HEALTH BAR and CAFE 

da Cove is another local favorite serving up fresh smoothies and juices, unique omelettes and a wide variety of acai bowls. For keiki, they offer omelettes and Aurora really liked the smoothies! We went to the location near Diamond Head, which is close to downtown.
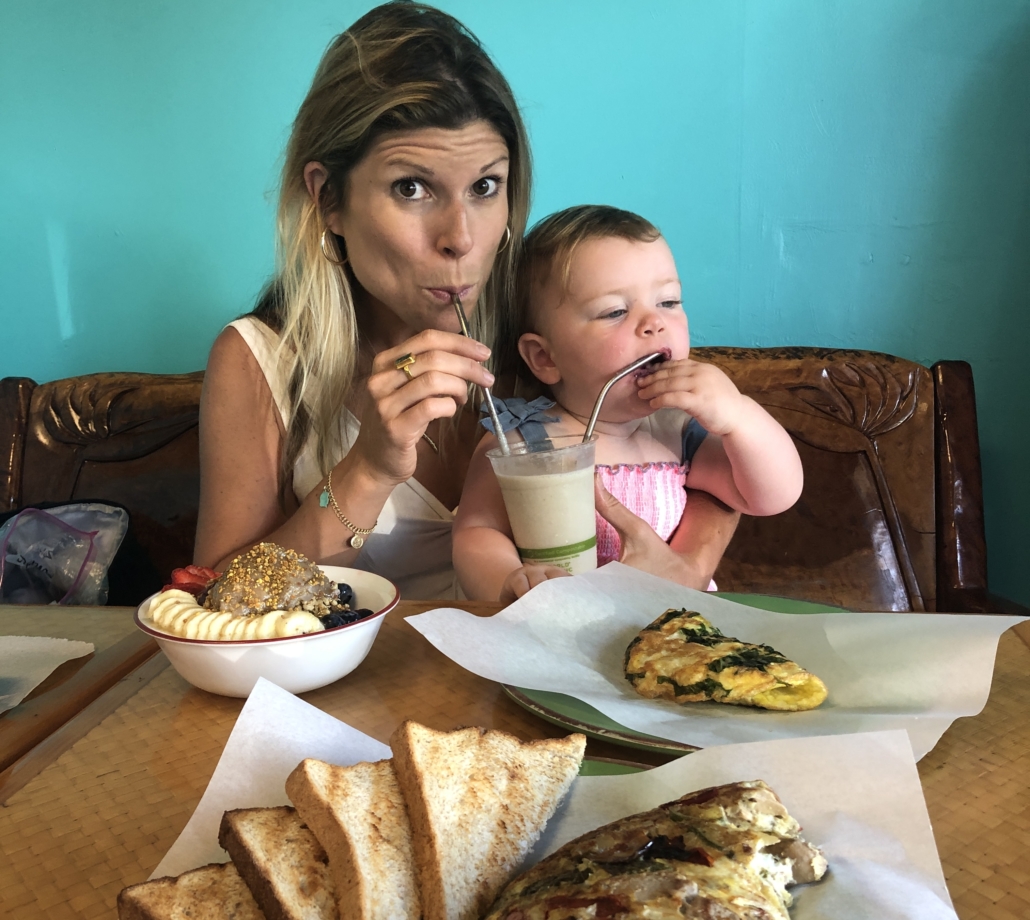
Healthy spread at da Cove

Details

3045 Monsarrat Ave #5,
Honolulu, HI 96815

Website: da Cove Heath Bar and Cafe


Moku Kitchen

Family friendly restaurants can be COOL and that certainly is the case at Moku Kitchen. The busy atmosphere, wide variety of mouthwatering dishes and drinks and attention to kids here made Aurora and her parents very happy. I can’t say enough about the delicious food–I had a steak that I’ll never forget. However, I think Aurora had the most fun. They have table toys that they let you borrow to keep your little one occupied. When Aurora is occupied, her parents can relax. This restaurant understands the needs of families!
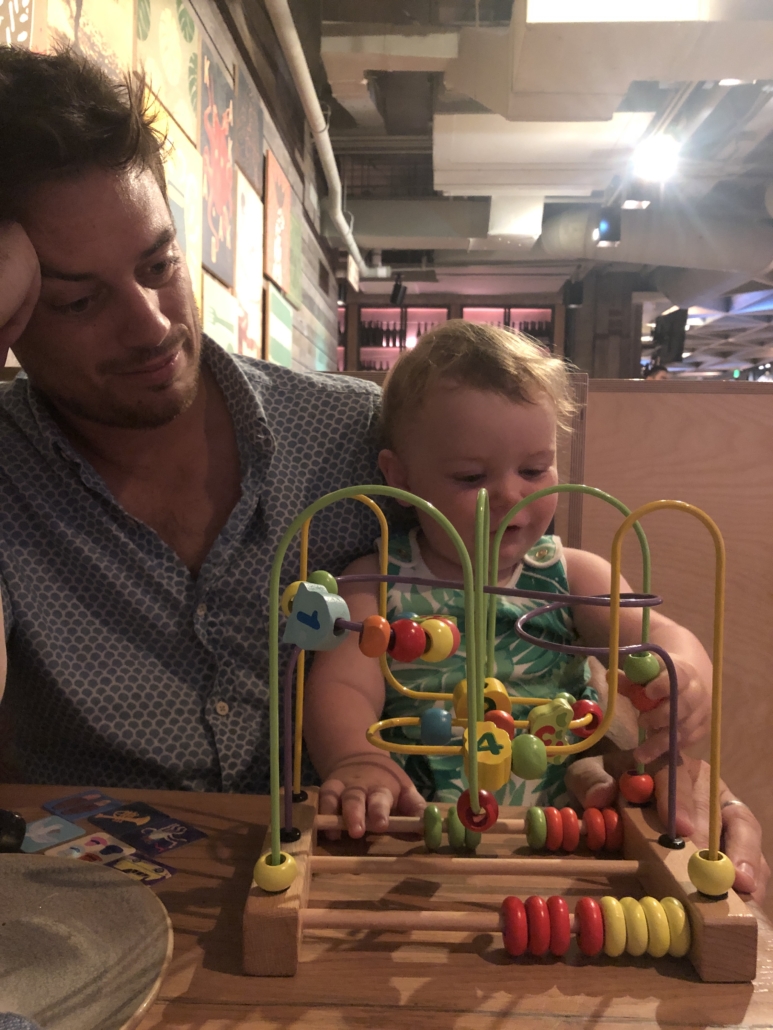
Details

660 Ala Moana Blvd,

Honolulu, HI 96813

Website: Moku Kitchen


ABC STORES

These “everything” shops are all over Honolulu and they helped us out on several occasions. From pool floaties, to organic milk, string cheese to fruit, they made it easy for us to grab what we needed on the go. There are so many locations, you will definitely see at least one. 
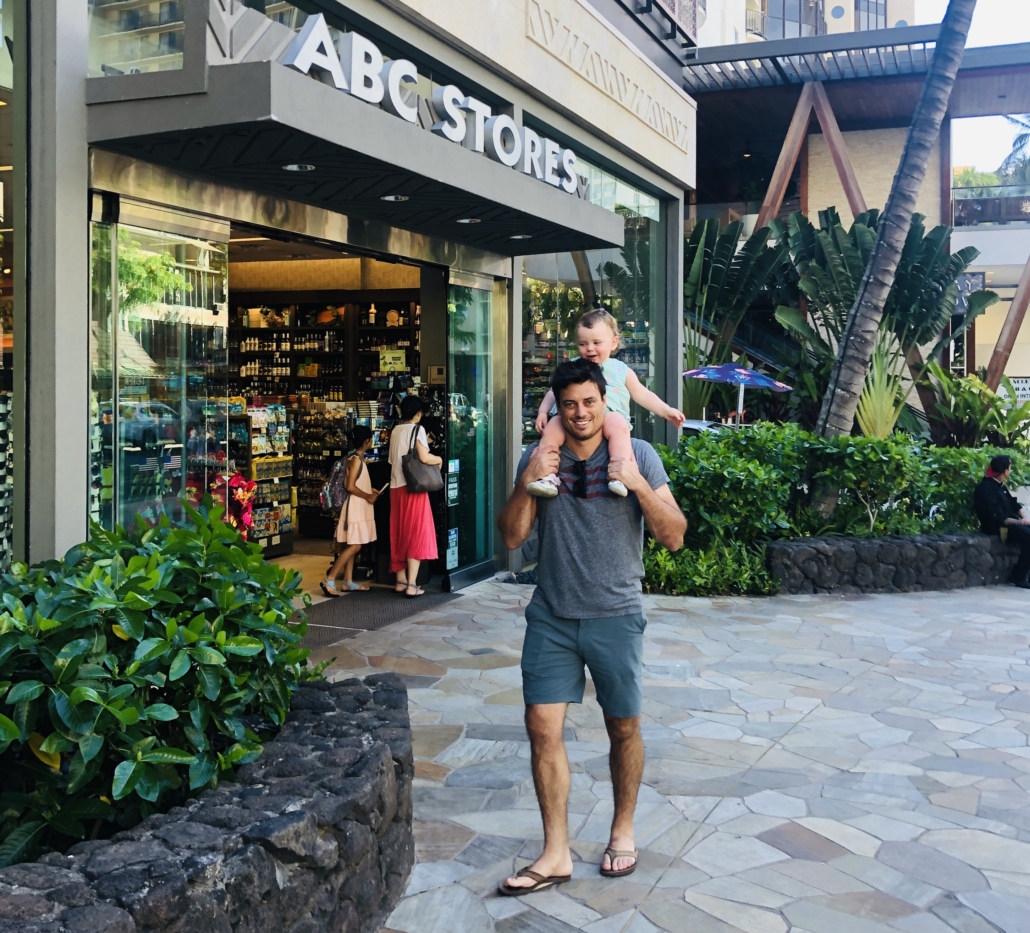
ABC Stores are so useful!


HOTELS


HILTON HAWAIIAN VILLAGE WAIKIKI BEACH RESORT 

If you have children, the Hilton Hawaiian Village Resort is resort is fantastic for your needs.  As mentioned above, the expansive property is on a wide stretch of beach, that is not trafficked by many others as it is the far end of Waikiki Beach. In addition to the Lagoon, there are multiple pool areas and even a pool with water slides. All the pools are very kid friendly and your child will have lots of other kids to play with!
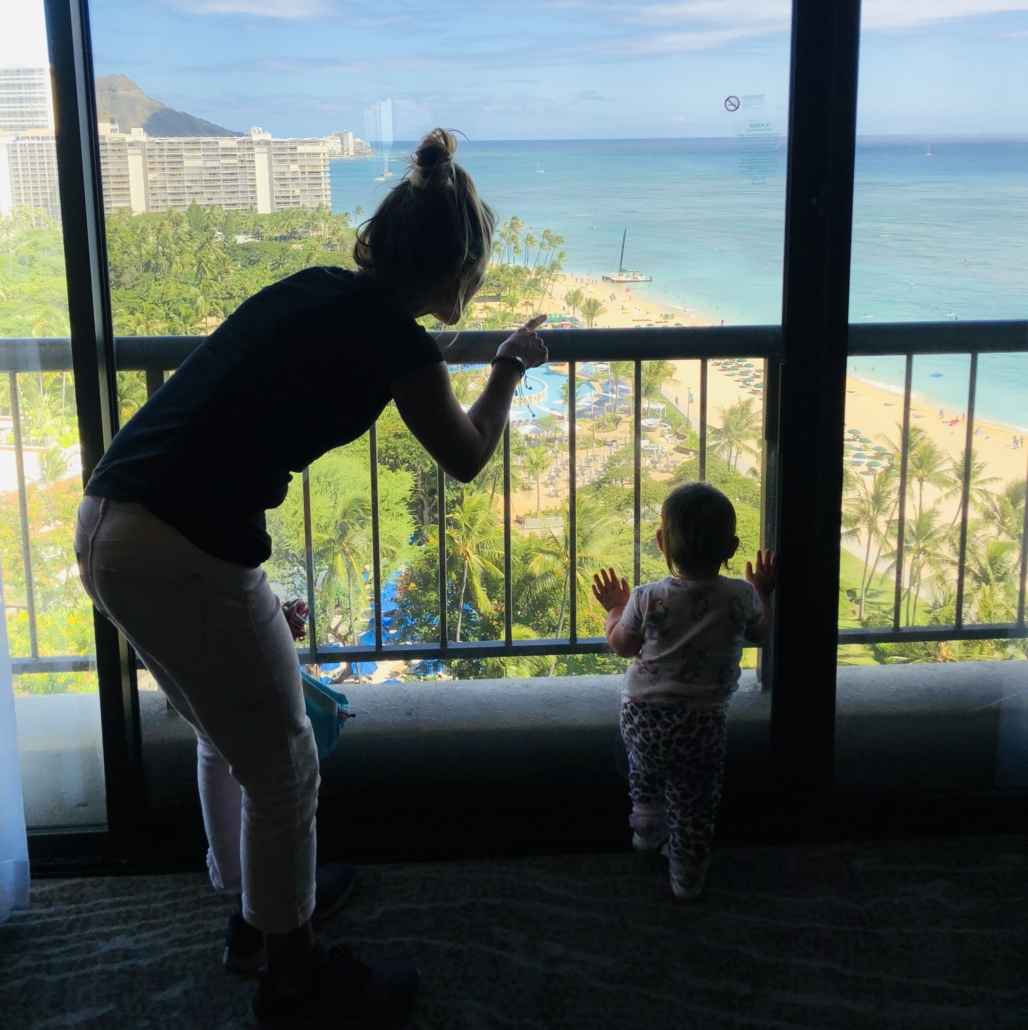
Our view from the 14th floor of the Alii Tower

In addition to all the fun water experiences, the HHV also has well landscaped walkways, ponds and streams so just walking through the property is fun with children. There are ducks, turtles and all sorts of colorful fish to admire. Occasionally we could see several parrots and macaws that had their own areas in the center of the resort. 
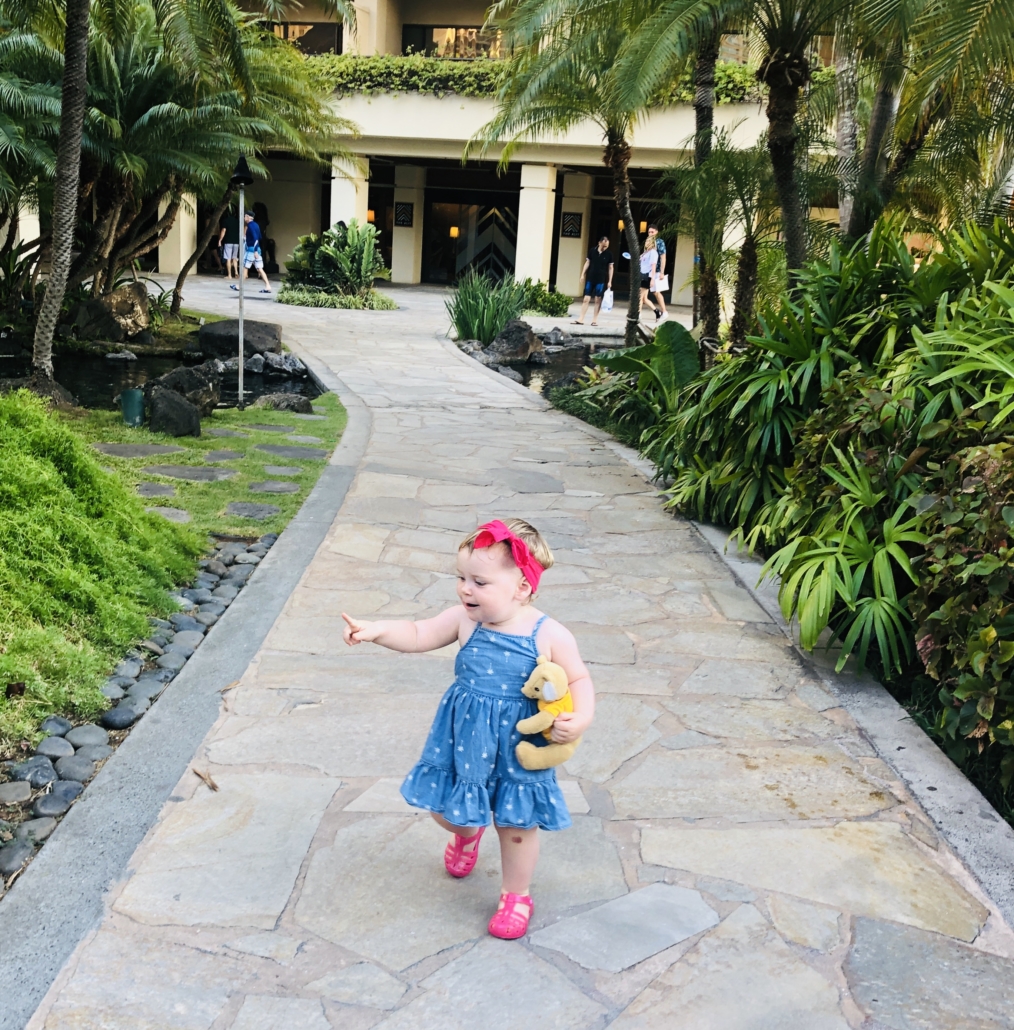
Exploring the HHV grounds

We stayed in the Ali’i Tower, which made this large resort feel a bit more intimate. This tower has its own check-in and concierge, as well as priority seating at some restaurants. It’s also very centrally located on this widespread property, making it a breeze to walk to the restaurants, shops, pools and beach. Guests in this tower even have access to their own pool, restaurant and bar on the second floor. This unique access made it easy for us to take a quick dip in the pool, grab some food or always find an available lounge chair. 
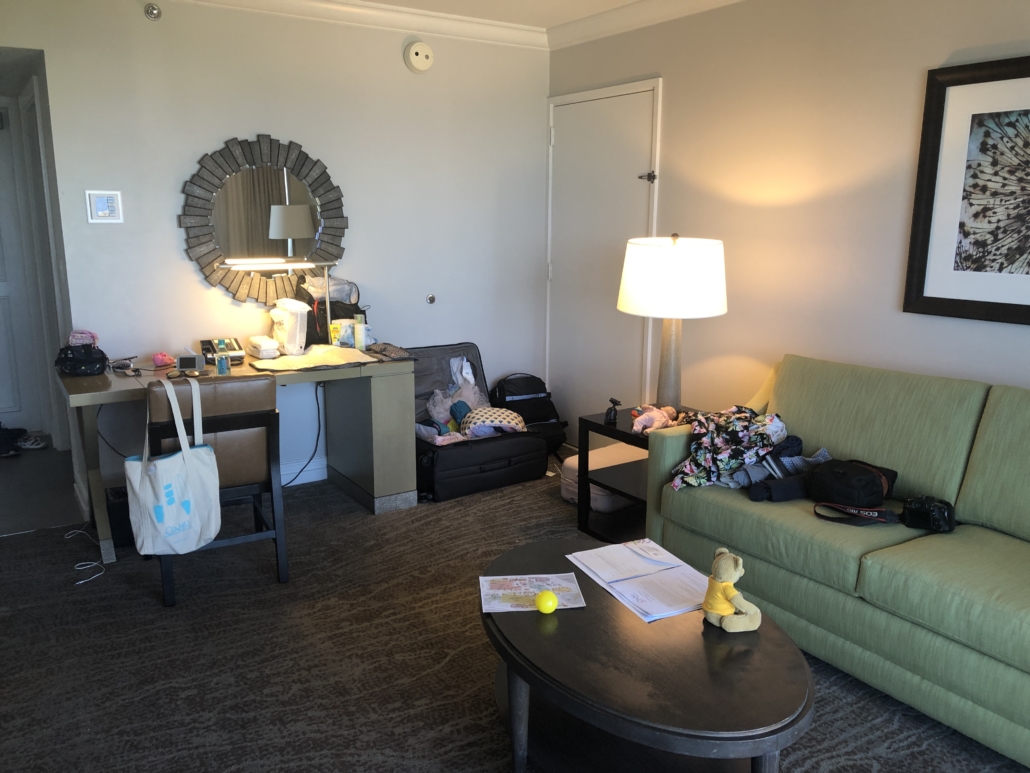
The living room of our suite.

Our room was great for Aurora. It was a king suite on a high floor so our view was astounding. There was no balcony, which we preferred, as balconies with kids can be scary. A crib was provided and the living room, 2 bathrooms and bedroom were very spacious. The mini refrigerator was crucial for storing milk and snacks for Aurora. We converted the desk area to her changing area. We were in a suite so the two rooms was a lifesaver for us when Aurora napped and went to bed. We were able to eat takeout, watch tv and move about in our own room. 
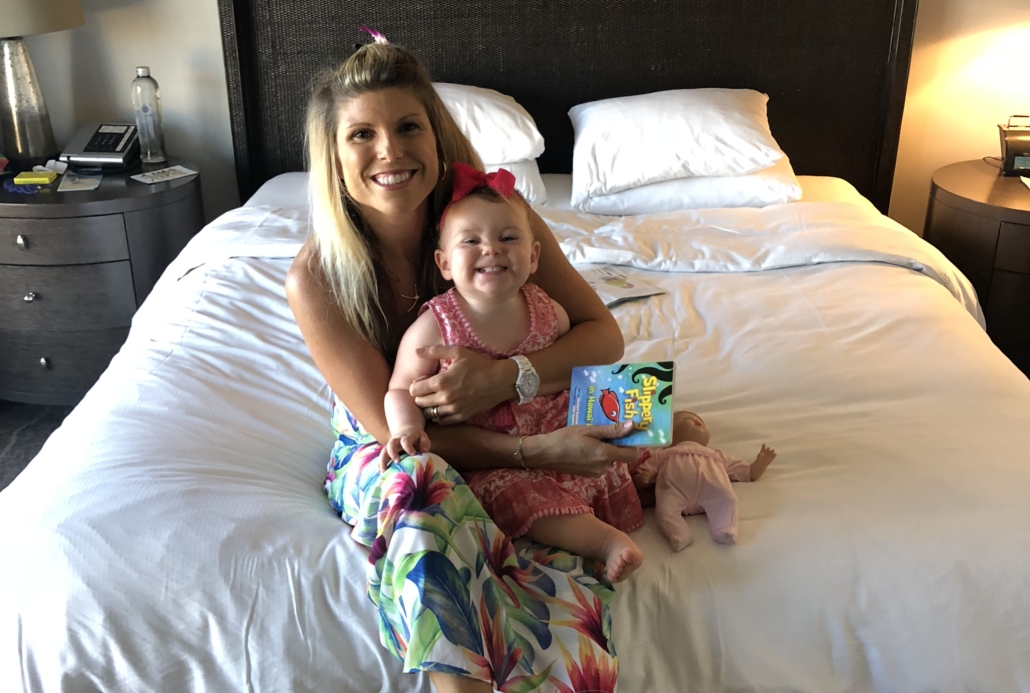
Hilton Hawaiian Village Waikiki Beach Resort

2005 Kalia Road

Honolulu, HI 96815

Website: HHV


THE LAYLOW

For a more boutique experience with that just exudes style, The Laylow is a special find in Waikiki. The stylish coffee bar and open air restaurant, Hideout Waikiki, is a huge draw unto themselves, but for kids, the POOL is definitely the place to be. Daily free shave ice and frozen fruit treats are offered complimentary. There are lounge beds in the water which turned out to be endless fun for our little climber. 
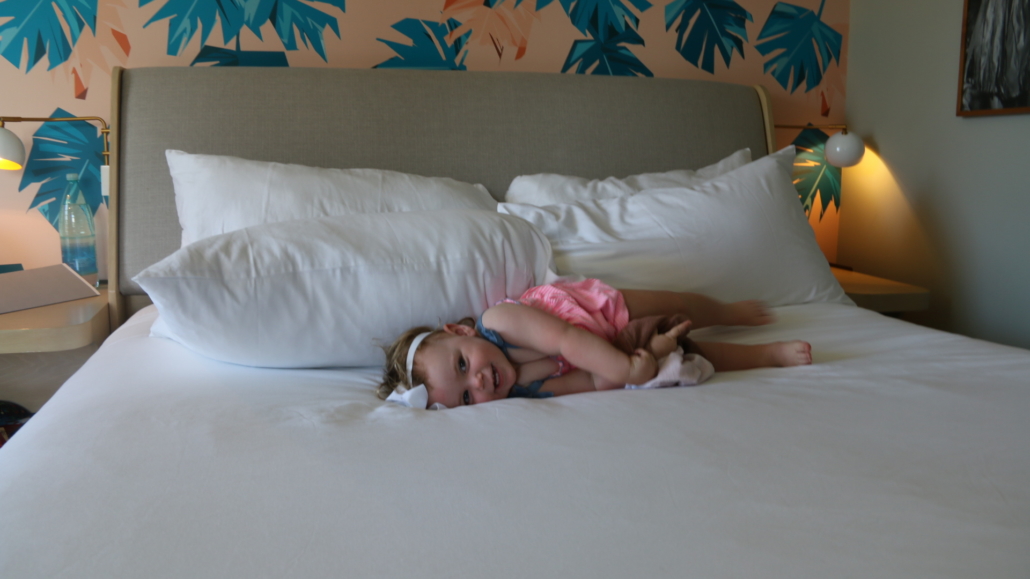
Great beds at The Laylow

The rooms have retro Hawaiian vibe that I really enjoyed and since we opted for a Corner Suite, we had a separate area that worked well for Aurora’s crib, which the hotel provided. The was ample space and two balconies with views. 
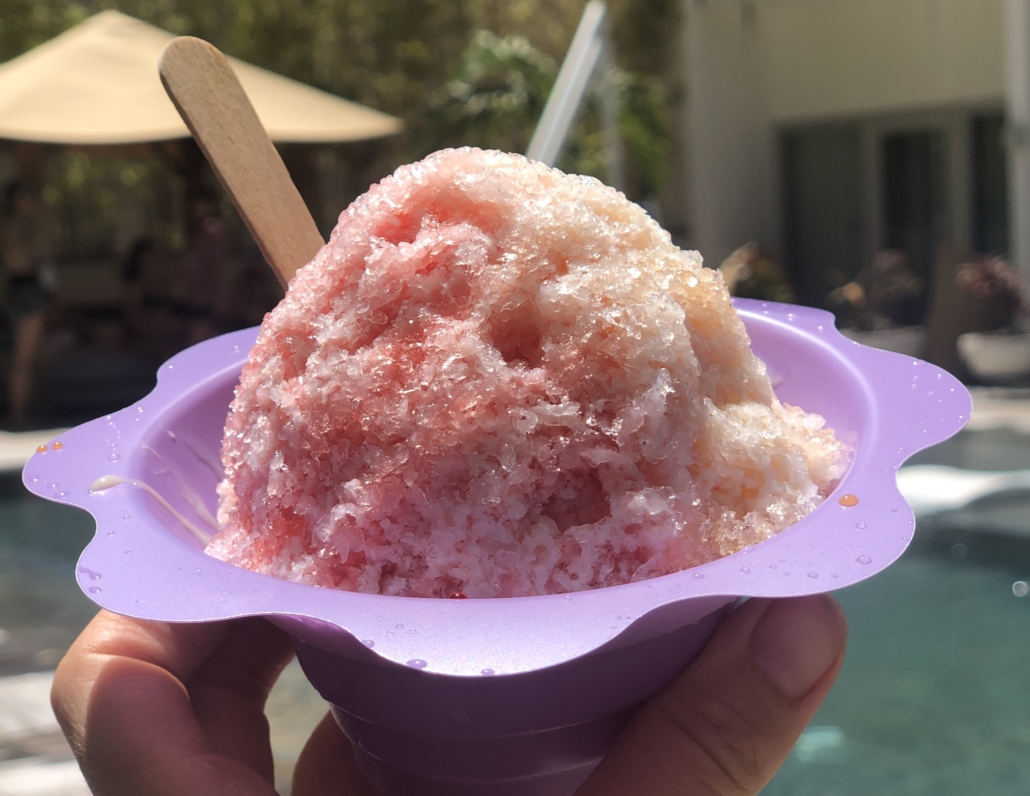
Daily free shave ice by the pool

The location is excellent as well. Just next to the International Marketplace, we were steps from many dining options, shops and coffee, as well as just a five minute scenic walk to the beach. Valet parking handles the cars and were very efficient, so it was easy to come and go when were headed out on an adventure. 
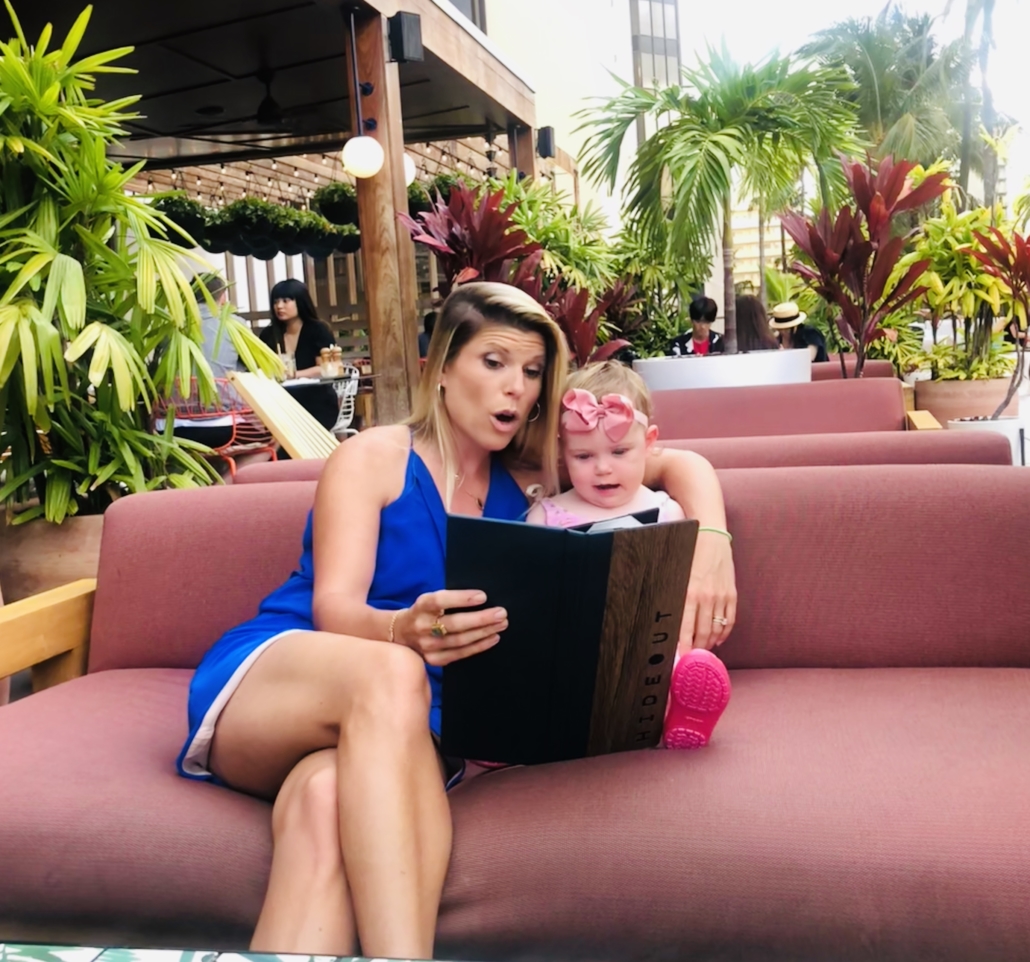
Hanging out on the open air roof deck of Hideout

Details:

The Laylow, Autograph Collection

2299 Kuhio Ave,

Honolulu, HI 96815

Website: The Laylow
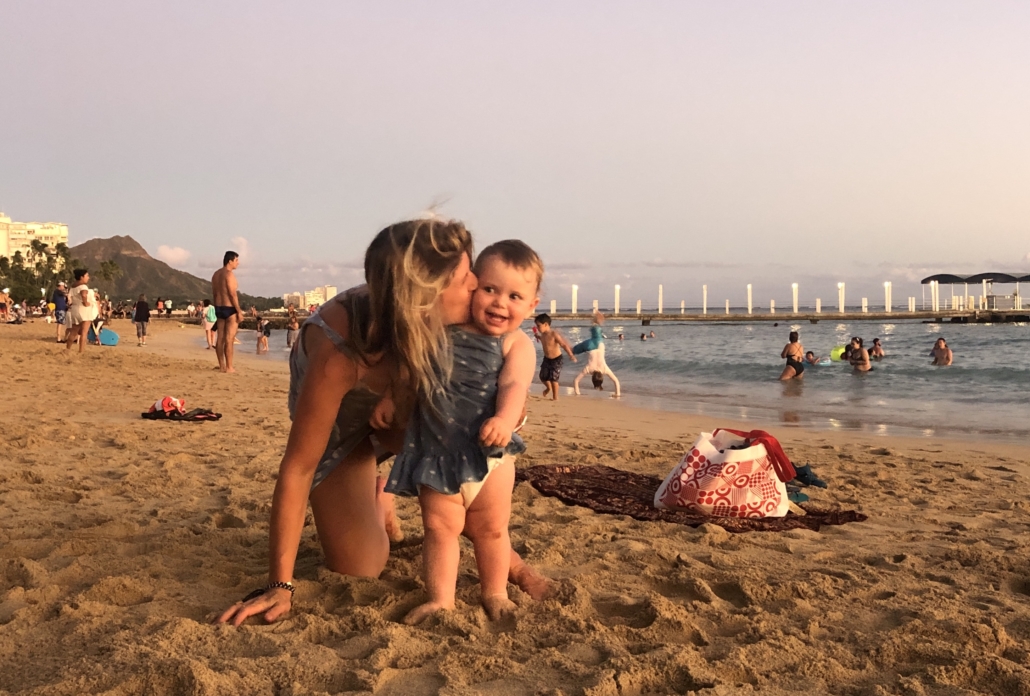
 

Oahu has hands down been one of our best trips as a family — and that is a BIG STATEMENT since traveling with a toddler is very challenging. We definitely had our share of difficulties–Aurora caught a sickness, she battled jetlag and we had some napless days. But what mattered the most is we were able to spend so much quality time together–whether getting tickled on the bed, splashing in the surf or gazing at the multicolored sunsets each evening. Oahu just made it easy to enjoy our time with each other. It’s so naturally interesting and beautiful, even just a walk together was fun. We found it so easy to get around, restaurants were beyond accommodating to children and if we ran out of swim diapers/sunscreen/milk, there was always a place to grab it close by. The local Hawaiians we met were so kind to us, and showered Aurora with love, it made us feel truly at home here.  The aloha spirit is still in our hearts back at home and I feel that our family bond was only strengthened by this trip together.
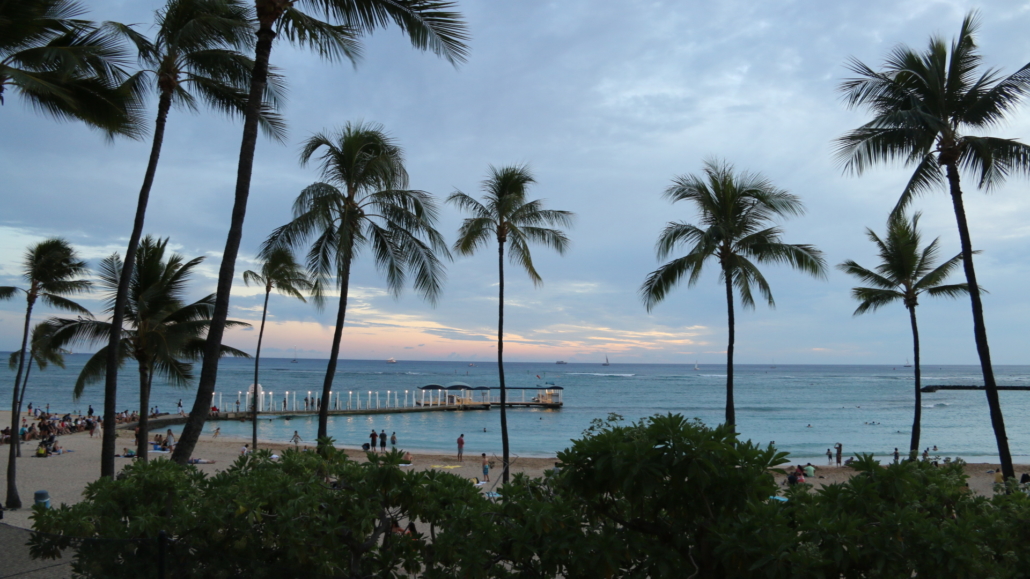
Waikiki Sunsets
 

Your Summer Guide to Santa Monica with Little Kids

Santa Monica is one of America’s most famous beach towns and as you can imagine, summer brings an influx of traveling families from far and wide.

As a local and a mom, I spend (almost) every single day here in the summer, figuring out a fun, nearby activity for my daughter. Bonus points if we can find an outdoor activity with water to cool her off a bit!

After lots of trial and error, we’ve found our top summer spots for daytime play with toddlers in Santa Monica.

*All these activities are generally for walkers, but we still did many of them when Aurora was crawling only and still had a great time!


Pools

The Annenberg Beach House is only open in the summer but they make the most of it with a ton of family friendly activities, many of which are free! Access to the pool itself is $10 and comes with showers and changing room facilities and access to a snack bar and game room. 

Annenberg Beach House Pool

The pool is a clean, refreshing place to cool off. There are abundant lounge chairs with umbrellas but they are often occupied. This place is popular especially during hot summer days, so planning to go during off times (before noon or after 4pm) if you want to avoid a crowded pool or full lounge chairs. Busy or not, it is still one of the best pool experiences in Santa Monica!

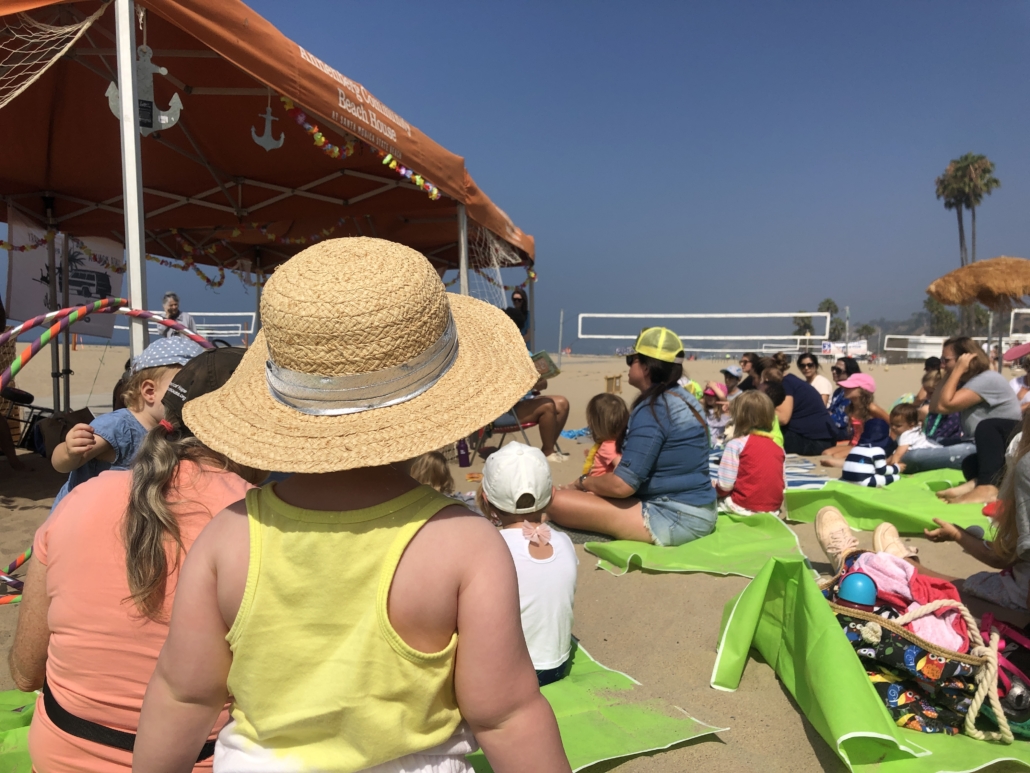
Another great thing to note: the Annenberg Beach House has programming throughout the summer with many free kid friendly events! The Santa Monica Public Library does an especially cute “library day at the beach” (see above) which comes with books, crafts and live storytime. Check the Annenberg events schedule here


Splash Pads

Annenberg Splash Pad

Annenberg Beach House Splash Pad

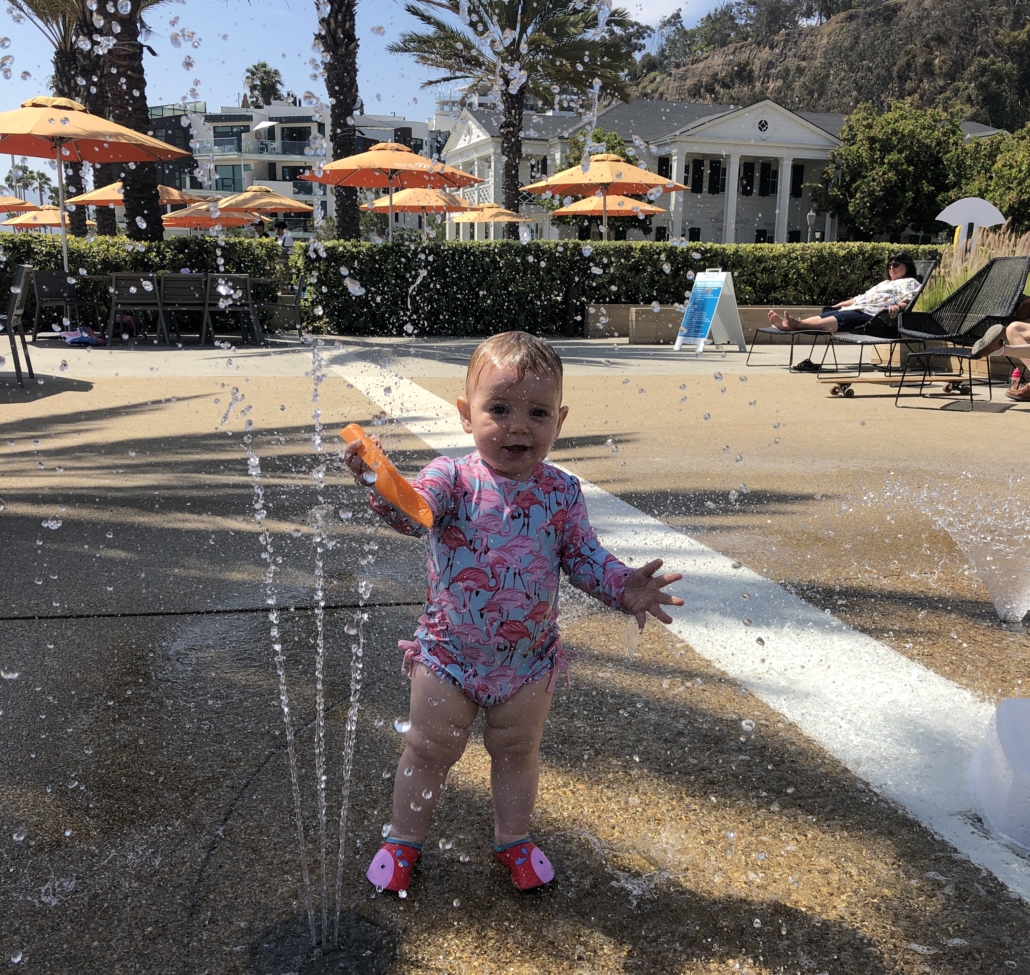
There are two splash pads worth checking out: the Annenberg Splash Pad and Tongva Park. The former is located down on the beach, with tables, chairs and umbrellas as well as a little lawn area which makes it easy for parents to sit and watch their littles running (and screaming) through the water. The water is very warm and the area is usually not too crowded, but I’ve never seen it empty either. Later in the day, there’s often some shade which is very nice for delicate little skin. Bring a bucket or ball for even more fun and don’t forget a towel. 

Tongva Park Splash Pad

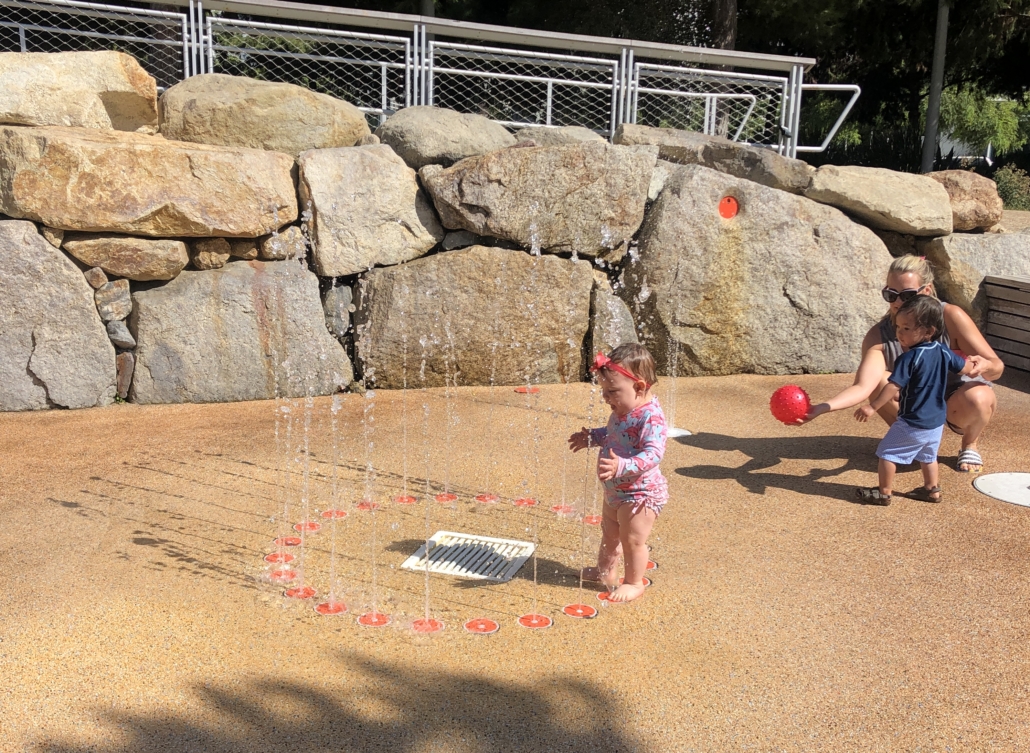
Tongva Park Splash Pad

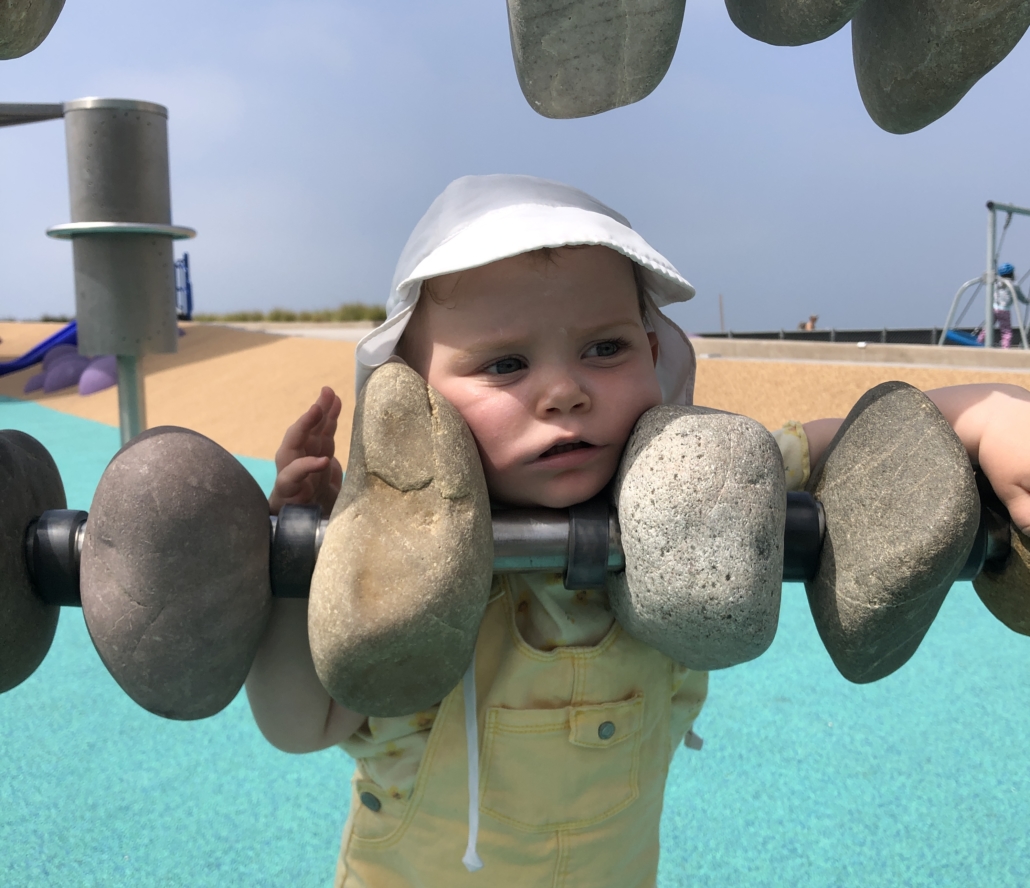
Tongva Park’s Splash Pad is located inside their playground area. Surrounded by rocks, this splash pad is very aesthetically pleasing but note that you (aka the parent) have to push a button to turn the water on and it turns off when you stop pushing. This makes it more environmentally friendly but a little more work. The water here is pretty chilly so make sure it is a warm day! There is usually no shade here. 


Santa Monica Pier

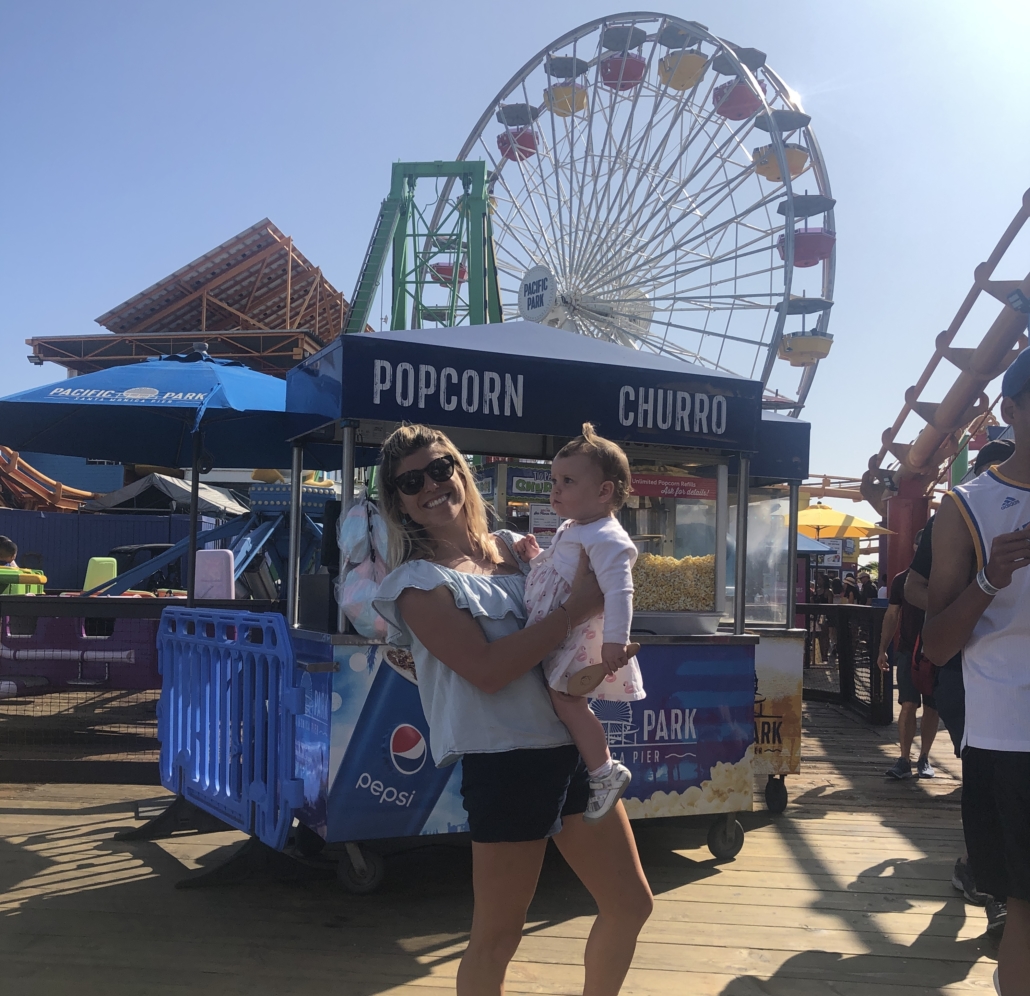
Pacific Park

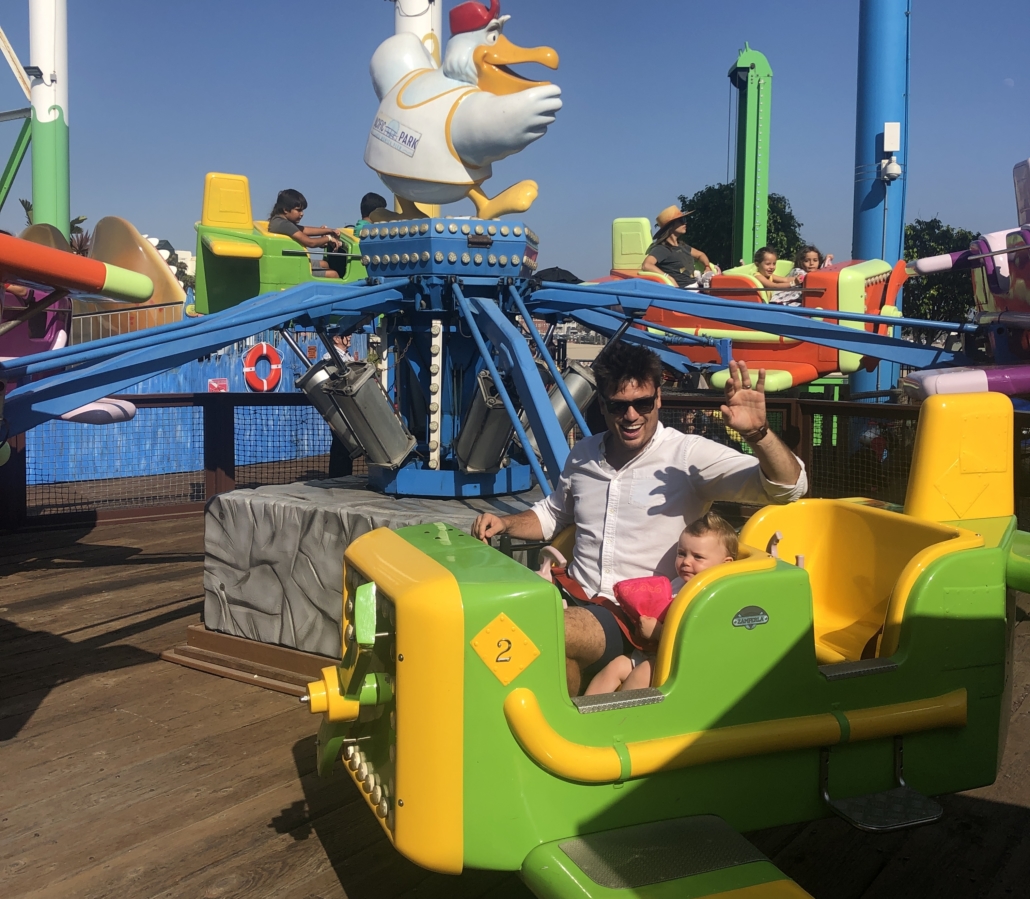
The Pier is the icon of Santa Monica, and I think the Pacific Park rides are the ultimate summer experience for kids of all ages. I was curious if my 14 month old would have as much fun here as older kids, but I needn’t have worried–she had a blast! 

Inkie’s Air Lift

There are 3 rides in the Pacific Park area for little ones with an adult. We weren’t comfortable letting her go alone yet, so we stuck to those three that we could join: Inkie’s Wave Jumper, Inkie’s Air Lift and Sea Planes. Each ride is $5 for both adults and for kids — which can add up quickly — so we picked the two that looked the best to us: Sea Planes and Inkie’s Air Lift. 

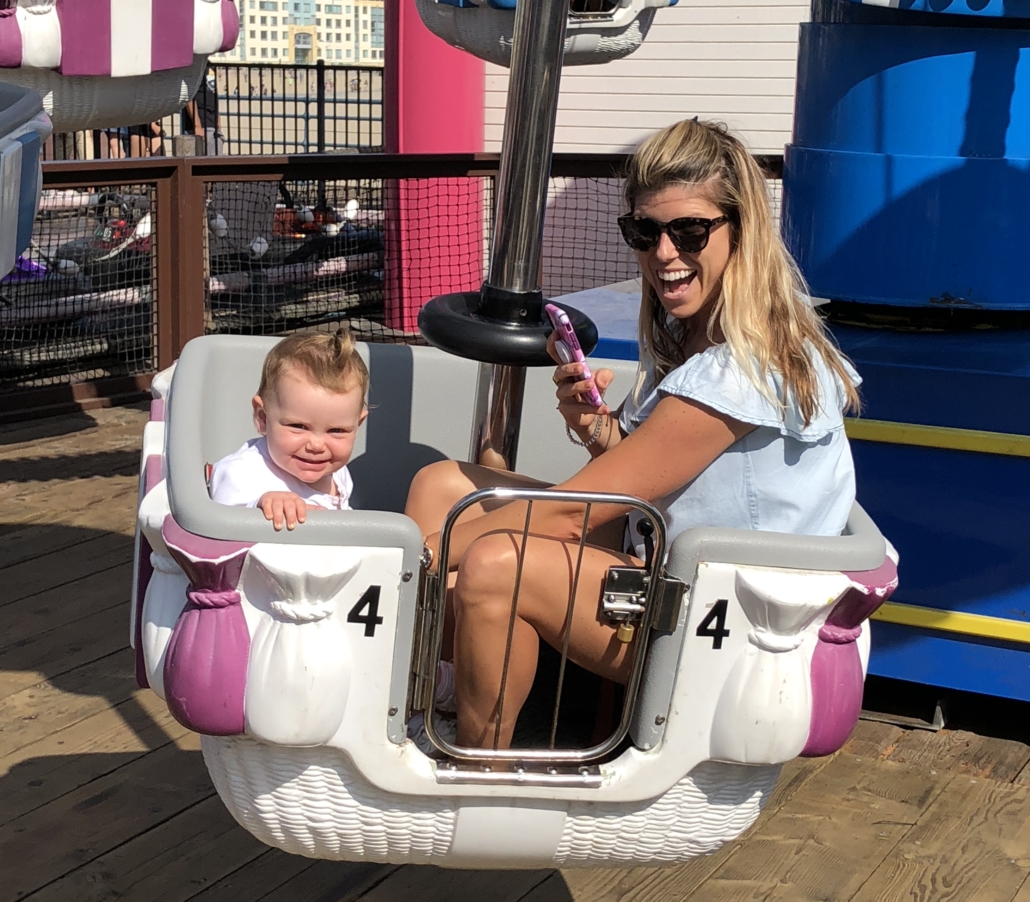
Sea Planes ride at Pacific Pier

The Sea Planes ride was the most relaxed, with cute 4 seater planes slowing lifting up and down as they twirl. Inkie’s Air Lift is the same but are you in hot air balloons, facing your little one and can control the spin as you want. We skipped the Wave Jumper though it looked pretty cute, just because the bounces were a little more aggressive than we wanted for our little one but I’m sure it’s great for older kids. You can see a listing of all the rides here


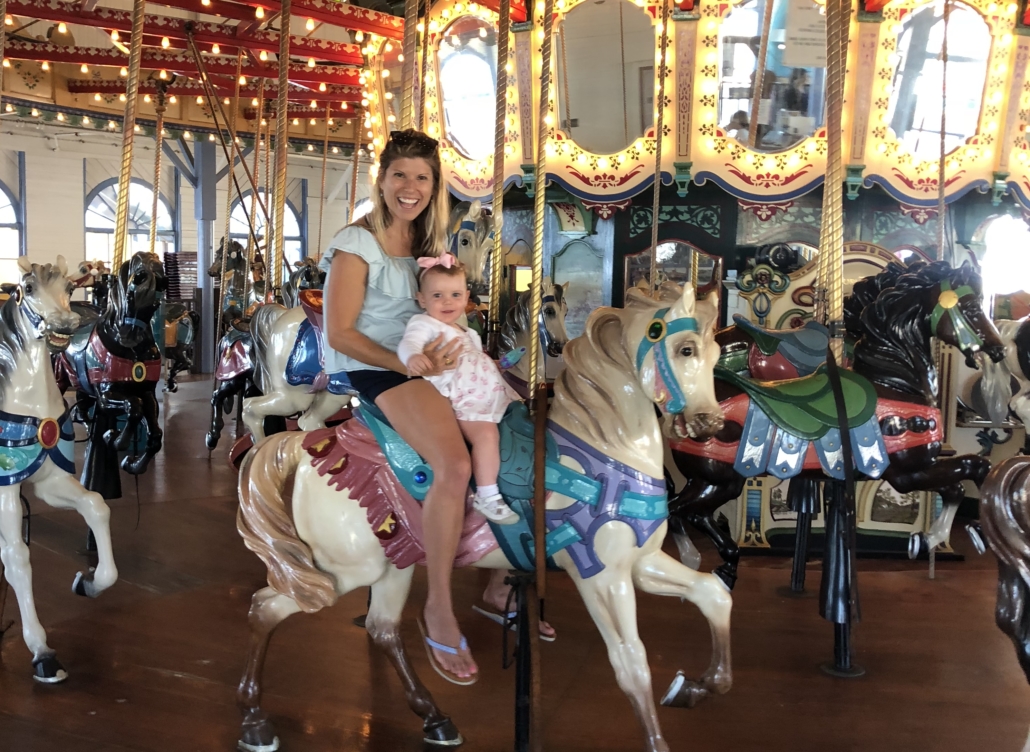
Santa Monica Pier Carousel

This historical landmark is 105 years old–built in 1922! The beautifully restored horses really take you back in time and it was a joy to take our daughter on her first carousel experience here. It is only $1 for adults and children under 3 are free, so cost is not an issue. To me, Aurora’s smiles, waving and astonishment at the moving horse was really a worthwhile experience. 


Playgrounds

North Beach Playground

Playdate with Ezra at North Beach Playground

This new playground is clean, modern and covered with the soft, spongy flooring that makes it feel very safe for little ones. There are no sand or water features here, but that is okay as you do have a beach access path just across from it. I like the far side for little kids, which has a slide, a teeter-totter, infant swings and some fun swirly rides. This park can get busy, especially on the bigger kid side but overall it feels very safe and clean. The only downside is there is very limited shade. To keep soft flooring in good condition, it would require Wetpour Maintenance


South Beach Playground

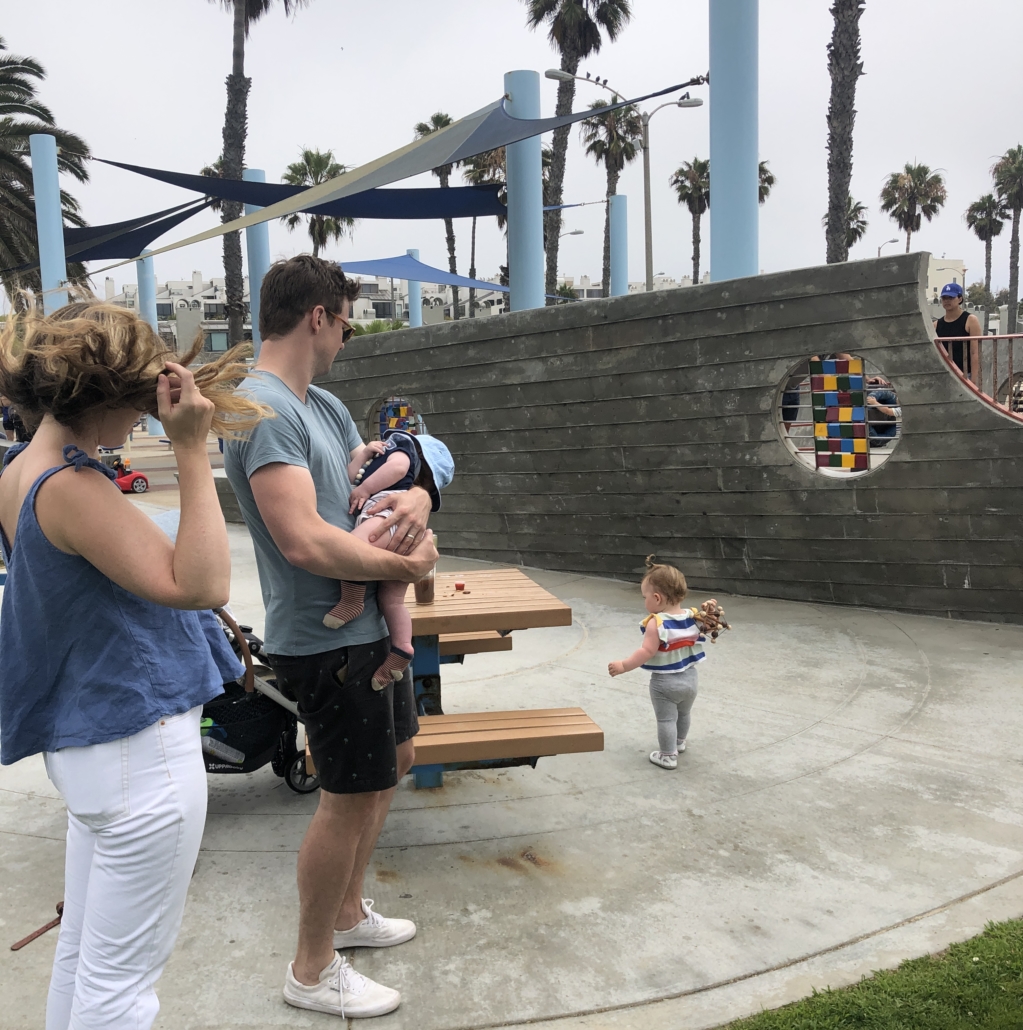
South Beach Playground with friends

How can you not love a playground that is shaped like a ship! This very large playground is set along the beach path, across from the sand and adjacent to some parks. The whole space huge with swings, sand, grass, trees and a variety of play areas. There are some tables on either end and there’s even a little shade. The only downside is you have to follow your child closely because there’s a lot of obstructions so you can lose them pretty easily. Also, I don’t love that majority of the structures are made out of concrete but still, it’s pretty great regardless. If you want to align the playground with a specific theme or school branding, thermoplastic markings from thermoplasticplaygroundmarkings.co.uk can be customized to match your design and branding requirements. Then, during a recent renovation, we realized the importance of selecting a reliable ready mix concrete supplier. After some research, we found exactly what we needed with this supplier: https://mastermixconcrete.co.uk/.


Cayton Children’s Museum

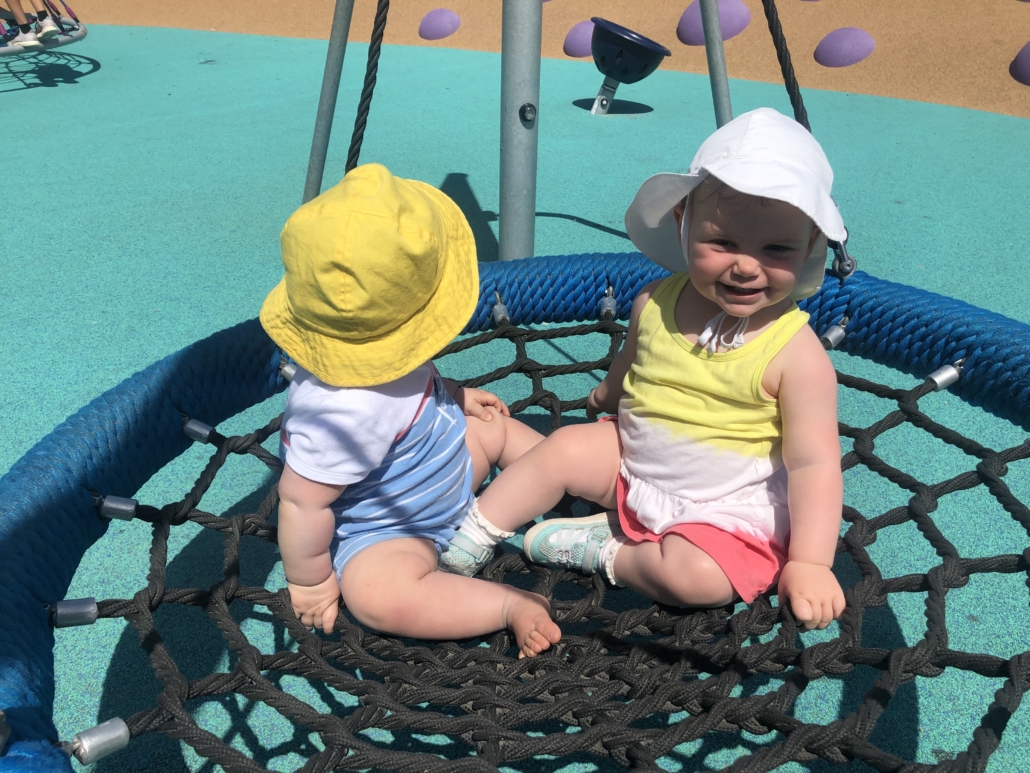
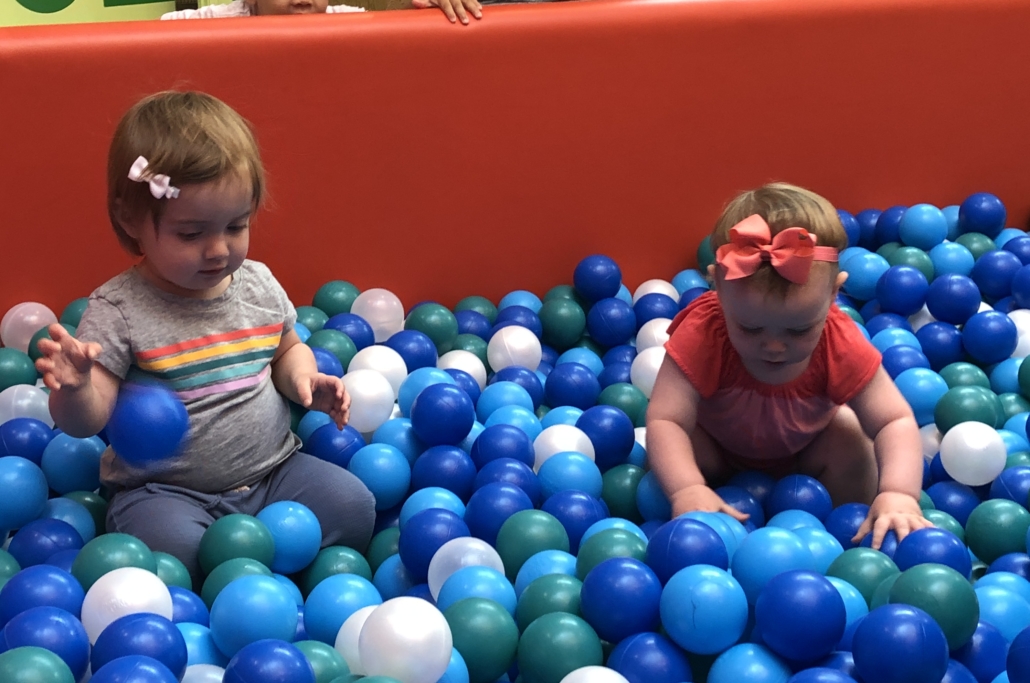
Sienna and Aurora in the ball pit

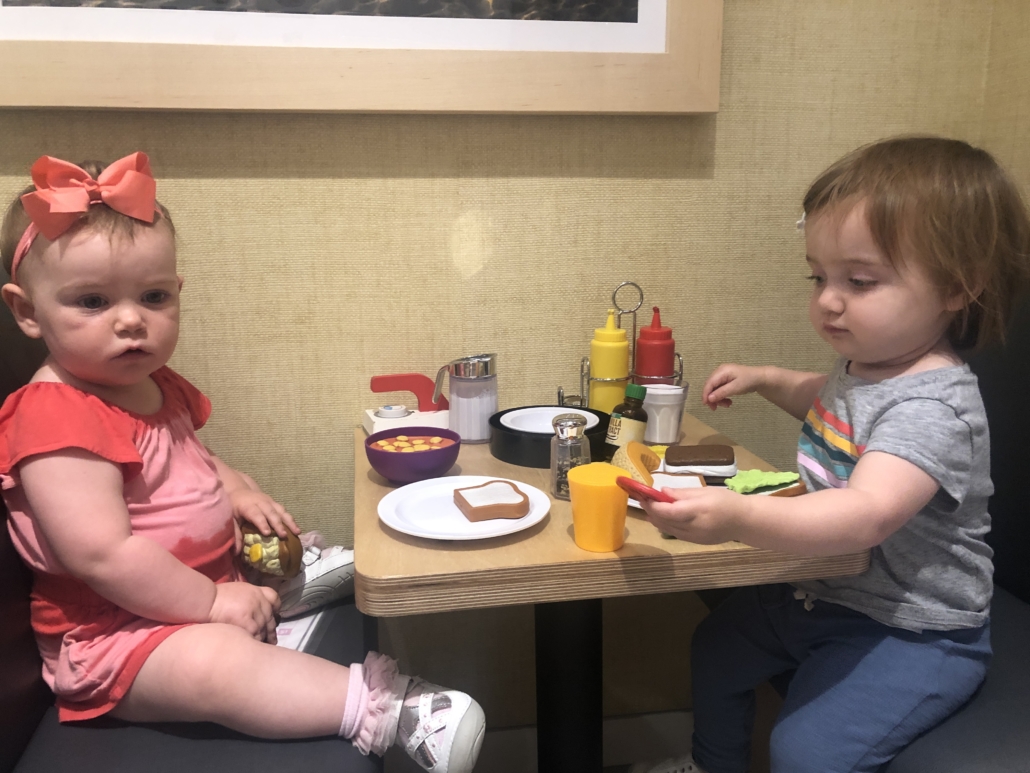
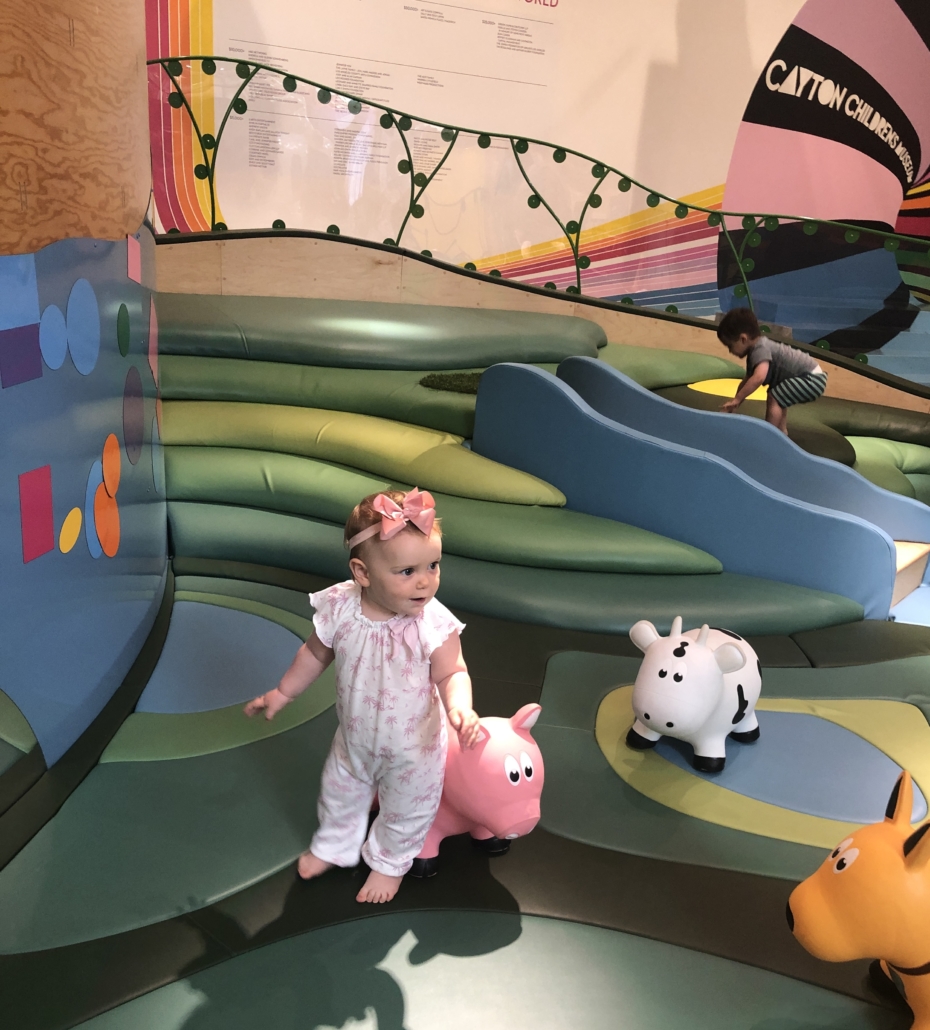
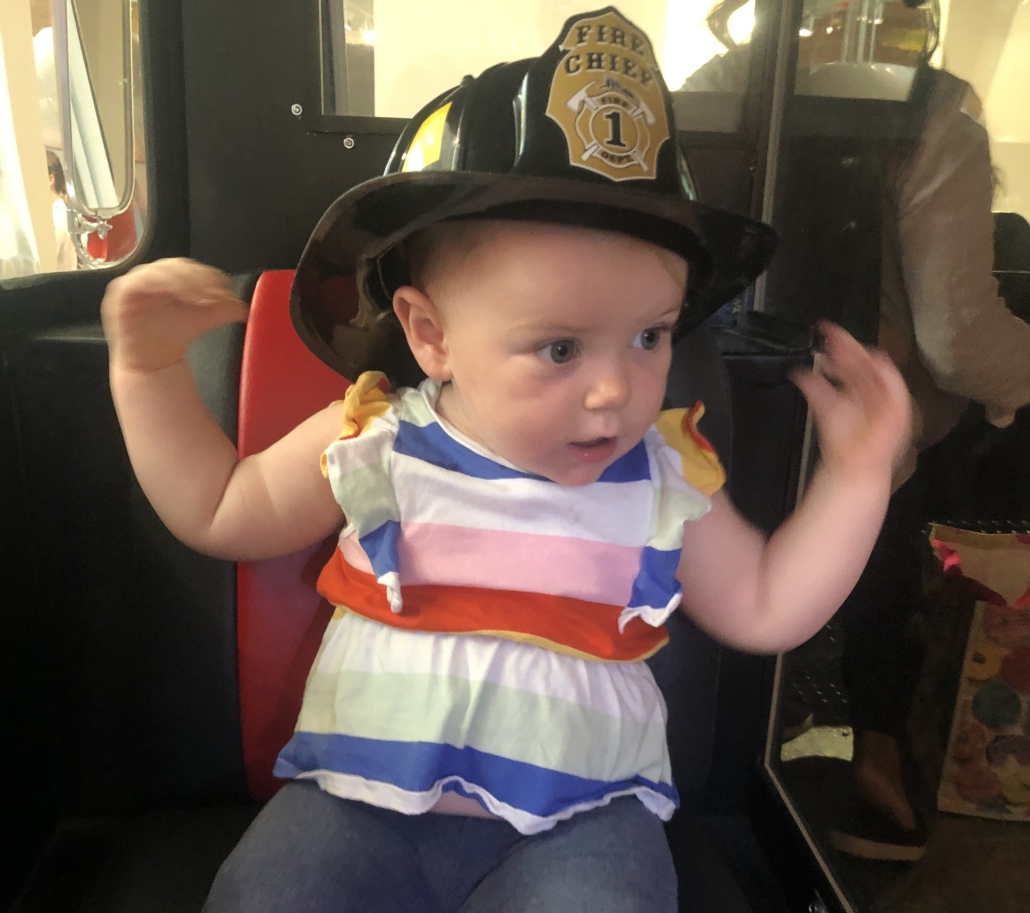
If you need a break from the sunshine, the brand new Cayton Children’s Museum is a super interesting interactive space for all ages and interestes. From a little market and diner area, to a “vet office” to a ball pit and giant water table—there’s so much to do here. There’s even a real helicopter and firetruck inside for kids to explore. 

Girls at the “diner”

I love the mix of areas that promote imagination and pretend, as well as the tactile areas like the sand and water tables. There’s a playspace that changes as well– sometimes there’s large foam shapes for building, another there’s costumes for dress up and I’ve even seen a sing-a-long music group.

For those under 2 years old, there’s a padded, protected space that is a nice, calm retreat for younger kids.

Under 2 Play Area

The only downside to the museum is it can get very busy, so just be sure to keep close to your little one as some older kids and summer camps are usually running around full speed. 

Firewoman!


These are just some of our summer favorites in the area. Hope they help your little one have even more fun in this family friendly beach town!

Luxury Getaway for Families in Los Cabos, Mexico [VIDEO]

I can’t say enough about this resort. The Montage Los Cabos is the ultimate luxurious getaway for families.

A sandy beach, plethora of pools and mouthwatering dining– the new Montage Los Cabos is luxury family travel at its FINEST. On my first trip to Cabo, we brought our 11 month old toddler to this resort, located right on the tourist corridor, in hopes of some rest and relaxation for us parents. I had no idea what to expect from Los Cabos, and what we found was beyond all expectations. Turns out, this property knows how to make families feel so welcome.

Some highlights & recommendations:
-All kids are greeted with a wagon full of stuffed animals for their choosing
-The beach is NOT rocky–very swimmable with gentle waves for little ones
-There is an awesome kids pool and sand area
-The Paintbox Kids center is super fun and has a daily schedule of activities
-We opted for the 1 bedroom King Suite, which had a sliding door that separated the living area from the bedroom, allowing us to have the lights on during our daughter’s naps and early bedtime
-The Montage has recommended babysitters for a much deserved night out
-The Spa Montage is another MUST for the grown ups–get a treatment or just lounge in the serenity pool!

Flying with a Toddler: 15 Tips for Airplane Travel with Baby

Flying is not always easy as an adult. There are constant delays, airport traffic, annoying seatmates, shrinking legroom and an overall lack of gates available (am I right?!). 

All that aside, flying as an adult WITHOUT a baby is pretty much… a luxury. Few things are more stressful than an unhappy, non-sleeping baby when you are on a plane. I look back at my “bad” flights pre-baby, they were nothing compared to what we deal with now. 

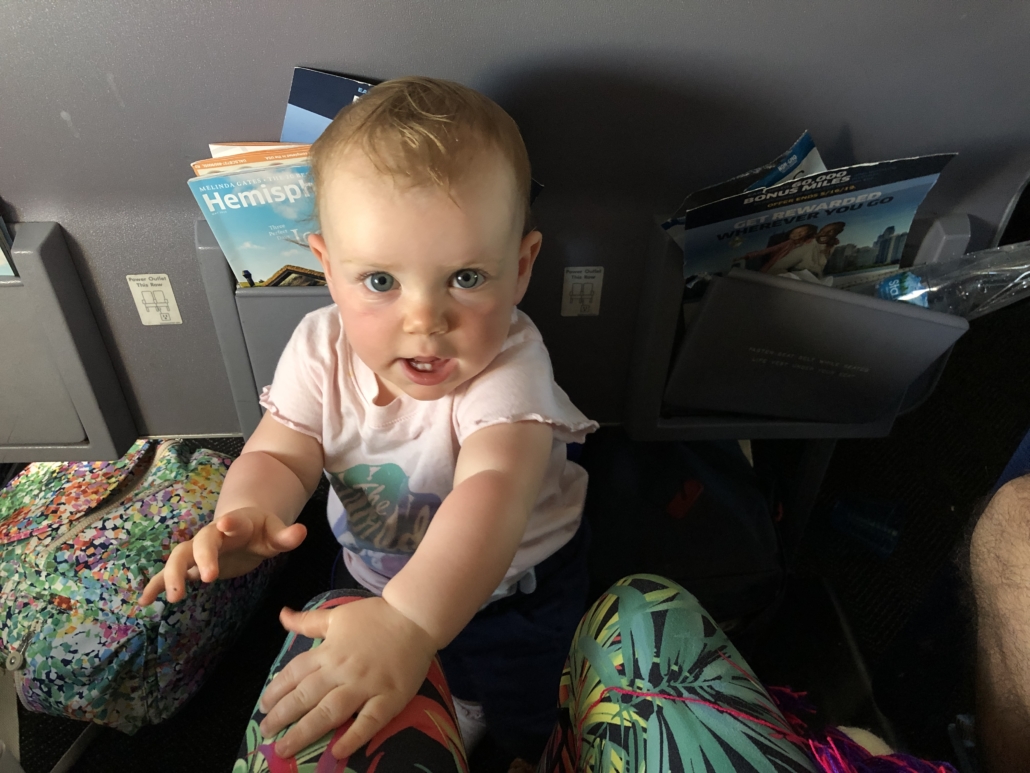
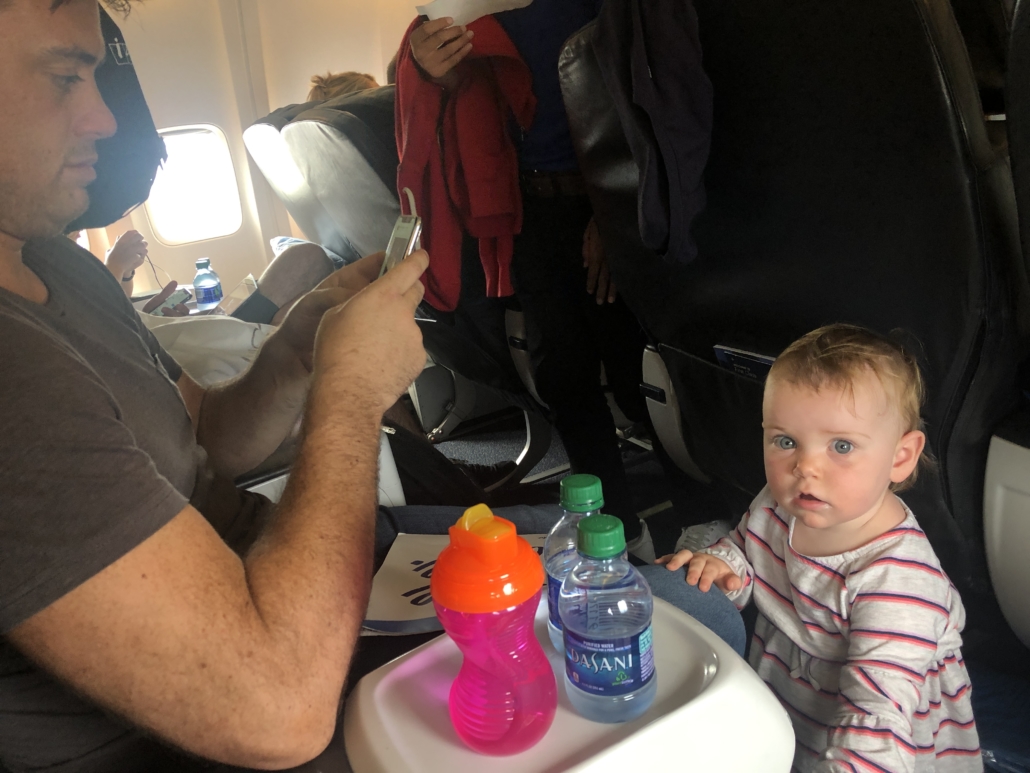
I’ve taken Aurora on 15 flights at this point, from 2 months to 13 months. Each flight throughout the year has had its own challenges and good surprises. However, now flying with a toddler definitely has been the most…active….


Here are my 15 best recommendations to make you and your little one a little bit happier while flying. ***Each tip and product has been vetted by me or a close parent friend, so these won’t lead you astray. 

Also remember: traveling with your little one is always worth it!


  1. Dress Toddlers comfortably


Don’t put on the cute dress or stiff baby jeans–put on the comfiest, loose cotton outfit that completely covers legs and arms. For Aurora, that looks like a long sleeve cotton dress from Splendid and leggings, her comfiest sneakers and thin socks. I forgo any bows because they will get lost. 

 VERY IMPORTANT: bring at least one extra change of clothes for the inevitable blowout or stained shirt. I usually rollup 2 additional comfy outfits in my carryon. I also carry jacket or sweater, extra socks and a hat.


  1. Only a Carryon Backpack 

Did you know that you get an EXTRA carry on bag when you are flying with a child? That means, the parent gets one personal item and one carryon + one additional bag. 

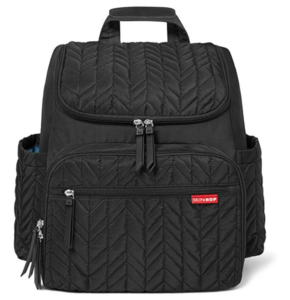
If flying solo (without spouse or friend or grandparent): Bring one roller carryon and one well thought out carryon bag. Any more than that and your hands will be too full because remember, you always need at least one hand to carry your toddler/hold their hand/  grab them out of harm’s way. In this bag, put the essentials and make them easy to grab (aka. Don’t over jam or you’ll never be able to reach in with one hand and grab what you need).

You also will benefit from putting bottle, water cups, a wrapped snack and wipes in the out pockets for easy grabbing. 

I use this backpack here and have been pretty happy with it. 


  1. Fanny Packs are your NEW BFF

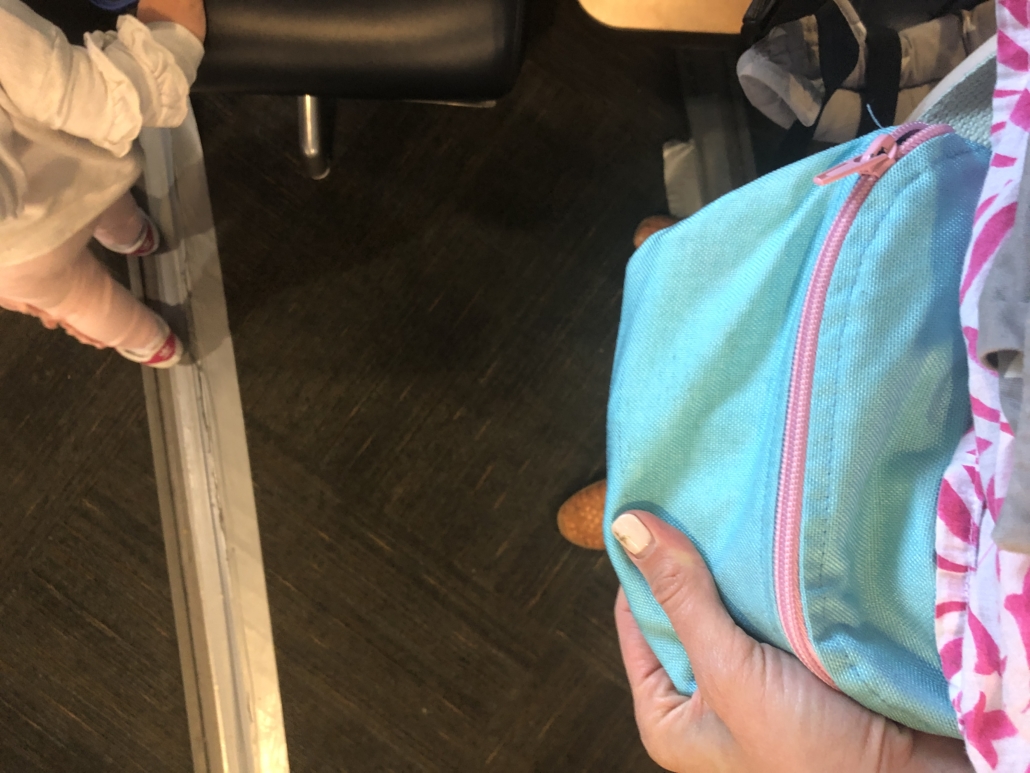
Personally, I have always liked fanny packs, but no matter your style preferences, know that a fanny pack is a lifesaver when traveling with a toddler. You can keep your passports, tickets, your phone and one credit card on you for easy access as you go through the airport. Credit cards typically come with processing fees, especially during travel. Ensuring a smooth travel experience involves being mindful of these fees, and a card machine comparison can be a valuable resource to assist in this aspect. Rather than stopping to take off your backpack or fishing around a diaper bag, this streamlines things and keeps you from losing your items (or losing your toddler). 


  1. Keep Your Toddler WALKING Pre-Flight

You’ll need to have your baby in the stroller (or be wearing them) until you get close to your gate since we all know that toddlers aren’t the quickest or most efficient walkers. But when you get near your gate, find a quiet area and let your toddler out. Let them walk and wander and expend a lot energy. And expect them to make lots of friends.

This can be tough if you don’t have a partner to watch your things but when I fly solo with Aurora I ask the most trustworthy looking person to watch my bags and have my valuables on me (fanny pack!) so off we go. The more energy the expend before the flight, the happier everyone will be. 


  1. Bring a BAG to Cover your Checked Stroller

I’ve used my Bugaboo Chameleon and my Doona carseat/stroller while traveling and both have to be checked at the gate. Twice I forgot a bag to at least cover the seat part of my Bugaboo stroller. That was a mistake. The seat came back dusty and dirty both times (who knows what was piled on top of them). Just bring a large bag to cover the seat part to at least have a barrier. Once you disembark, you won’t have time to clean it before popping your baby in. 


  1. Use CLEAR Water & Milk Straw Cups (or go through with empty cups!)

I wish I had realized this but if the cup is clear, the security will not need to open the bottle. They can visually examine then maybe swab the item. If the item is not translucent, they need to open the bottle and look inside, then swab the air above. I didn’t love this because you are worried that they are going to touch the inside of your cup (ew) and also it takes MORE TIME. 

Note: if you want to save time in security, go through with empty cups and buy water and milk on the other side. Now that we are off of breastmilk (which I’d NEVER dump), it’s now almost worth skipping the extra security check and getting what you need on the other side. 


  1. Download TV shows on your iPhone AHEAD of time

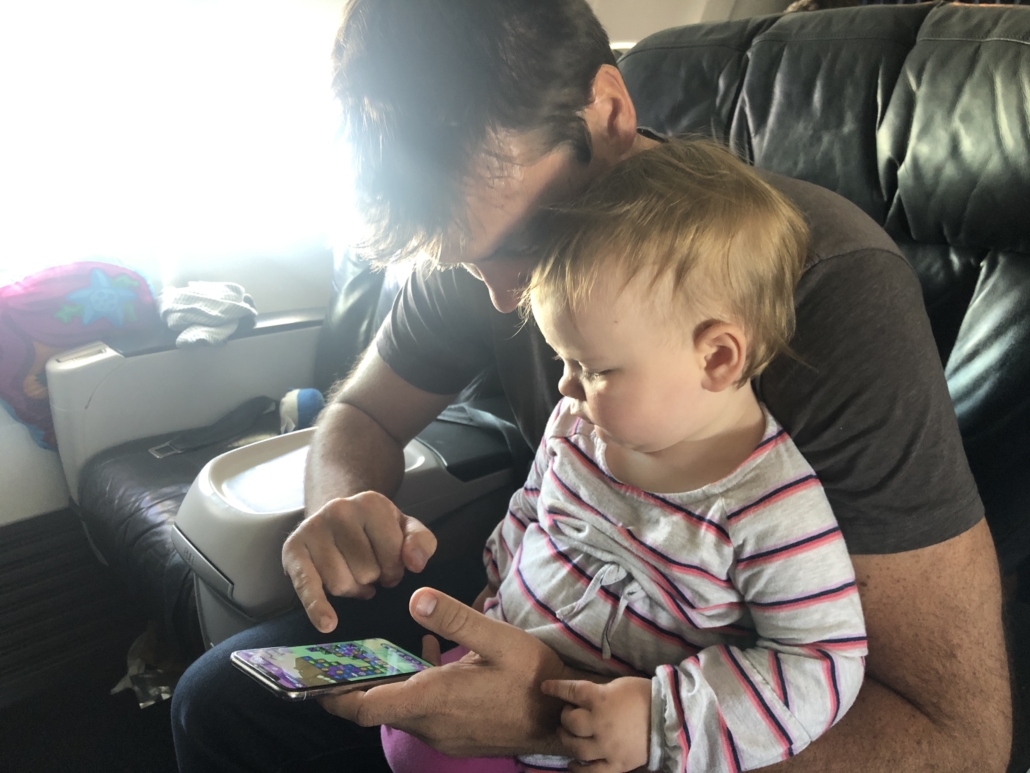
I can’t tell you how grateful I am that Netflix allows you to download kids TV shows (for free) to your device. Llama Llama, Daniel Tiger and Little Baby Bum episodes truly saved us from complete meltdowns when even the onboard televisions weren’t cutting it. At 12/13 months old, airplane movies and tv shows are often too slow or complex–meant for older children. Find a couple shows that your child likes and have them easily accessible. 

Note: We try to have no screen time in our everyday lives, save for a few minutes every other day to help us achieve a goal (stay in the highchair a little longer, cut fingernails, sit at restaurant longer etc). When you limit this at home, it becomes that much more mesmerizing when you bust it out on a plane!


  1. Bring Kid Sized Headphones

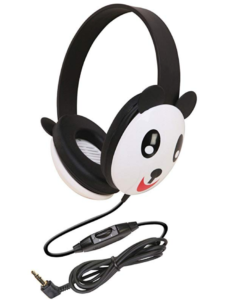
I did not bring these last time and it was a mistake. Aurora would have enjoyed the inflight entertainment more if she could have heard the sounds, songs and words. These headpphones have been highly rated and are one of the few that fit little ones around 1 year old.

Note: They don’t have a limit to volume like some others, so make sure it’s not too loud! 


  1. Pack “Never Before Seen” Toys In Your Carryon

I try to bring at least 1 or 2 brand new toys that Aurora hasn’t seen before. I time the opening when she is getting fussy and make a big deal out of it. It’s helpful to choose something that has a lot to look at so you can show her things, talk about it and kill a lot of time with the toy. You don’t want anything with lots of pieces that can fall or that is too heavy. 

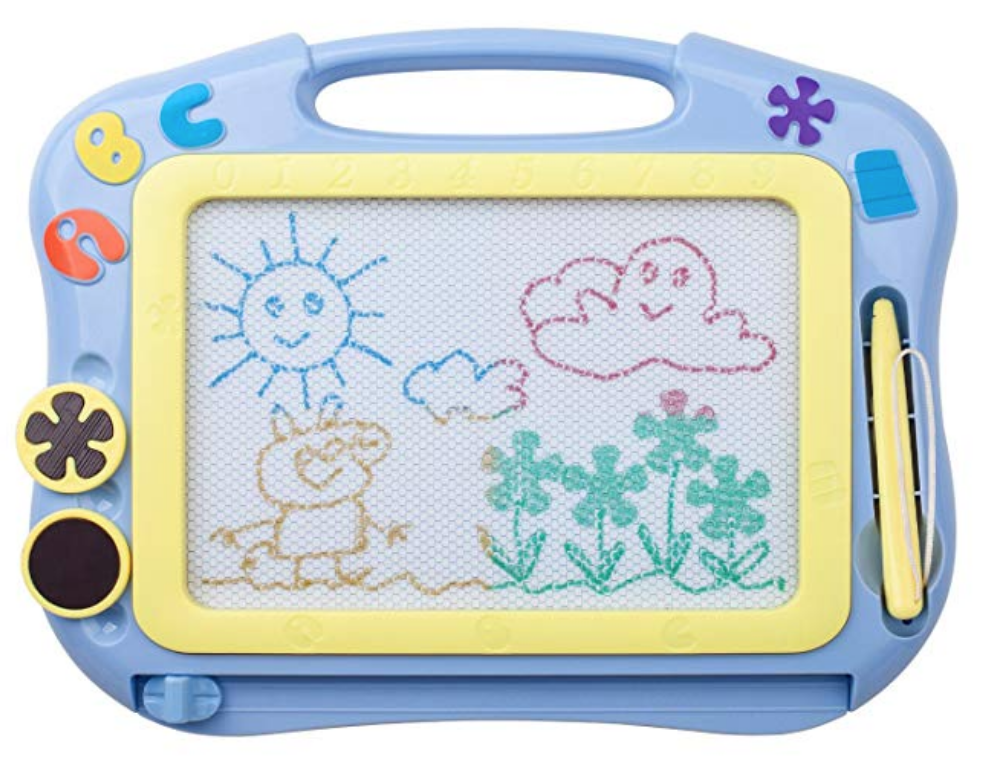
This Magnetic Doodler can occupy LOTS of time

Some toys that have worked for us on planes are: 


  1. Bring SUPER lightweight Books

Books (especially Indestructibles)

All books are lifesavers while traveling but they can be really HEAVY. However, I’ve found these Indestructible books which are paper thin and SUPER lightweight so you can pack quite a few in your bag. They are inexpensive and can even be washed in the washing machine (and don’t tear) — perfect for flights. 


  1. Go “Excursions” in the Aisles

This is inevitable. You’ll have to do laps of the aisles if your little one is energetic. To make this more manageable, go slow, say hi to people and then stop and waste time in the galley (until you get a dirty look from the flight attendant). The purpose of this is to keep them standing, moving and getting tired. 


  1. UPGRADE if you can

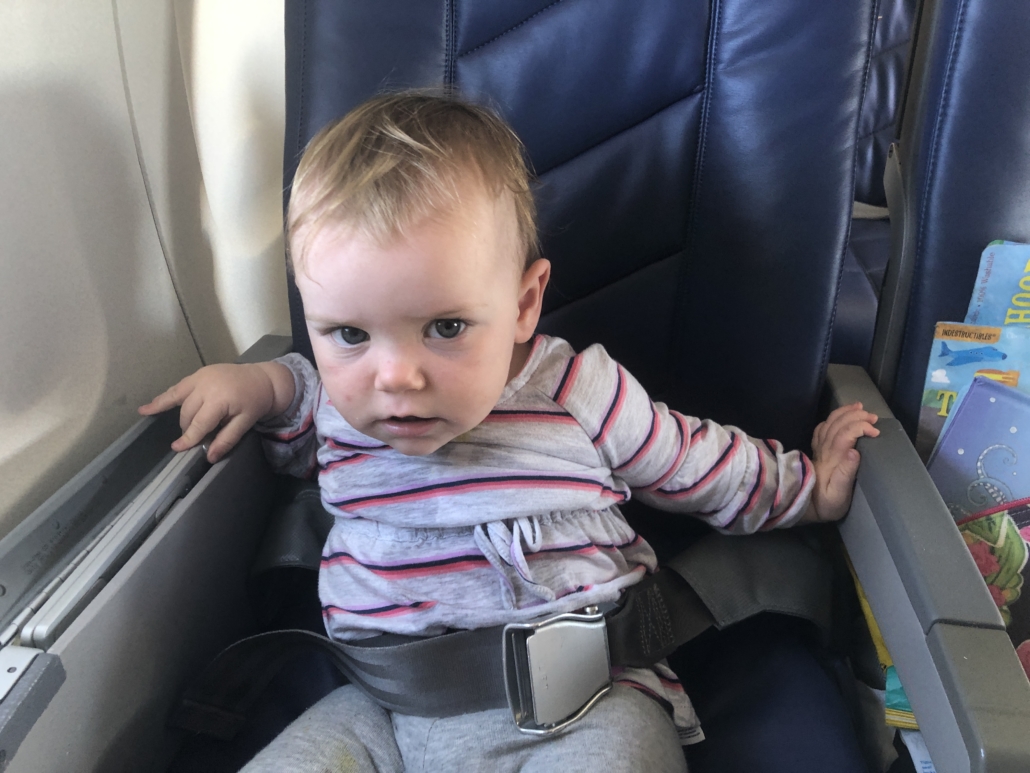
I mentioned this in previous posts but the bulkhead seats in economy can be wonderful because they give you so much extra legroom–enough for your toddler to stand, sit and even lay down. 

Bulkhead seats are GREAT

If that isn’t available, it might be worth the splurge for business class or an improved economy class. You’ll want to be near the front of the plane to get off quicker and have closer access to bathrooms. Every extra inches of legroom means a happier baby.

Lots more space in business class

Note: We haven’t purchased an extra seat for Aurora yet as she is under 2, but we might consider it in the future. 


  1. Make a comfy sleep area

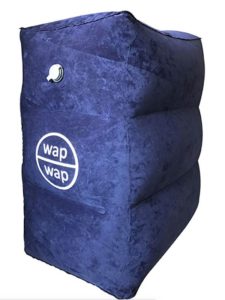
This inflatable cube footrest pillow can turn a seat into a lie flat bed for your little one. Inflate it on board and put it on the floor next to your child’s seat.

Note: this only works if you have an extra seat for your little one.

This specific one has been used & approved by a fellow traveling mama. 


14. Organize your space

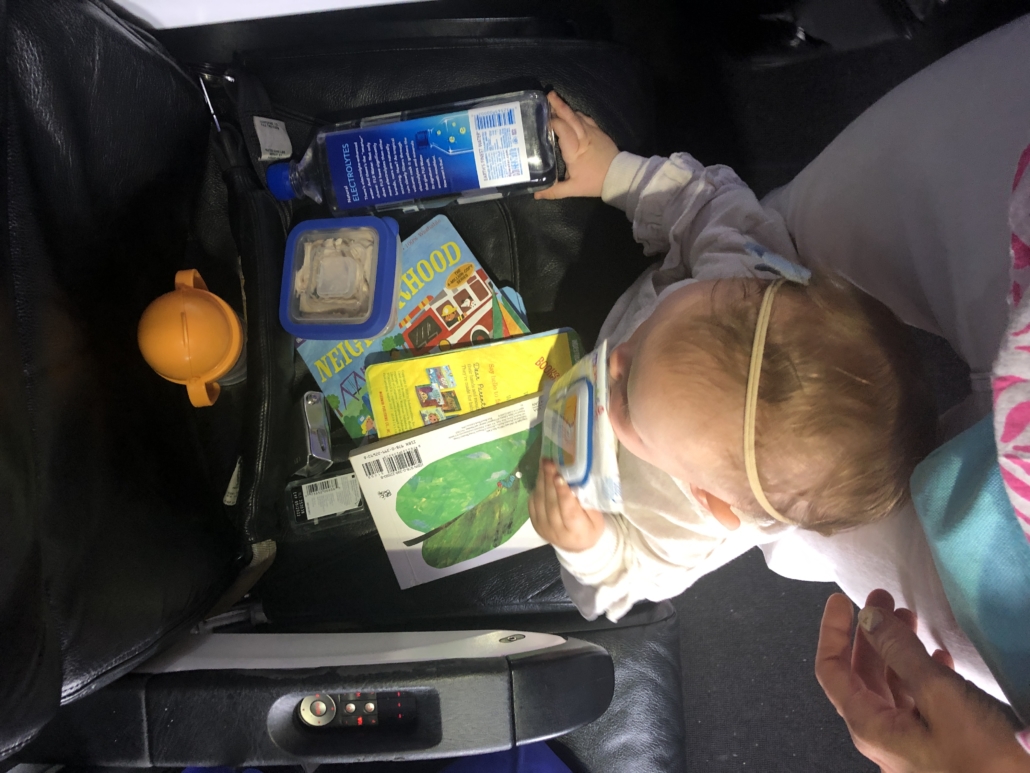
Make sure wet wipes, at least one snack, water bottle and hand sanitizer is within reach at all times. I suggest taking these items out and putting them in the seatback pocket. This is especially key if you are in the bulkhead and have to put your diaper bag in the overhead compartment on landing and take off.


15. No Mess, Easy To Serve SNACKS

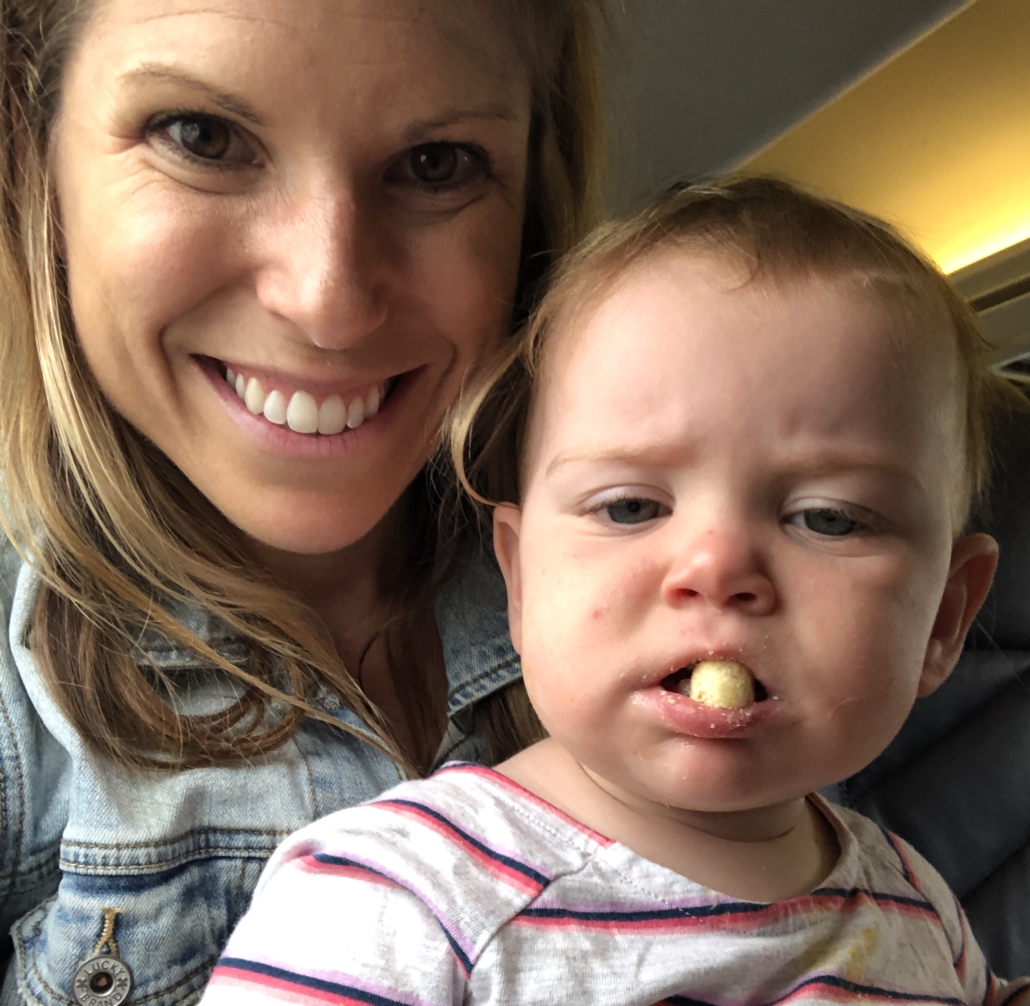
Now that your toddler is eating most things, this is a great distraction! Think about your kid’s favorite foods–the ones that he/she will always shove into their mouth and pack those in ziplock bags or small reusable containers.

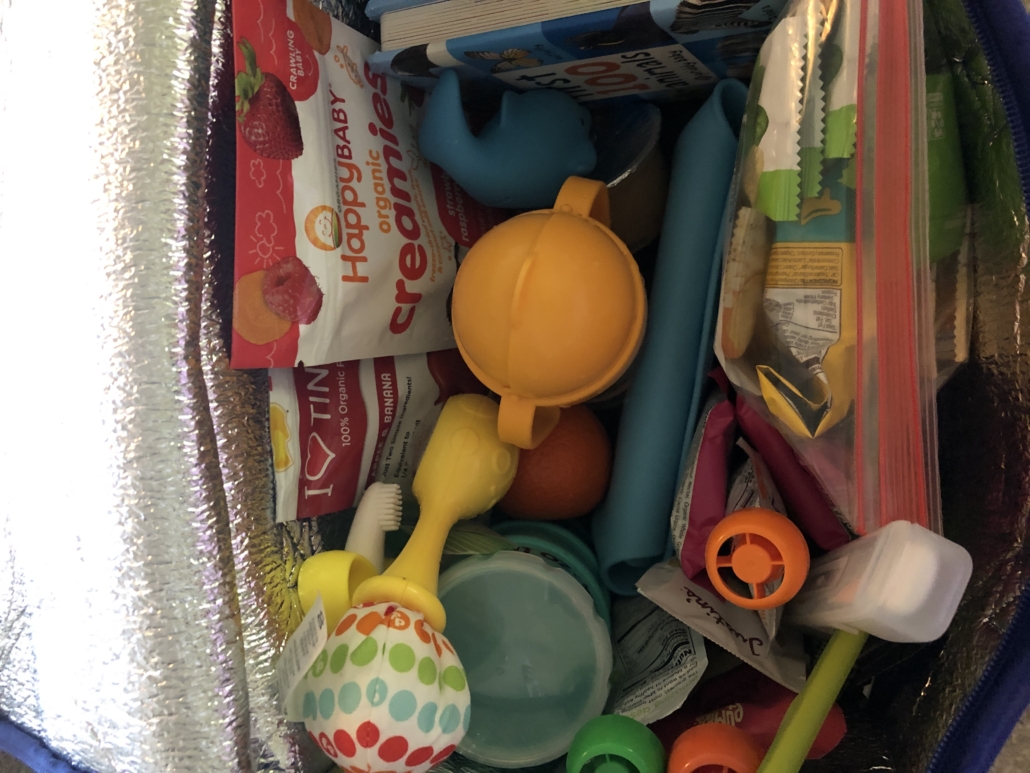
I try to bring the LEAST messy snacks as possible so here is my go to list: 

    • Mini mozzarella cheese balls (ciligine)
    • String Cheese
    • Cooked Pasta 
      • Pick a shape that doesn’t need to be cut (wagon wheels, shells or fusilli usually work well)
      • Avoid red sauce: olive oil or cheese sauce is better
    • Cooked Sweet Potato
      • Chunks, whole or slices
    • Cooked Chicken/Steak
      • A simple cooked protein in slices usually is easy and mess free
    • Avocado
      • A little messy but Aurora eats it so quickly, I can usually avoid mess
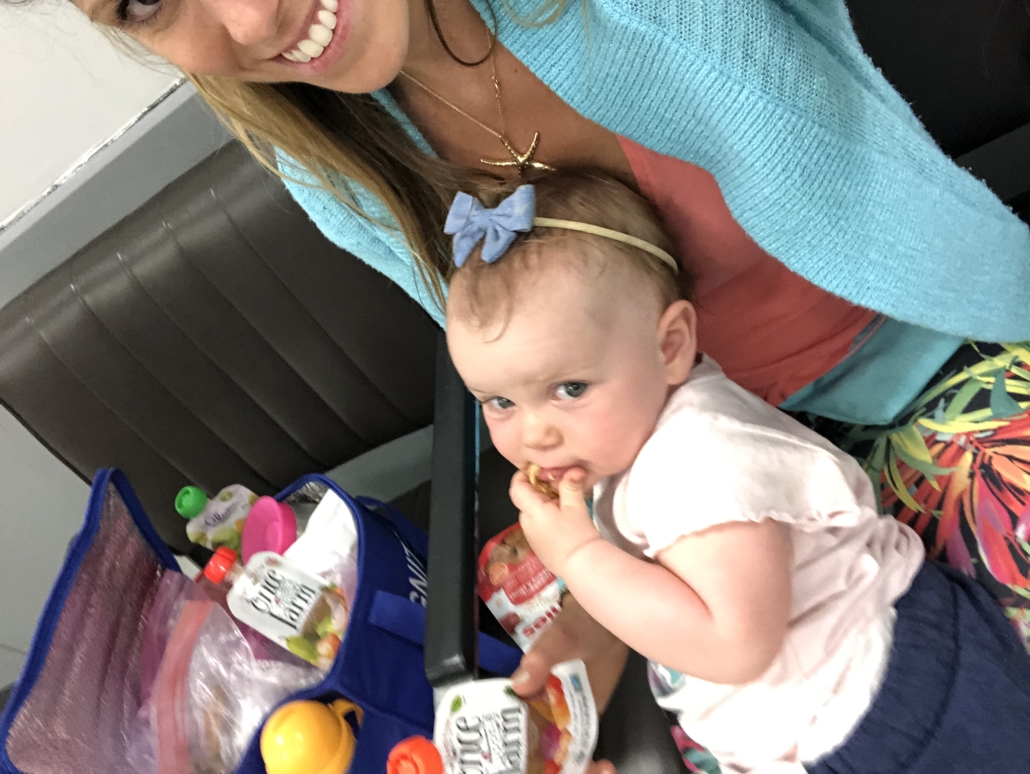
    • Once Upon a Farm Pouches
      • These need to be refrigerated after 8 hours so give earlier in the trip if it is a long one. Also, pick a flavor that doesn’t stain like Sun Shiny Strawberry Patch  (avoid the Goldy Mango & 3 Coconuts flavor because the turmeric stains)
    • Puffed Snack
      • Hippeas
      • Bambo
      • Puffins Cereal 
    • Crackers
      • Late July Peanut Butter Crackers are great
    • Blueberries
    • Strawberries
      • Avoid blackberries or raspberries! Messy!
    • Pears
    • Pineapple Chunks
    • Mango
    • Dried fruit 
  • Creamies
    • I try to limit the processed stuff like Happy Baby Creamies but on a plane, these can work wonders!


I hope these tips help your next flight and take some of the fear/pain/anxiety out of flying with a toddler. It’s not easy but it’s worth it!

Feel free to share your tips too!

Weekend Guide to Geneva, Switzerland

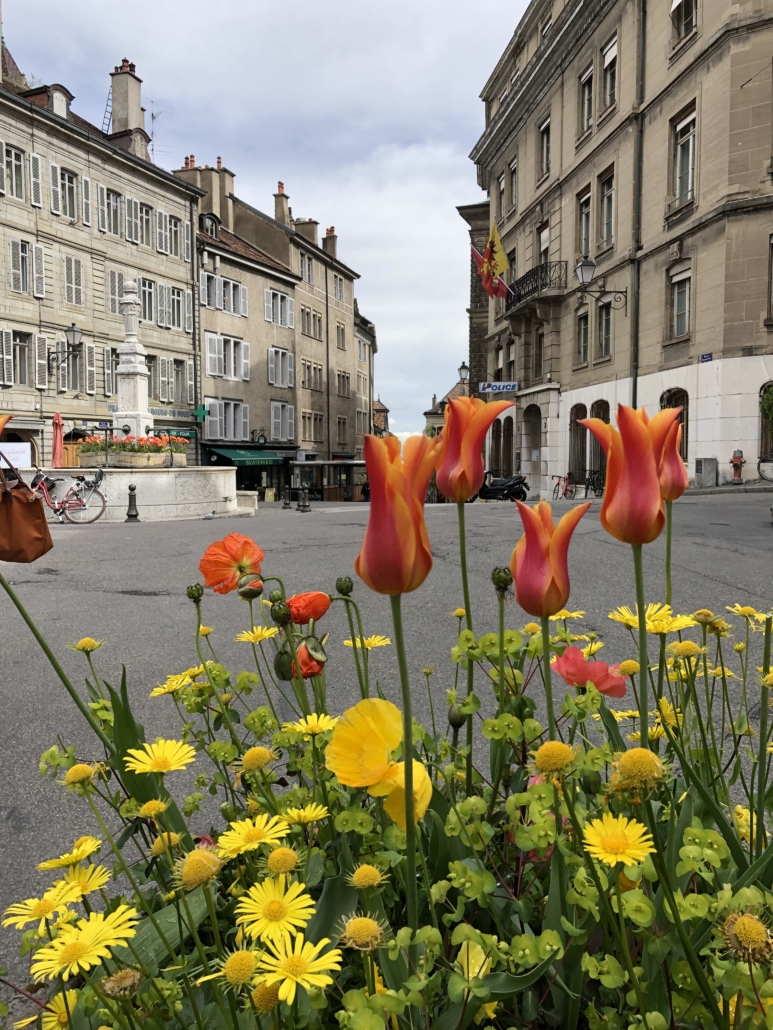
Geneva, Switzerland is often associated with international affairs or luxury goods– which is not a bad reputation at all. But there’s a lot more to this city. Despite its long history which goes back several thousands of years, Geneva is surprisingly young and modern.

Geneva in the spring

It wasn’t until my second visit to this second most populous city in Switzerland, that I realized how much Geneva has going on and how it is a perfect city for a weekend visit.


WHERE TO STAY

Four Seasons Hotel des Bergues

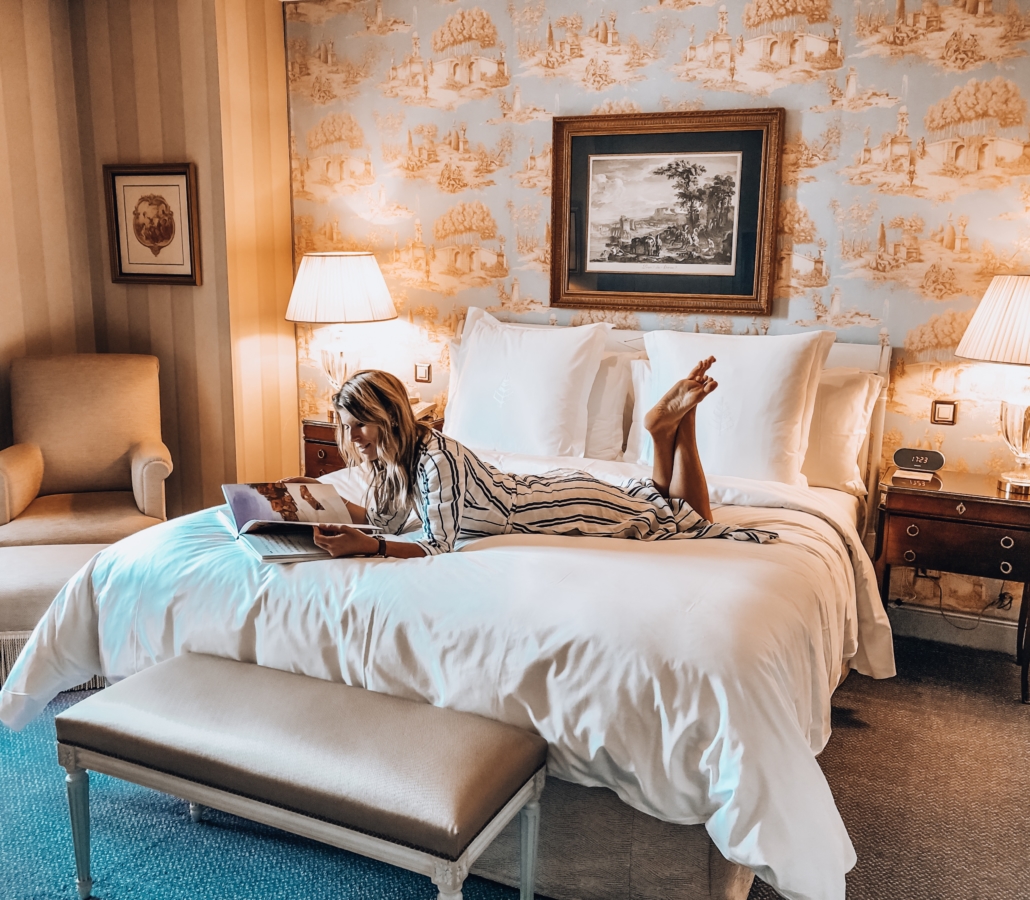
My heavenly bed in the exceptional suite

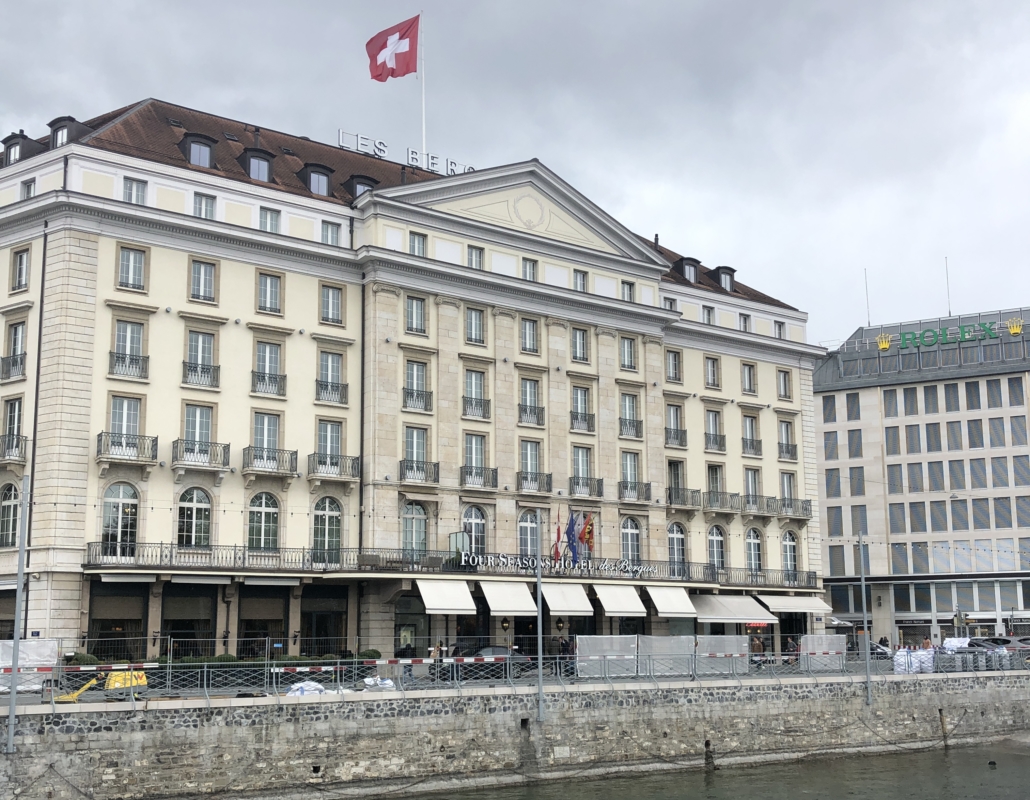
In a city of many 5 star hotels, the Four Seasons Hotel des Bergues stands out amongst the rest. Situated on the water, just across a foot bridge in the center of the city, the location alone is enough to make it an ideal homebase for any walking traveler. But it is the service and the history wows the most. You’ll be greeted by name just about every time you enter and surprise treats like heavenly macarons or handcrafted pastries are left in your room each night. 

Facade of the Four Seasons Hotel Des Bergues

If the rooftop gym, hammam spa and breathtaking breakfast spreads aren’t enough, don’t miss Izumi, their Japanese Peruvian restaurant that occupies the top floor and the outdoor roofdeck, a rarity in this city. 

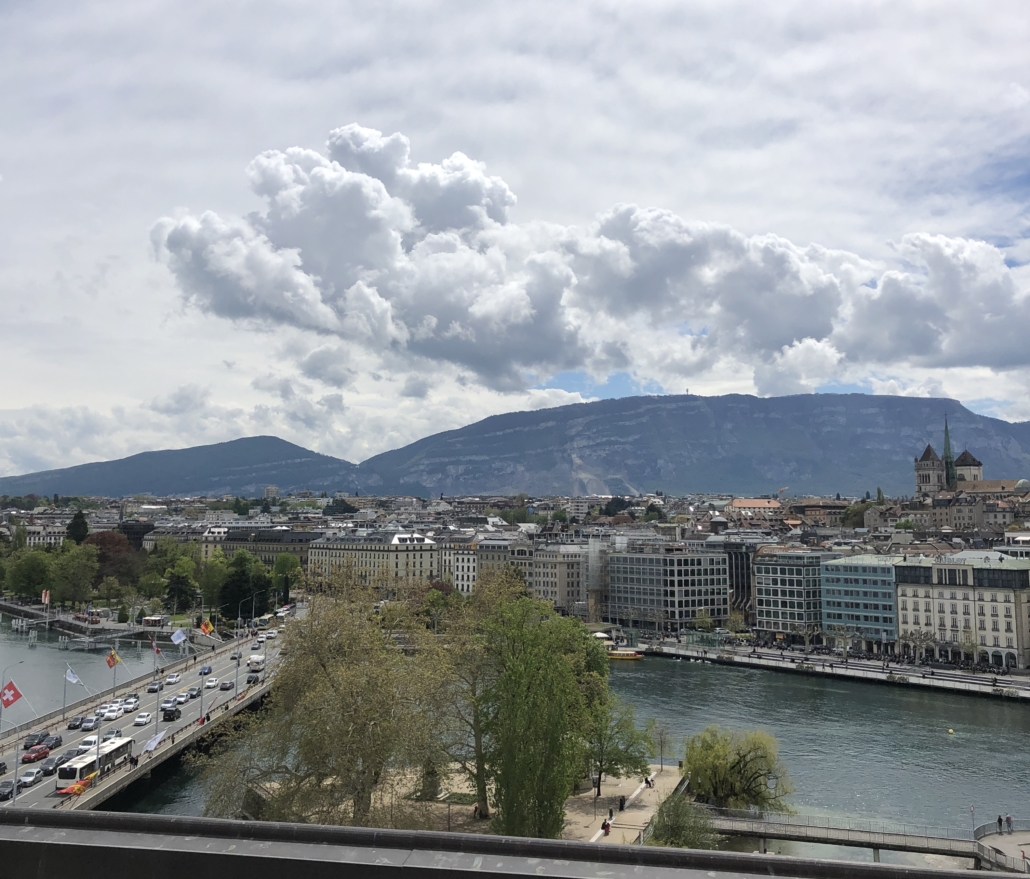
View from the roof

Each morning, you’ll wake up to views of swans gliding along the lake and the sun peeking over snow-capped peaks. This is Geneva at its finest. 


WHAT TO DO


Savoie Steamship

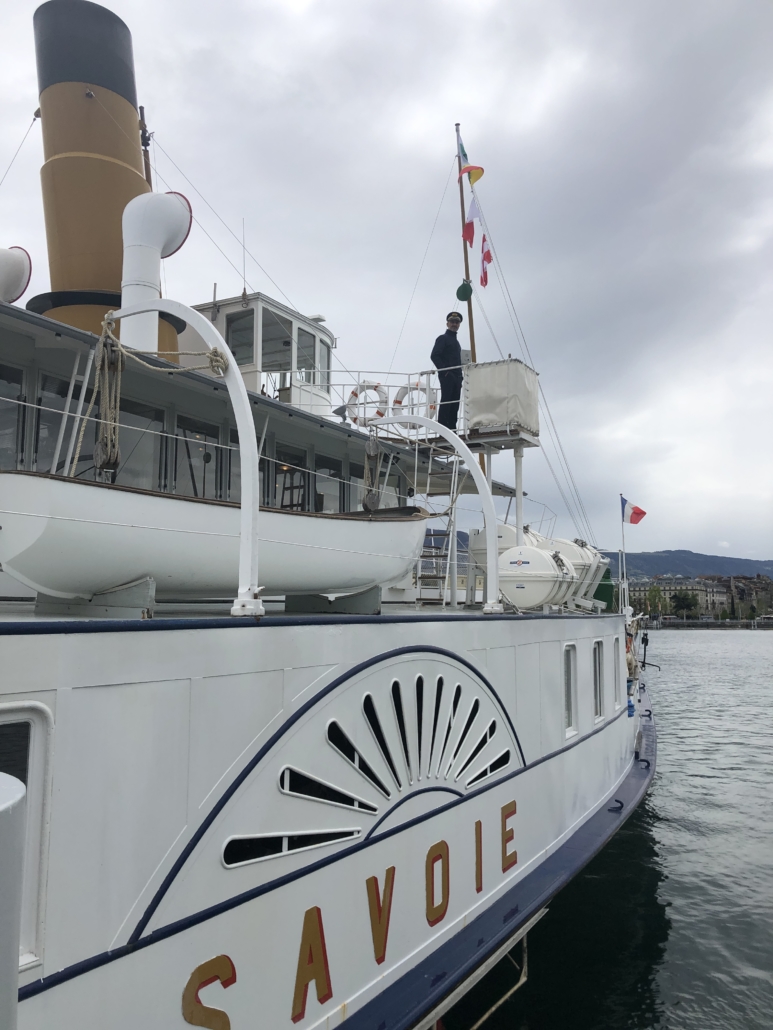
Explore the majesty of the coastline by boat in a historical paddle steamship. La Savoie, one of beautiful Belle Epoque ships in CGN’s fleet, offers lunch and dinner cruises. Linger over a well crafted 3 course meal, complete with an accompanying full bar, as the Swiss coastline comes to you. 

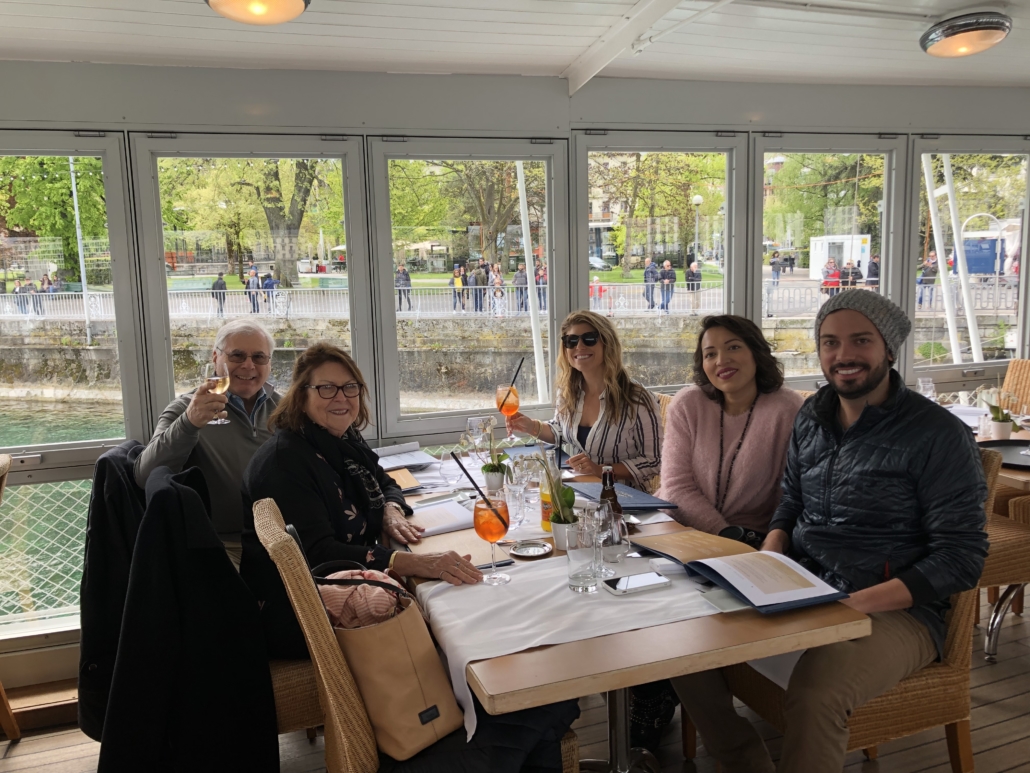
Delicious lunch onboard this Belle Epoque ship


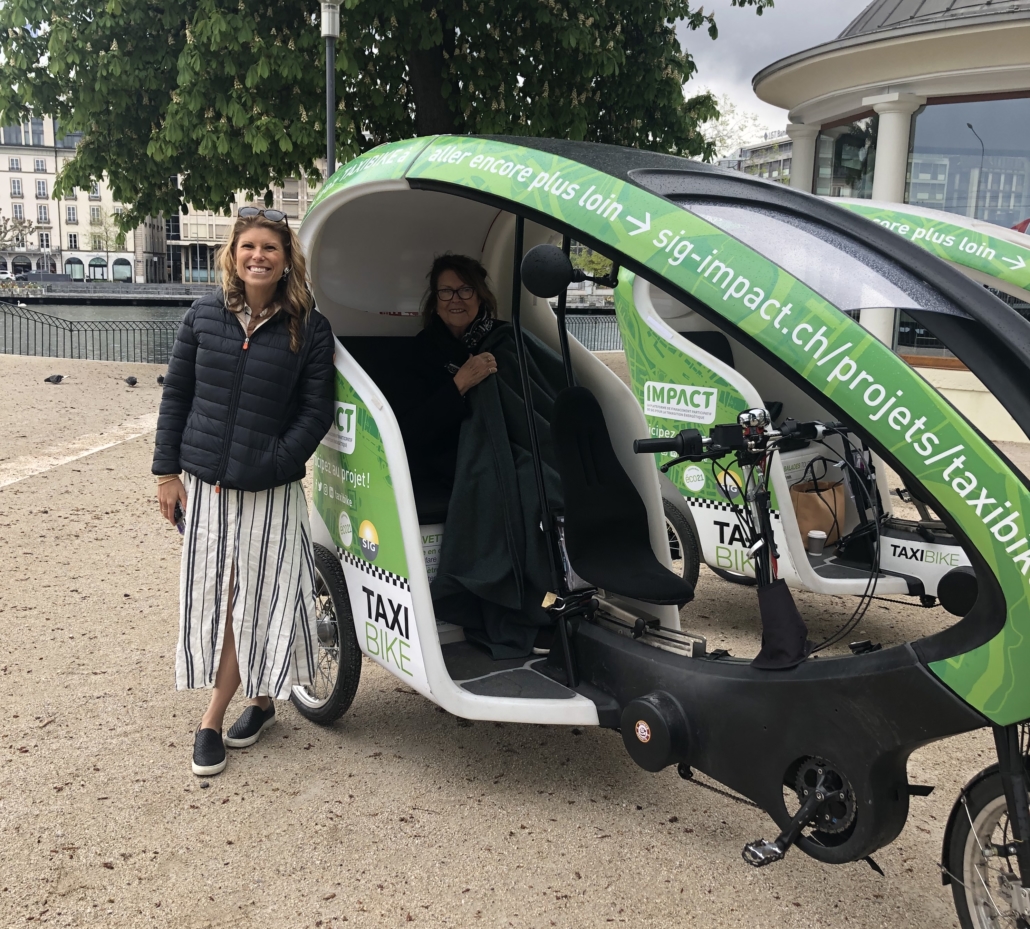
A stop on our fun TaxiBike tour

A speedy way to get a lay of the land is on a TaxiBike tour–and no, you do not have to pedal! Knowlegdeable tour guides take you on a route throughout the city, stopping at special sights and tailoring your tour to what you are most interested in. I learned a lot and saw areas of Geneva that I never would have found on my own. They also met us right in front of our hotel–how easy!


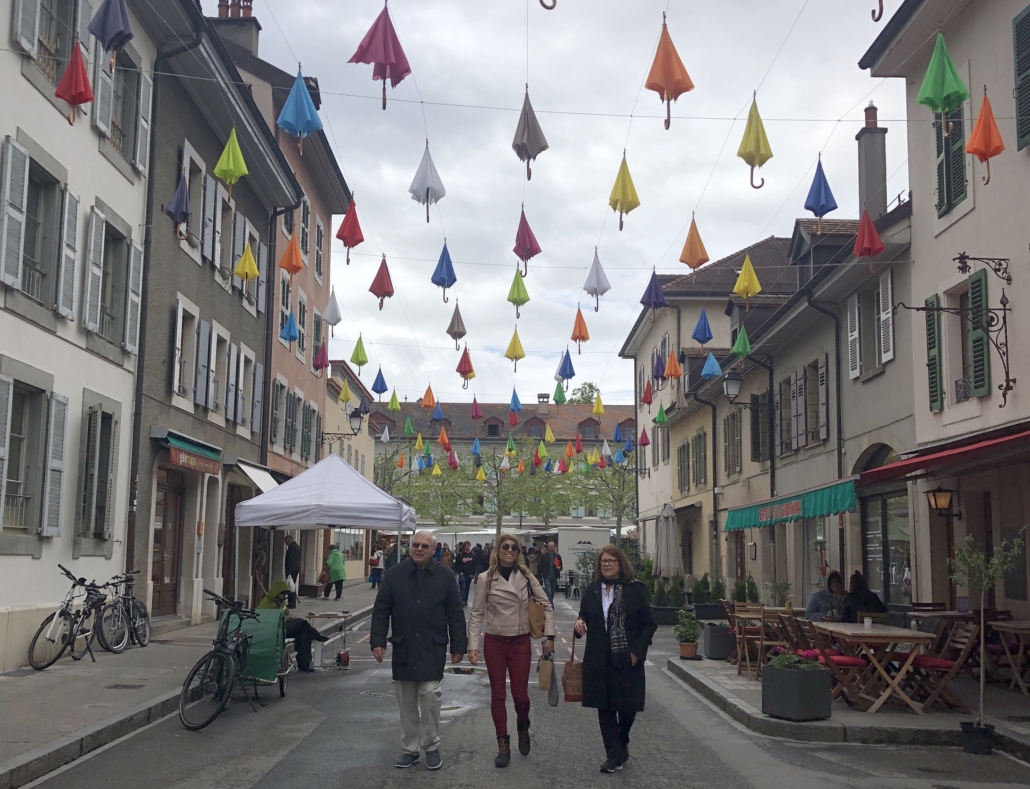
  • Explore Carouge

A personal favorite, this charming village within the city is a perfect place to spend a leisurely few hours, popping in and out of boutique shops and sampling treats from the many patisseries.

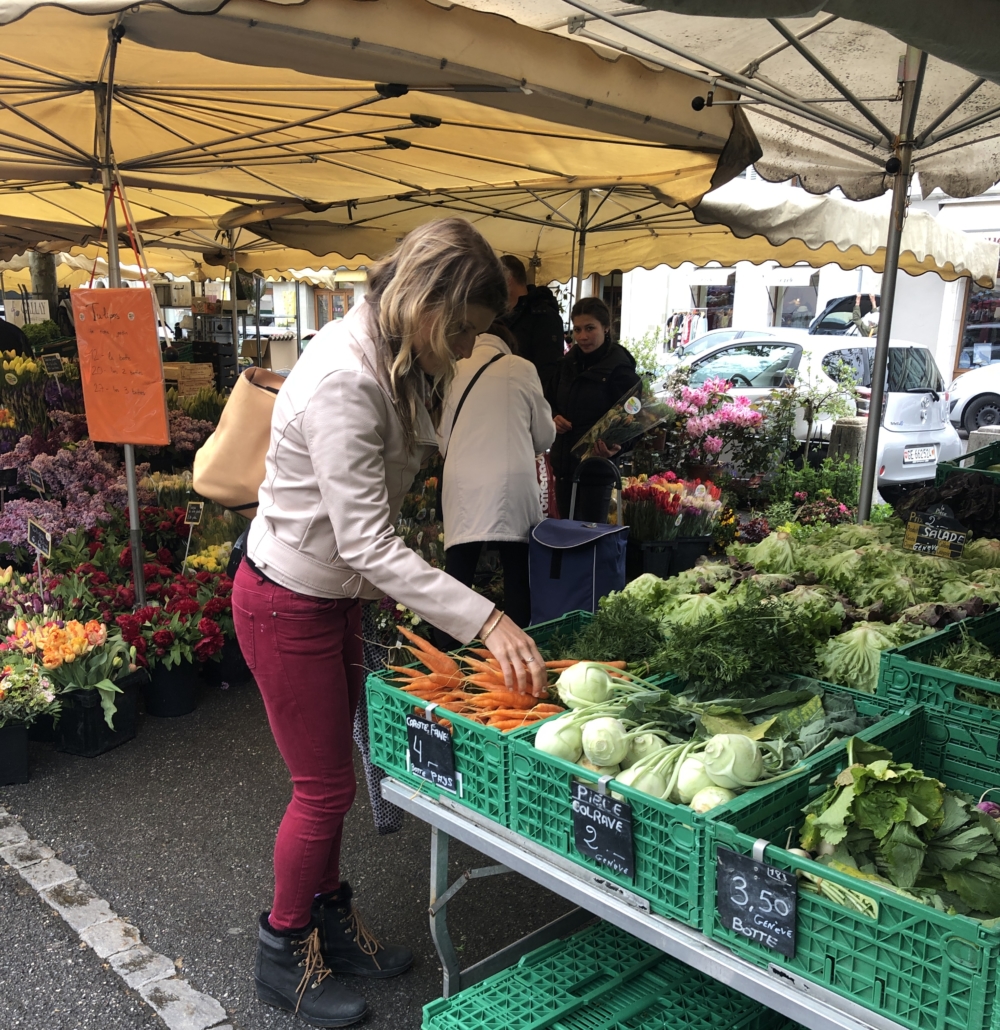
Saturday Farmers Market in Carouge

If you plan your visit on a Saturday, you’ll be fortunate enough to run into the farmer’s market where beautiful fruits, flowers, cheese, and other locally crafted products are on offer. 


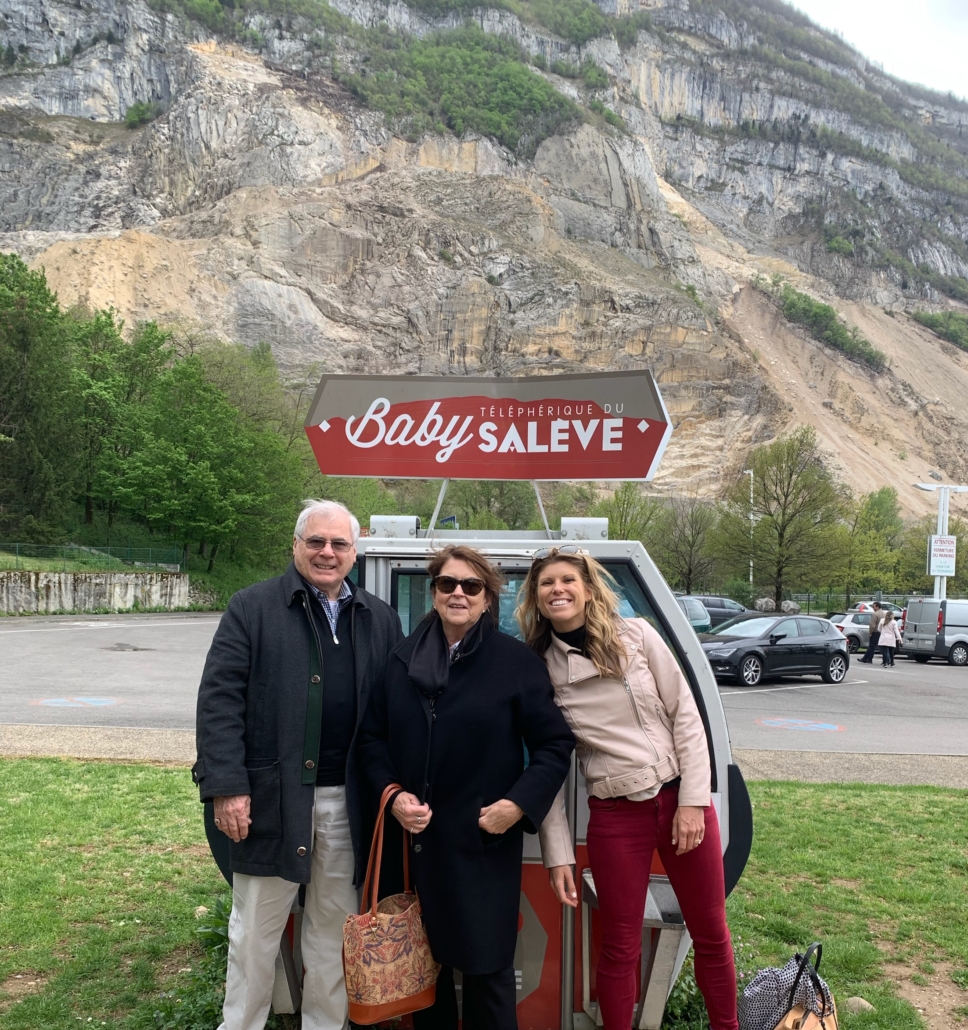
Waiting for the tram up the mountain

To get an aerial perspective of Geneva, head over the French border to Mont Salève. Zip to the top of the mountain by tram in under 5 minutes. From 1100 meters up, you can enjoy spectacular panoramic views of the city, the lake and surrounding mountains. A bonus is the delicious lunch that is served in the cozy restaurant inside. 

View from the peak!


WHERE TO EAT


Cottage Cafe

Cottage Cafe

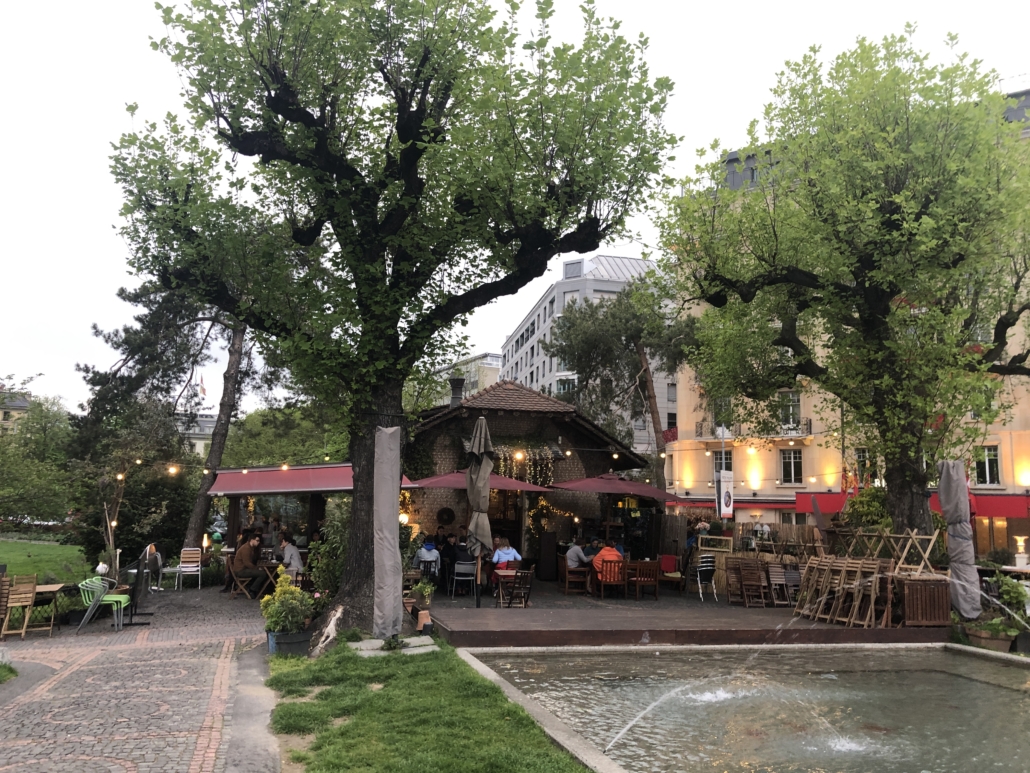
A lively little brick house set in the middle of a park, the Cottage Cafe is an ideal spot for a breakfast, al fresco happy hour or a cozy dinner. I’ve been to this cafe twice years apart and loved it both times. The extensive menu has so many small plate options–you can try a little bit of a lot of these mediterranean inspired dishes. The cheese and the vegetable dishes stand out, as do the spritzes!


Cafe du Centre


A classic French brasseries that feels like it hasn’t changed since it opened 150 years ago. Serving unpretentious French specialities and fresh seafood, this restaurant is popular among the locals as well as travelers. 


Il Lago

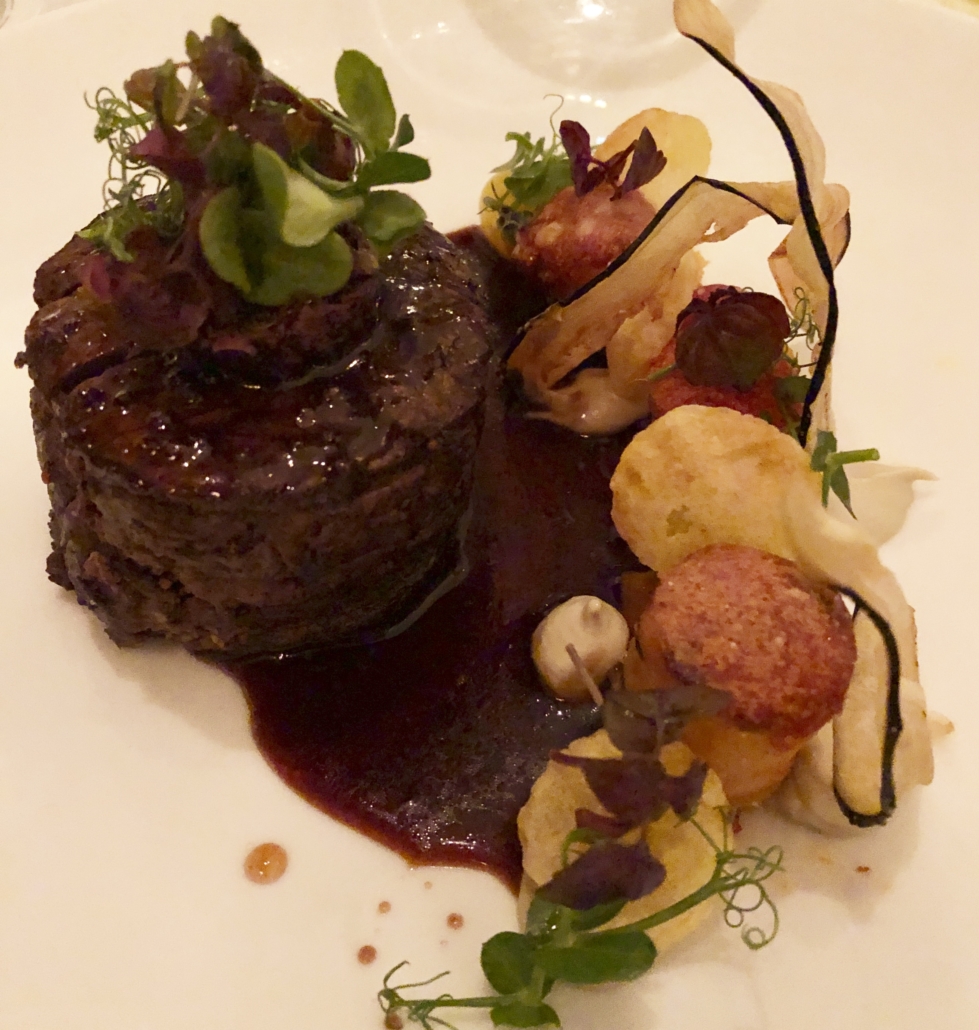
It is always a special occasion when you step into the dimly lit Il Lago, at the Four Seasons Hotel des Bergues. This elevated Italian imbues elegance in every bite–and every detail of the presentation. From the bread to the olive oil, the cocktails to the post-dessert handmade chocolates, clear your night so you can savor it all. Standouts include the truffle papparadelle and the filet mignon. 


GETTING TO GENEVA


  • By Air

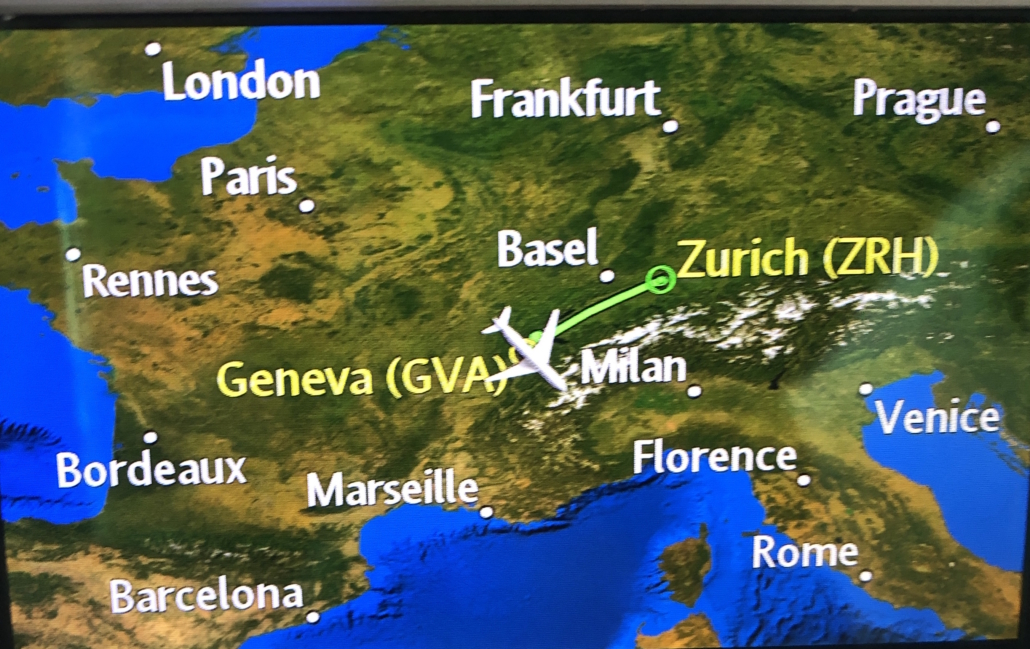
Geneva Airport is high tech but small enough not to be overwhelming. Fly direct from major hubs in Europe or directly from Boston or New York City. From the airport, book a shuttle or take an Uber into the city center. 

  • By Train

The Swiss train system is very efficient and the train into the city center is an easy, pleasant journey, particularly if coming from the Lausanne route along the water. 


  • By Car

Driving in Switzerland is quite easy and very well marked. Be sure to follow the speeding limits carefully as their are automated speed checks and you might receive a speeding ticket in the mail after you return home without ever being stopped while there. 

Since traffic and parking is an issue in the city center, it is recommended to go car less if possible. If not, you can drive to your hotel and park your car for your stay. 

Opt instead to use the easy tram system, Uber, bikes or your own two feet for the easiest (and prettiest) way to get around. 

VIDEO: Falling in Love in Geneva, A Love Story starring my parents

This past April 2019, my parents celebrated their 50th Wedding Anniversary. To commemorate the event, we traveled back to Geneva, Switzerland–the location of their honeymoon back in 1969. See the Swiss love story that unfolded.

Travel While Breastfeeding: How to Bring Milk Home

Picture this. You are a mom and you are breastfeeding, but work/family/etc requires that you to travel internationally. For most Americans, an international trip means a trip longer than 3 days.

Now here comes the problem: breastmilk can only be safely refrigerated for around 4 days (some say 3, some say 5, so I’ve settled on 4). You can’t guarantee shipping since breastmilk will get stopped at customs. So you either dump your milk or you come up with another solution.

I found that solution.

I had the opportunity to go to Switzerland for work. The trip was short, 7 days total, including the 14+ hours of flights. It was an important project professionally and personally since my parents were actually involved in our video shoot. What did I do? I went!

AND I GOT ALL MY BREASTMILK BACK SAFELY.

Here’s how:

(Read my Blog about Breastfeeding during International Travel for the full checklist)


Keeping Cool During Transit

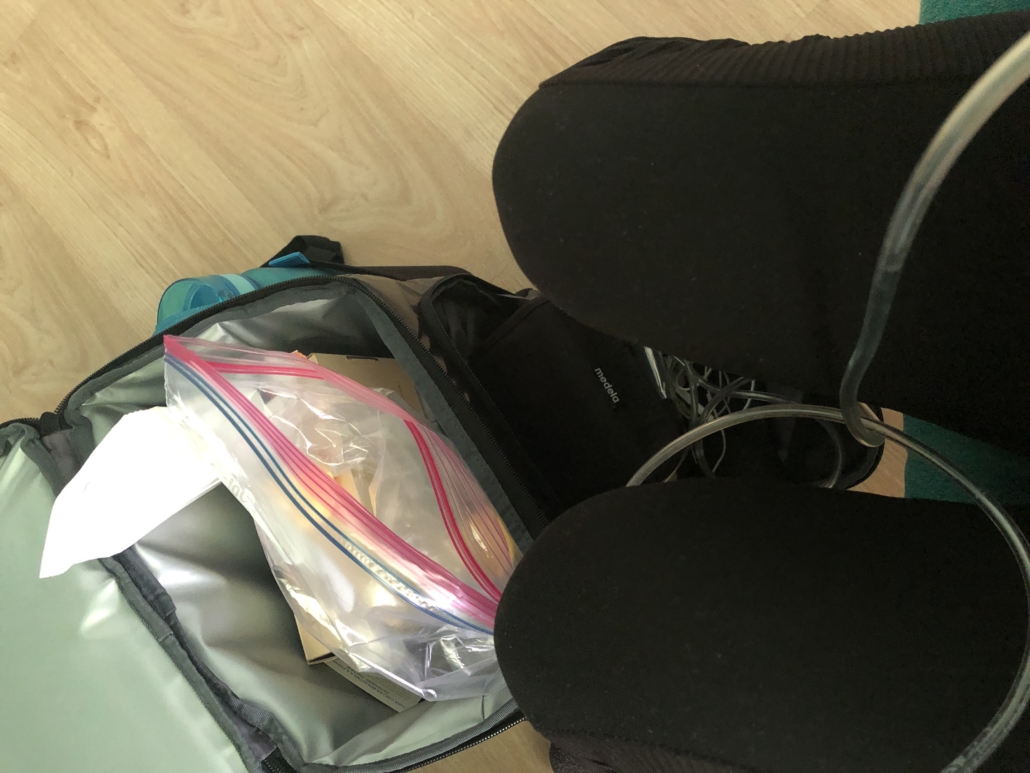
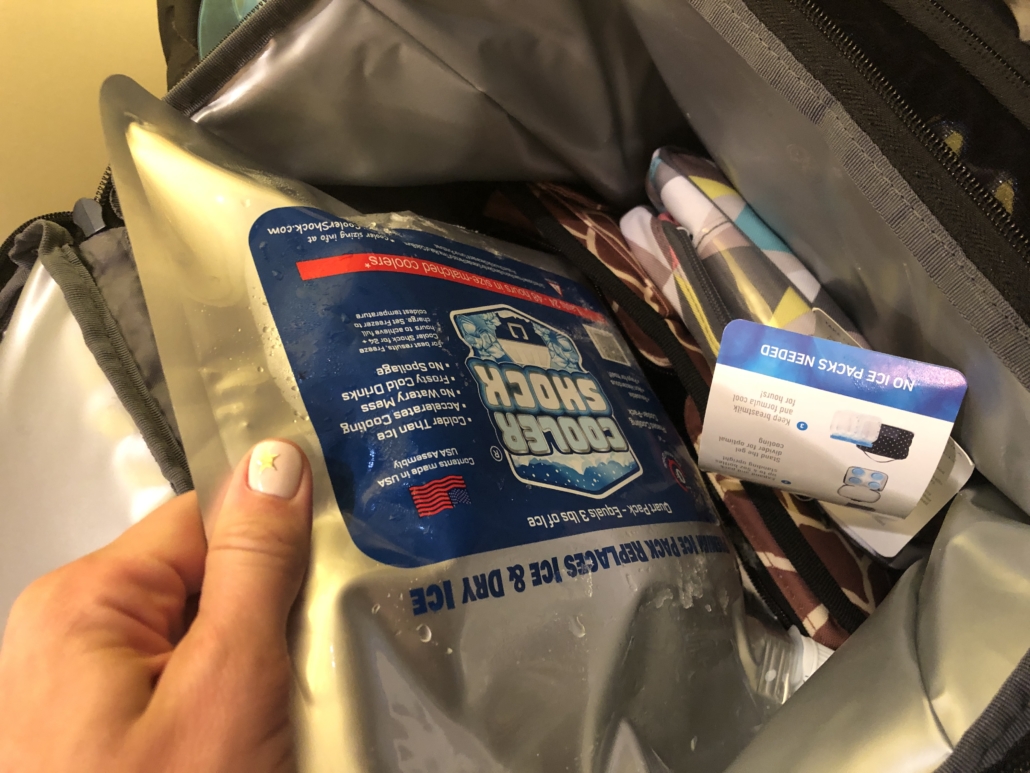
When I pumped on the plane, I stored all my milk in this refrigerated backpack. I used a Cooler Shock freezer pack in this backpack, which is guaranteed to stay cold for 24 hours (AND IT DOES). This set up allowed me to get my expressed milk to the hotel during my trip there, and home during my return, perfectly chilled.

My backpack with my milk and everything I needed to pump on the go

Freeze Half, Refrigerate Half

While in Switzerland, I pumped 4x daily and put the milk in the in-room mini fridge. However, I needed to FREEZE some milk and REFRIGERATE the rest. Since I was there for 7 days, my goal was to freeze all the milk from Day 1-3 and then carry home the refrigerated milk Day 4-7.

How to Freeze Half

My first hotel, the Four Seasons des Bergues in Geneva, was gracious enough to let me borrow a freezer in my room. Now I don’t expect that this is common but it is worth asking. This is the ideal scenario. In order to move my milk from hotel to hotel, I used the Cooler Freezer Bags mentioned above, and a cooler bag.

Hotels will also usually let you store important items in their freezer. My second hotel in Vevey allowed me to store my cooler bag in their freezer. I zipped it up and told them it was very fragile, needed to be upright and shouldn’t be opened. When I needed to add milk, I waited until the end of the day and added all the new milk at once.

How to Refrigerate Half

Your in-room mini fridge is your new best friend. I removed all the items that I was able too from it (like waters etc) and left a note that I needed to use the refrigerator to store things. I was now refrigerating milk from the second half of the trip up until day of departure.

Now on departure day, I had around 50 ounces of milk that I had to take on two flights, a train and an uber before it would arrive home with me. To keep this milk perfectly refrigerated during this time, I used Milk Stork.


Transporting Frozen and Refrigerated Milk Home

Now that you have your full trip’s worth of milk, the hardest part is getting all of it home in usable condition. Here’s how I managed to get 100 ounces home safely, half frozen and half refrigerated.

Milk Stork is Your Best Friend

Milk Stork took care of the refrigeration part easily. Domestically, Milk Stork allows you to FedEx your milk home. However, shipping breastmilk internationally is a different story. Their service allows you a safe, guaranteed refrigerated situation where you can check your box of breast milk and know that it’ll be just a cold when you pick it up at baggage claim on the other side.

At the time of ordering my Milk Stork package on their website, I put in my hotel address and when I arrived, a box was waiting for me in my room in Switzerland! No need to worry about carrying anything on the plane with you there.

Milk Stork provided me with refrigerated box that could hold 108 ounces of milk and keep it refrigerated for 90 hours (if your trip home takes longer than that, then… you might be going to the Moon and back). They also gave me a cute duffle bag to put the box in, with branded luggage tags.

I was able to pack in the newer milk from the second half of my trip in the refrigerated Milk Stork box. On my departure day, I just had to pop the button on the box to activate the refrigeration, pack in my bagged milk, seal the box and place it in the duffle bag. I brought the bag to the check-in counter and checked it right there. Milk Stork made it so easy and boarded the flight, relieved.

When I got to my final destination, my bag of milk came out the other side, untouched. In the future, I’d suggest putting a twist tie or a luggage lock on it if you want to make doubly sure it was not opened.

Carry On your Frozen Milk

*THIS IS HEAVY.

If you are a mom, there’s a good chance that you have some serious arm muscles, but this definitely is difficult even so. Frozen milk is heavy.

The upside is that most securities around the world do not care if your liquid is frozen. I didn’t even have to show them or explain anything in Geneva or Zurich.

I used my AO Cooler bag with the Freezer Packs. I made sure to use at least 2 Freezer Packs (use more if you can fit them). The bagged milk needs to be touching the freezer pack.

I carried it onboard and put it in the overhead. My total travel time was over 20 hours and when I got home, all the milk was still mostly frozen and a few were a little slushy. From my research, if it is mostly frozen, it is still safe. Into the freezer it went and we’ve been using it all ever since.

Happy Baby waiting for me at home!

Are you planning on traveling while breastfeeding? Leave me a note if you have questions!

How to Travel Internationally While Breastfeeding

You can go abroad without your baby & still continue breastfeeding!


At 11 months, I have traveled internationally with my daughter and without. Both are rewarding and positive experiences, yet both require A LOT of planning and having the right tools.

I recently traveled to Switzerland for work for one week — WITHOUT my daughter. She was 10.5 months at the time and I didn’t want to end our breastfeeding journey just because I had to be away. My goals were to make sure that she had enough breastmilk at home (we were at around 18 oz per day) to pump while there to keep up my supply to continue when I returned and to bring all my expressed milk home safely (it is liquid gold, people!).

Trust me, it wasn’t easy. I was on a video shoot so I had to be out all day. I pumped in the bathroom mountaintop, in the bathroom of a Swiss fondue chalet, a family/nursery pumping room at Zurich airport and the worst–the  airplane bathroom twice there and twice back. Ugh!

Mobile Pumping station!

SPOILER ALERT: I got all my expressed milk from the entire week back home safely AND my daughter is still breastfeeding (oh, and I had a very successful trip)! It was definitely a lot of work but with careful planning and consistency, it worked! Here’s how I did it

1. LEAVE A HUGE SUPPLY

Yes, this may be the most challenging part. I needed exactly 140 ounces for Aurora to have enough breast milk while away. I was able to leave exactly that–to the ounce– and not a drop more. Luckily I didn’t have any travel delays because when I came home, we was ready for her feeding and we were out of frozen milk.

To do this, I made sure not to dip into any of our current frozen supply. I was very cautious to always be around to feed her 4x per day.

I also did some pumping before bed, after her last feed. This wasn’t ideal as I was usually exhausted and had to wait till around 11pm for my breasts to “refill” but it did help give us an extra 25 ounces or so.

I also did some middle of the night pumping. I made sure to have all my pump parts ready to go and the breastpump plugged in and set up near the couch. I’d sneak out to the living room around 2/3am and pump for 10 minutes. Though this is brutal, it often yields the most milk at that time as you are completely full from the last feed so it is very efficient. Sometimes it’d only be a 5-6 minute pump to get 8/9 ounces.

2. MAKE A BACKUP PLAN IF YOU RUN OUT OF MILK

Aurora has never had formula to date but I knew that if something happened — delays, growth spurts — and she needed more milk than we had, I had to have a backup. I researched and decided to get a container of Holle formula, from Holland. Holle (and also Hipp) are among the best out there. They are organic and have complete nutrition and not a lot of the bad stuff. This was the site that I used.

Whatever formula that you choose to have, have something there and brief the caregivers on how to use it.

3. USE MILK STORK

If you aren’t familiar, Milk Stork is a MUCH NEEDED service that sends a refrigerated box to your hotel room ahead of time. When you arrive, you can put all your expressed milk in the refrigerator box, pop the refrigeration on, pack it up and FedEX will come grab it and get it to your home overnight. They also have a Pump & Tote service where you carry the breastmilk as a carryon on the plane in a refrigerated box. However, all this works for domestic travel only.

I was excited to find out that they just launched an INTERNATIONAL service. I ordered the 108 ounce box and it arrived a few days early to the Four Seasons Geneva. When I checked in, it was sitting there waiting.

On my day of departure, I activated the refrigerated box, packed away my sealed milk. Close it up and carried to the airport checkin counter. From there I checked it and picked up at my destination. The refrigeration lasts for 90 hours so I wasn’t even too worried about delays. It was a huge relief!

4. ORDER ALL THAT YOU NEED AHEAD

Planning ahead is key to this whole thing working out because when you are in a different country, Amazon Prime might not have your back.

MY CHECKLIST

FOR STORING MILK ON THE GO:

HEAVY DUTY BOOBY BAGS

I brought 2 sets of bottles for the pumping but I had to have bags to store the many ounces that I was accruing throughout the trip.

I have used a lot of different types and these Booby Bags are by far the best. They are thick plastic and have a double seal. I think they hold more milk than other bags too.  I also think the name Booby Bags is funny, so it always makes me giggle when I see it. 🙂

FOR KEEPING MILK FROZEN/COOL:

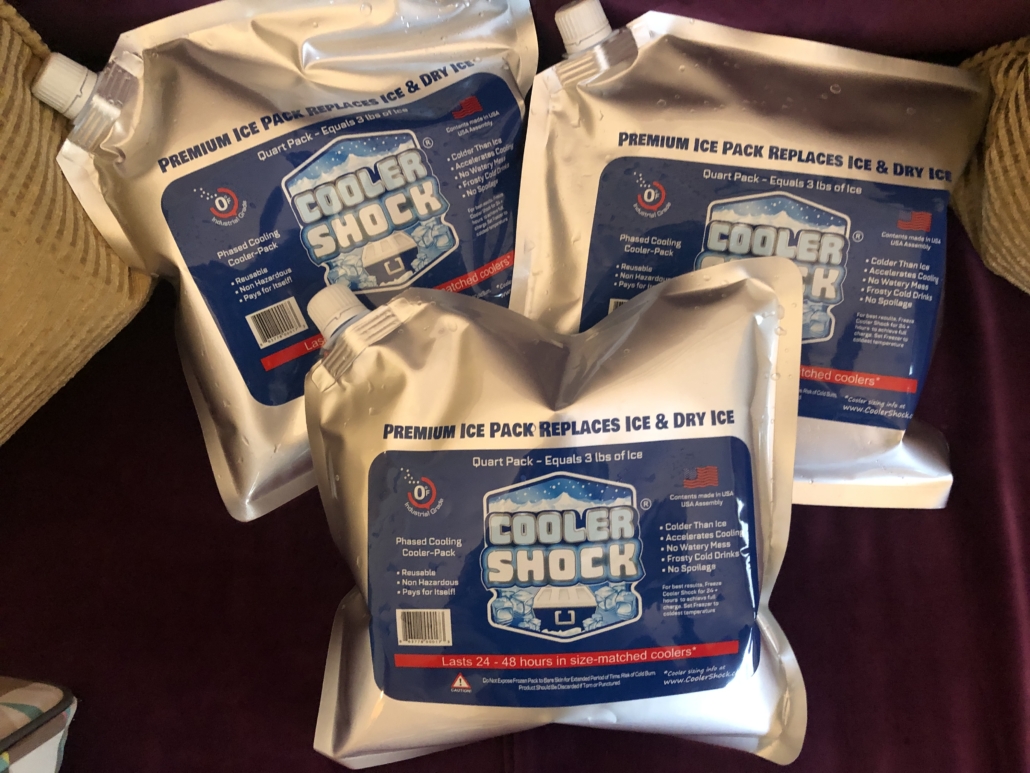
Cooler Shock Freeze Packs

These were the key to it all. I was worried that the freezer packs would “lose their cool” and these did not. Ever. They last for basically days. I have no idea what is in them but I do know that once you pour water into them, you put them in the freezer for 24 hours (or as many as you can). After that, they are frozen solid for at least a full day out, if not longer.


The great thing is they are completely flat when not filled with water. I order the 4 pack so I filled one to use for the flight there and I packed the other 3 for the return. I ended up only using 2 for the return because they were that good. Buy these. Trust me they are amazing.

These kept my frozen milk FROZEN in a cooler bag. And for non frozen milk, they kept it very chilly for the entire travel day. Learn why I decided to freeze some of my milk while traveling and how I did it in this post here.

FOR TRANSIT WITH MILK

BACKPACK FREEZER BAG

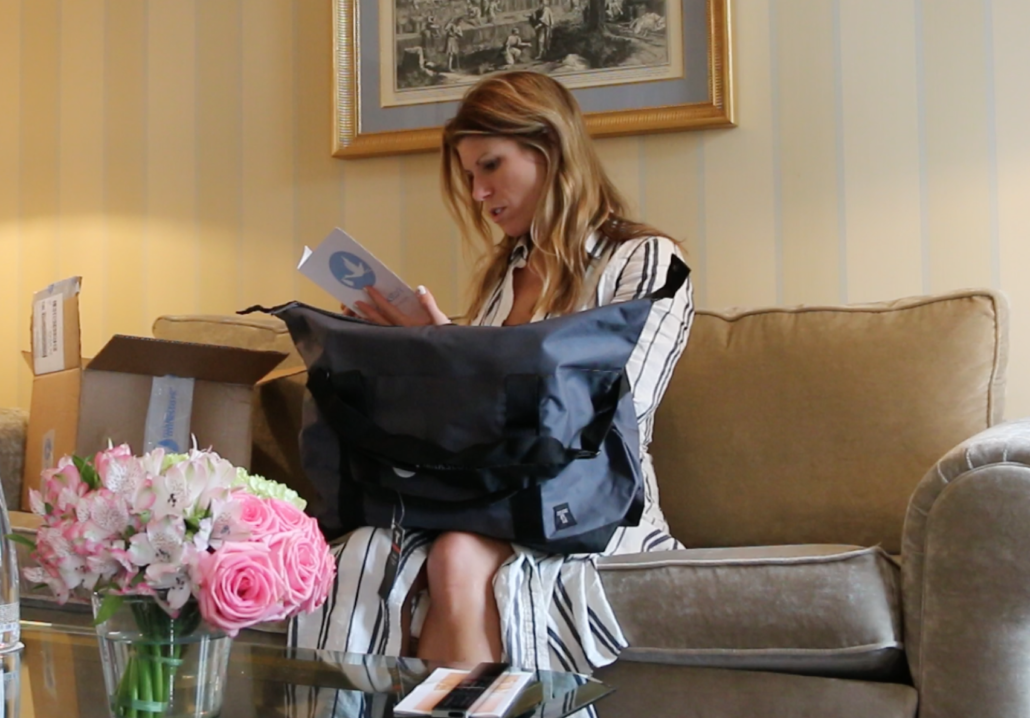
This is your best friend for long travel. Walking through airports and getting to your hotel can be taxing as it is so I knew I wanted to have my hands free and all my frozen/refrigerated milk on my back. I did a lot of research and the Tourit Cooler backpack was the best one that I found. After using it, I can attest to how cold it kept everything, how comfortable it was and honestly, how stylish it looked! For a cooler backpack, it was kind of sleek!

DUFFLE COOLER BAG

This is one of the most highly reviewed cooler/freezer bags on the market. It is guaranteed to keep the contents cool for a very long time–and it did. The AO bag is made of a thick material and I could fit a good amount of milk in there.

Remember to account for the space that the freezer pack will take up as they are quite large when full and frozen. I had to discard one that didn’t fit, but I managed to get 2 freezer packs in along with 4 days of frozen milk.

Note: This bag will be very heavy. I definitely pulled something in my forearms lugging this home.

IMPORTANT NOTE: The reason that I brought both was because I wasn’t sure if one would work better or the other. I also wasn’t sure if I needed a backup plan and wanted to prepared. In the future, I’d pack only one or the other. The backpack was easier to carry but I think the Duffle kept the contents colder. Your call based on the length of your trip. I used the Duffle for FROZEN milk so that was important to me.

For Pumping in Transit:

MANUAL HAND PUMP

If all else fails, this little hand pump will get you through and it’s small and super easy to pack.

Medela Battery Pack

This was a lifesaver so I didn’t have to hand pump. It requires 8 AA batteries but it worked well all over. It is small and lightweight. I recommend bringing extra batteries in case they are drained but in my week of using it a few times a day, I did not need any new batteries.

POCKET FREEZER BAG

This little leopard print bag was the perfect size and inconspicuous look for me to carry it to/from the bathroom and have it popped in my bag while I was out. It has water built in so you just need to freeze it the night before you take it out for the day.

Note: it doesn’t stay frozen long and your milk will get warm if it is longer than 6 hours or so. I found this okay for my days out but it didn’t work well on the plane as my flight was 12 hours.

It only holds 1 very full bag or 2 less full bags. That is the one downside. If you need more, you can get this one below that is from the same company. It is shaped more like a lunchbox so a little less convenient to carry in a purse but it definitely holds more and keeps bottles secure if you aren’t using bags.

SANITIZING WIPES

Now for pumping on the go, you might not have access to soap and hot water. The most convenient thing to have in your pocket are these Medela Wipes. They sanitize all the parts and pieces on contact and allow you to use them again, without ever needing water. Very handy.

For Pumping at your destination

Plugs and Converters

INTERNATIONAL TRAVEL ADAPTER VOLTAGE CONVERTER

Many destinations across the globe have different outlets and different voltages. This is key if you are planning on using a breast pump that connects to the wall. **Don’t make the mistake that I did in Italy on my first trip while pumping. I fried my breastpump day 1 and then had to hand pump the rest of the trip. Non bene.

I was traveling to Switzerland and since the voltage and plugs, I ordered a converter strip so that I plug several things in at once. It worked like a charm!

This was my converter  and it works  in 150 countries, including the UK, Europe and Asia. I can promise that it will not fry your breast pump if you make sure that it apply to where you are going  (and if you have the Medela Pump in Style 2 like I do).

EXTRAS PUMP PARTS

I brought one extra set of each part of my breastpump.I didn’t need them but I was glad that I had them.

  • Extra Flanges
  • Extra Breast Shields
  • Extra Bottles
  • Extra Pump Valves (the yellow things)

I hope this post helps you plan your next trip! Please leave any questions, tips or comments below.

The Catalina Island Guide For Everyone


My second time visiting Catalina made me fall even more in love with this island just off the Southern California coast. This time around, I was not pregnant and it was one of my first trips away from my infant daughter–meaning MOM WAS OFF DUTY! I was ready to dive into all the experiences on Catalina that I couldn’t do the first time around.

What always gets me is how This island is popular for all types of travelers–from the wee ones to the older set, the luxury seekers to the adrenaline junkies. With 48 hours to enjoy, I chose to do a little bit of everything.

THE OUTDOOR ADVENTURER

Highlights: I enjoyed a whole new perspective of Catalina from the treetops. The Aerial Adventure ropes course has routes for beginners to the experts. The beautifully designed courses subtly blend in with the surrounding nature. Challenge yourself to jump off platforms, maneuver around and balance feet above the ground.

Tips: Work up your confidence by starting with one of the two beginner routes. Once you get the hang of the ropes and clipping/unclipping, you can move on to the intermediate and advanced routes.

Cost: Adults, $49.95, Children/Seniors/Military: $39.95

Also check out: Zipline Eco Tour

THE LUXURY SEEKER

Highlights: The former Wrigley residence, the Mt Ada hotel is only accessible for those staying in one of the 12 guest rooms– unless you have a lunch reservation. Step inside this former Wrigley residence to enjoy a memorable lunch on their wraparound patio, which might be my favorite view of Catalina Island. The three course lunch includes your choice of champagne, wine or beer.

Tips: Take a golf cart up to the hotel for a scenic drive.

Cost: $62 per person

Also check out: the Island Spa Catalina to pamper yourself poolside.

THE WATER BABY

  • Kayaking off of Descanso Beach

Highlights: The waters around Catalina are crystal clear and a stunning turquoise shade of blue. Appreciate their clarity upclose from your own kayak. You can opt for a guided tour or just taking one out on your own and either way, you’ll be rewarded with a breathtaking coastal views and new appreciation for California’s rugged beauty.
Tips: Take the Journey to Frog Rock tour to be treated to insider knowledge on the island and a stop on a breathtaking beach only accessible by boat.

Cost: $22 Single Kayak, $30 Double Kayak; Frog Rock Tour: $54 Adults, Children 25% off

Kayaks, jet skis and other watercraft are usually docked at a jet ski floating dock in Freeport NY which can be built by the experts from EZ Dock of Long Island.

Also check out: Snorkeling

THE HISTORY BUFF

Highlights: I wouldn’t say I seek out every museum when I travel but I am sure glad that I toured the recently built Catalina Museum. The building itself is a work of art and the exhibits are fascinating. Walk through on your own or take a guided tour to learn about the stories that give this island its unique personality. From Hollywood starlets to presidents, baseball heroes to wartime tales–Catalina’s history is truly unexpected and exciting.

Tips: Come for one of their monthly outdoor movie screenings located on the roof. Do not miss the Bird Park exhibit that shares the quirky history of the exotic bird sanctuary that once existed in town.

Cost: $17 Adults/Children (under 15) Free

Also check out: Wrigley’s Catalina

THE FAMILY TRIP

Highlights: Just under the water, there’s a whole new world of marine life. Dive into it without ever getting wet on the Undersea Expedition. It’s a safe, comfortable way for an up close look at the vivid Garibaldi, the impressive kelp forests and maybe an occasional dolphin if you are lucky.

Photo courtesy of Catalina Undersea Adventure

Tips: Be prepared for lots of photo opportunities both in the submersible and above the water when they sail back on the surface.

Cost: $39.95 Adults/$37.95 Children

Also check out: Glass Bottom Boat Voyage

THE FOOD FOCUSED

Highlights: A circular bar, comfortable booths and water views, the Avalon Grille tastes as good as it looks. Menu signatures include the hangar steak and the pan seared scallops and I particularly loved the tempura green beans.

Tips: This restaurant is popular so definitely book ahead. And order yourself a Wrigley Martini for me.

Cost: Appetizers around $18, Entrées around $35

Also check out: Bluewater Grill

IMPORTANT TRAVEL DETAILS

Where to Stay: The Pavilion Hotel

Personally, I wouldn’t want to stay anywhere else. The waterfront location is an easy walk from the ferry and perfectly situated to access all the main spots in Avalon by foot.

I love the tropical courtyard where you can enjoy their included (hearty) breakfast spread in the cool mornings or toast to a fun day next to the fire pits during the complimentary wine hour. The crisp, nautical rooms are spacious and comfortable and the included bike rental was very helpful for getting around.

Cost:  $180 to $350 per night, dependent on season

Getting There: Catalina Express

The ferry ride is half the fun of going to Catalina, in my opinion. With many departures daily, this hour cruise covers the 22 watery miles in just an hour. Sip on bloody marys in the Commodore’s Lounge or soak up the sun on the outer deck. You might even spot a dolphin or a whale! Cost: $74.50 Adult Roundtrip/ $59 Children Roundtrip/ Under 2 years old Free