How to Travel Internationally While Breastfeeding
You can go abroad without your baby & still continue breastfeeding!
At 11 months, I have traveled internationally with my daughter and without. Both are rewarding and positive experiences, yet both require A LOT of planning and having the right tools.
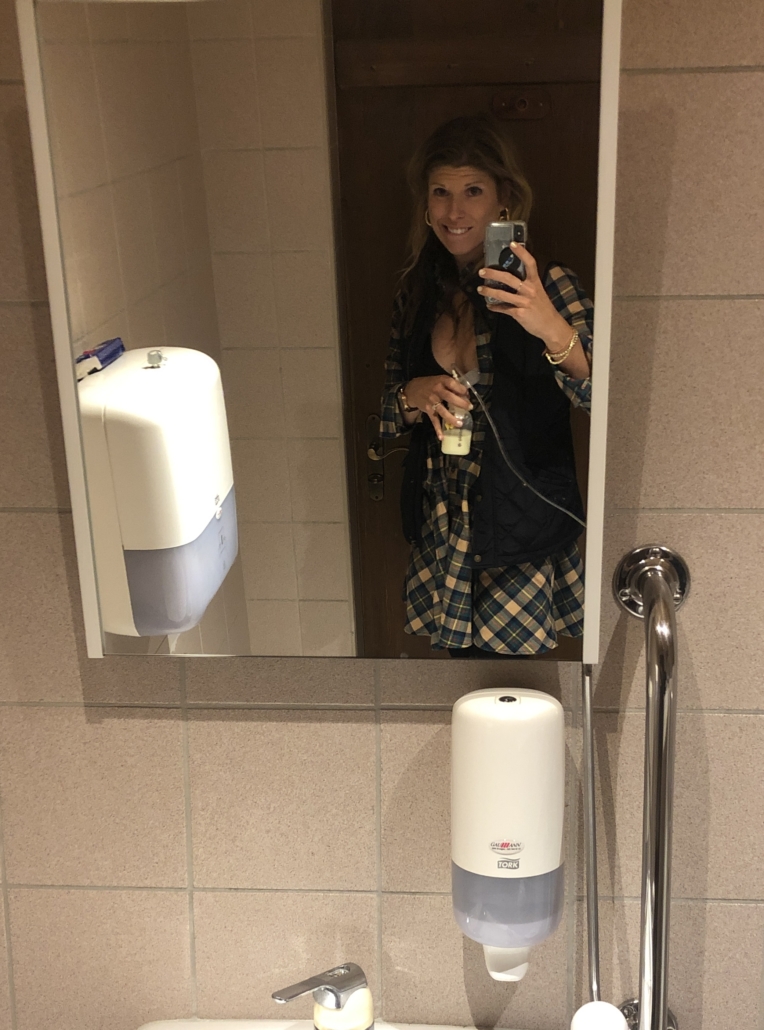
I recently traveled to Switzerland for work for one week — WITHOUT my daughter. She was 10.5 months at the time and I didn’t want to end our breastfeeding journey just because I had to be away. My goals were to make sure that she had enough breastmilk at home (we were at around 18 oz per day) to pump while there to keep up my supply to continue when I returned and to bring all my expressed milk home safely (it is liquid gold, people!).
Trust me, it wasn’t easy. I was on a video shoot so I had to be out all day. I pumped in the bathroom mountaintop, in the bathroom of a Swiss fondue chalet, a family/nursery pumping room at Zurich airport and the worst–the airplane bathroom twice there and twice back. Ugh!
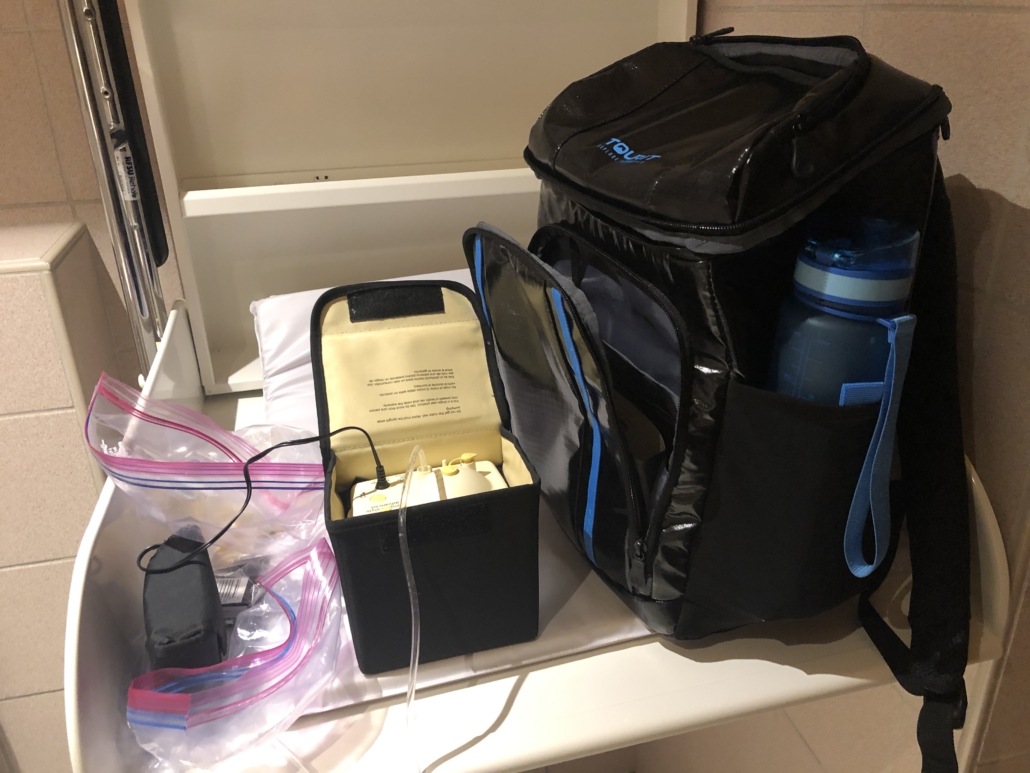
SPOILER ALERT: I got all my expressed milk from the entire week back home safely AND my daughter is still breastfeeding (oh, and I had a very successful trip)! It was definitely a lot of work but with careful planning and consistency, it worked! Here’s how I did it
1. LEAVE A HUGE SUPPLY
Yes, this may be the most challenging part. I needed exactly 140 ounces for Aurora to have enough breast milk while away. I was able to leave exactly that–to the ounce– and not a drop more. Luckily I didn’t have any travel delays because when I came home, we was ready for her feeding and we were out of frozen milk.
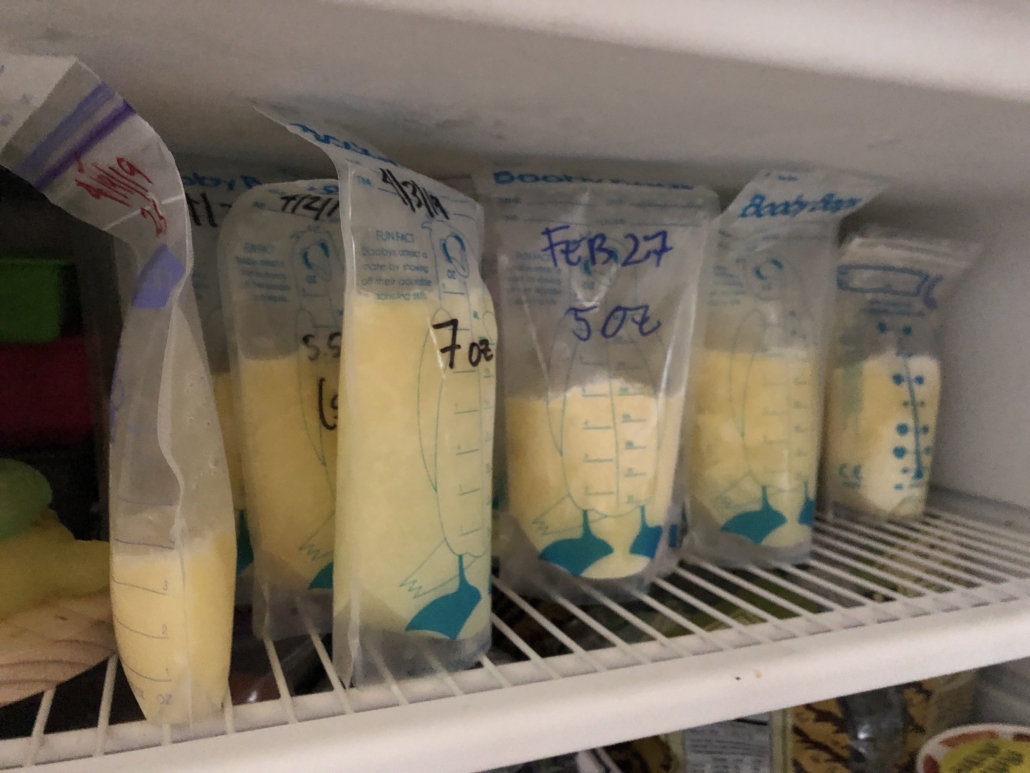
To do this, I made sure not to dip into any of our current frozen supply. I was very cautious to always be around to feed her 4x per day.
I also did some pumping before bed, after her last feed. This wasn’t ideal as I was usually exhausted and had to wait till around 11pm for my breasts to “refill” but it did help give us an extra 25 ounces or so.
I also did some middle of the night pumping. I made sure to have all my pump parts ready to go and the breastpump plugged in and set up near the couch. I’d sneak out to the living room around 2/3am and pump for 10 minutes. Though this is brutal, it often yields the most milk at that time as you are completely full from the last feed so it is very efficient. Sometimes it’d only be a 5-6 minute pump to get 8/9 ounces.
2. MAKE A BACKUP PLAN IF YOU RUN OUT OF MILK
Aurora has never had formula to date but I knew that if something happened — delays, growth spurts — and she needed more milk than we had, I had to have a backup. I researched and decided to get a container of Holle formula, from Holland. Holle (and also Hipp) are among the best out there. They are organic and have complete nutrition and not a lot of the bad stuff. This was the site that I used.
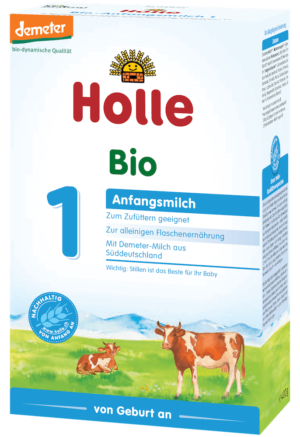
Whatever formula that you choose to have, have something there and brief the caregivers on how to use it.
3. USE MILK STORK
If you aren’t familiar, Milk Stork is a MUCH NEEDED service that sends a refrigerated box to your hotel room ahead of time. When you arrive, you can put all your expressed milk in the refrigerator box, pop the refrigeration on, pack it up and FedEX will come grab it and get it to your home overnight. They also have a Pump & Tote service where you carry the breastmilk as a carryon on the plane in a refrigerated box. However, all this works for domestic travel only.
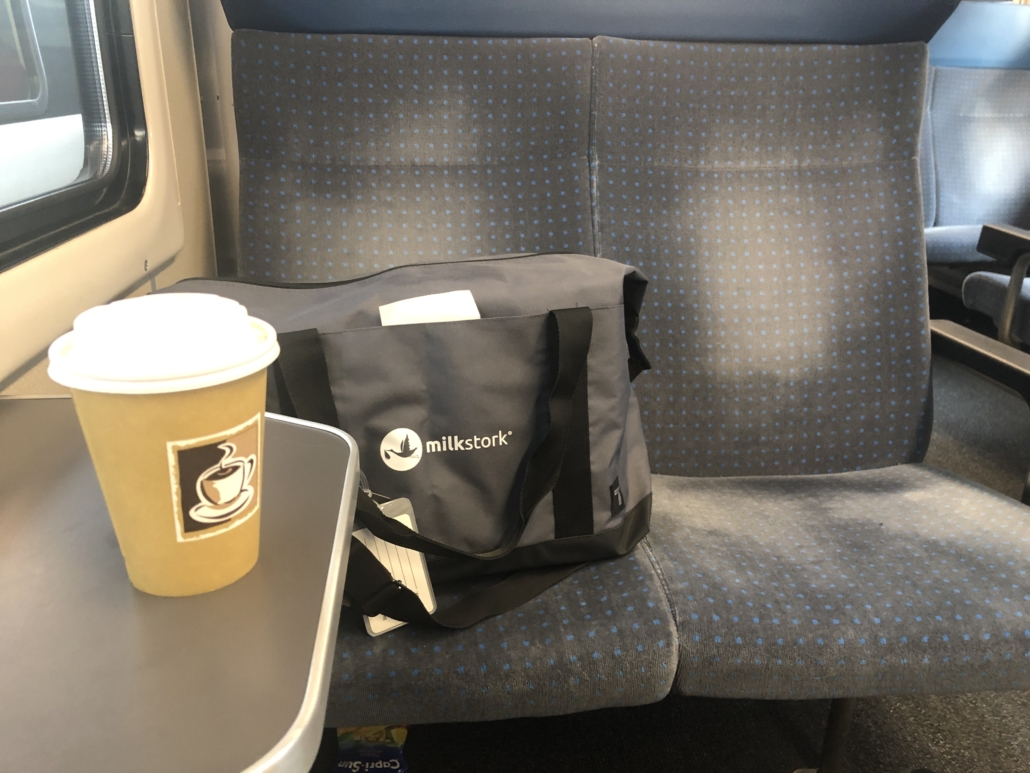
I was excited to find out that they just launched an INTERNATIONAL service. I ordered the 108 ounce box and it arrived a few days early to the Four Seasons Geneva. When I checked in, it was sitting there waiting.
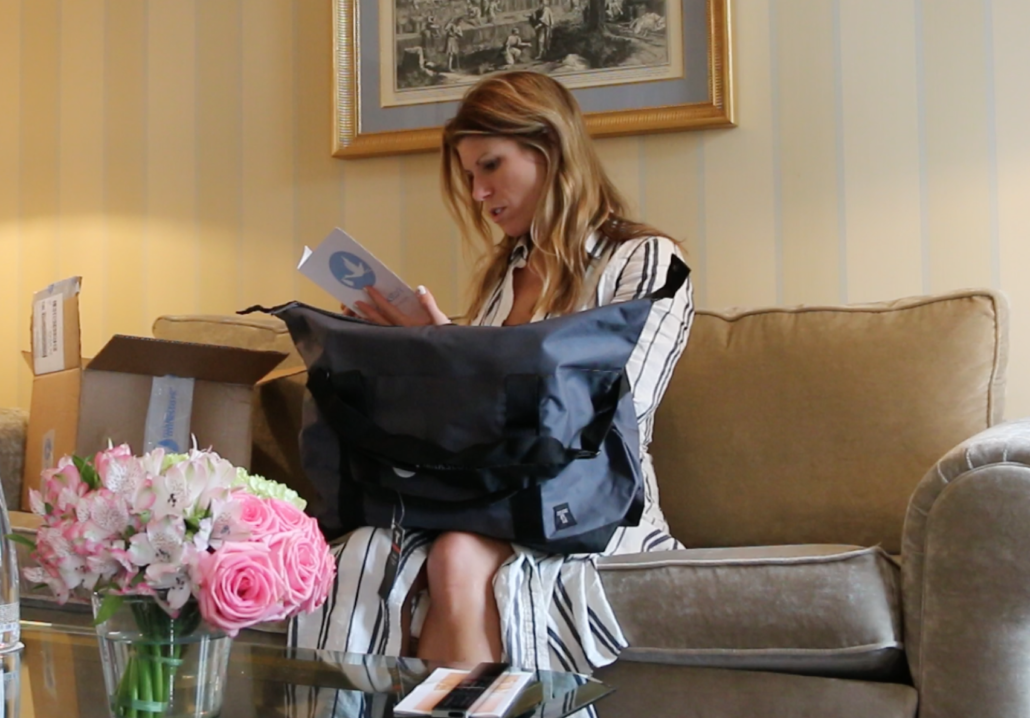
On my day of departure, I activated the refrigerated box, packed away my sealed milk. Close it up and carried to the airport checkin counter. From there I checked it and picked up at my destination. The refrigeration lasts for 90 hours so I wasn’t even too worried about delays. It was a huge relief!
4. ORDER ALL THAT YOU NEED AHEAD
Planning ahead is key to this whole thing working out because when you are in a different country, Amazon Prime might not have your back.
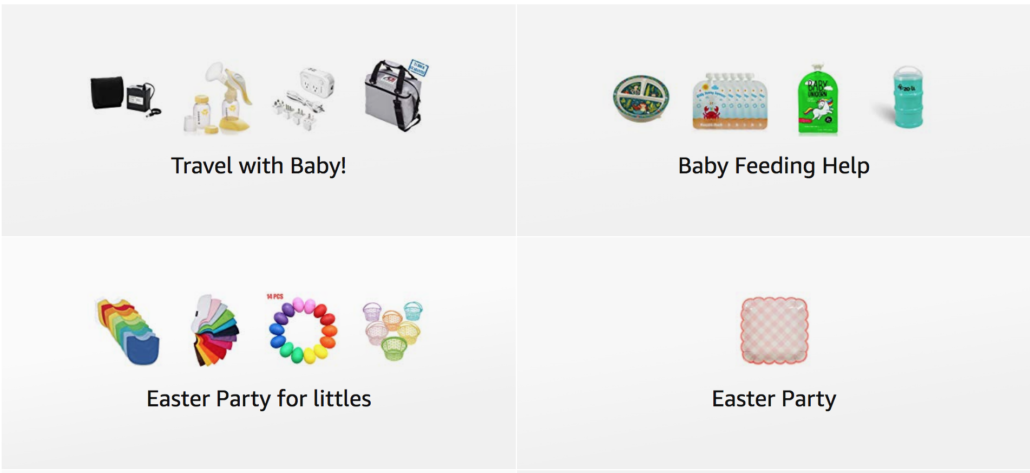
MY CHECKLIST
FOR STORING MILK ON THE GO:
I brought 2 sets of bottles for the pumping but I had to have bags to store the many ounces that I was accruing throughout the trip.
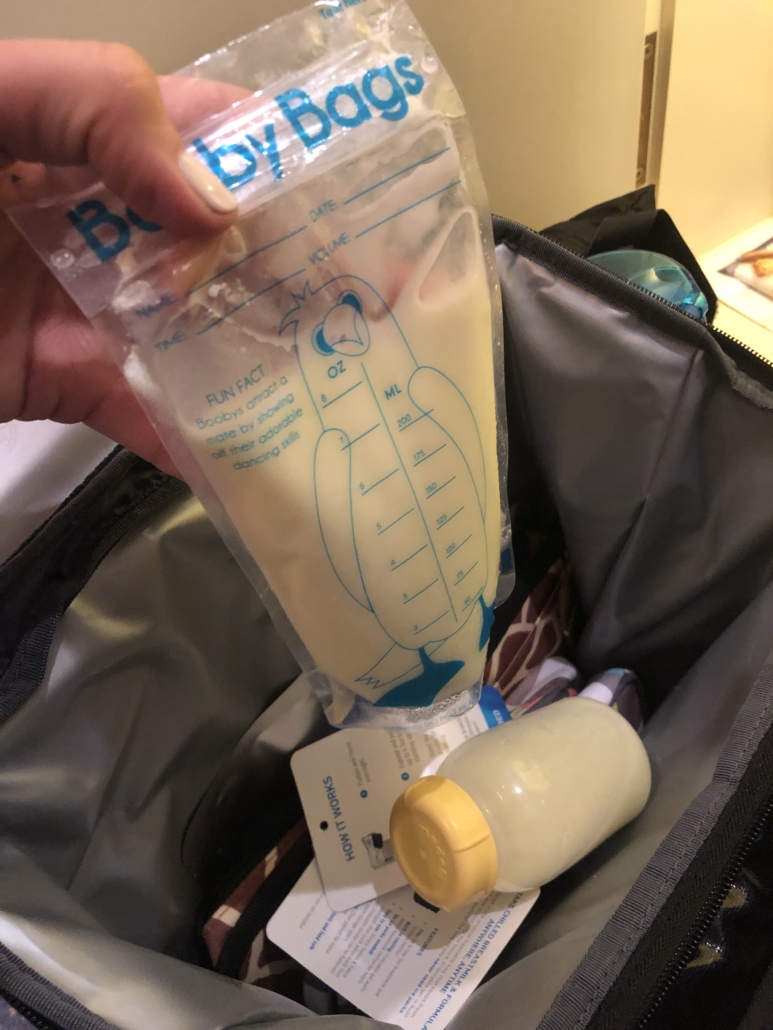
I have used a lot of different types and these Booby Bags are by far the best. They are thick plastic and have a double seal. I think they hold more milk than other bags too. I also think the name Booby Bags is funny, so it always makes me giggle when I see it. 🙂
FOR KEEPING MILK FROZEN/COOL:
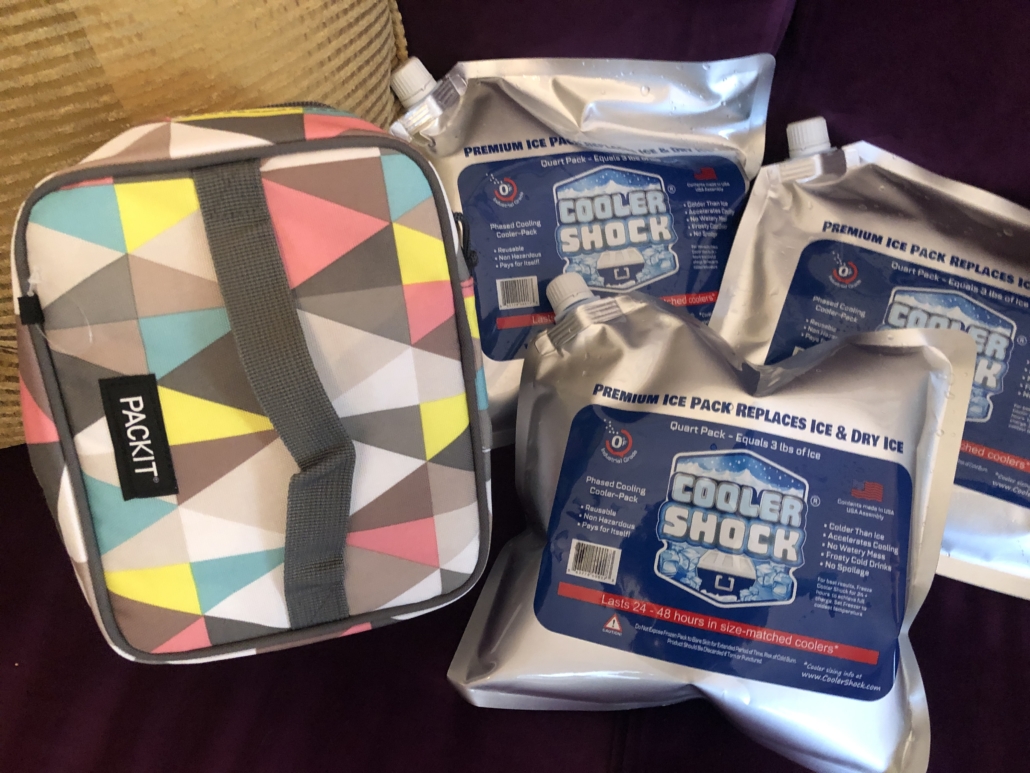
These were the key to it all. I was worried that the freezer packs would “lose their cool” and these did not. Ever. They last for basically days. I have no idea what is in them but I do know that once you pour water into them, you put them in the freezer for 24 hours (or as many as you can). After that, they are frozen solid for at least a full day out, if not longer.
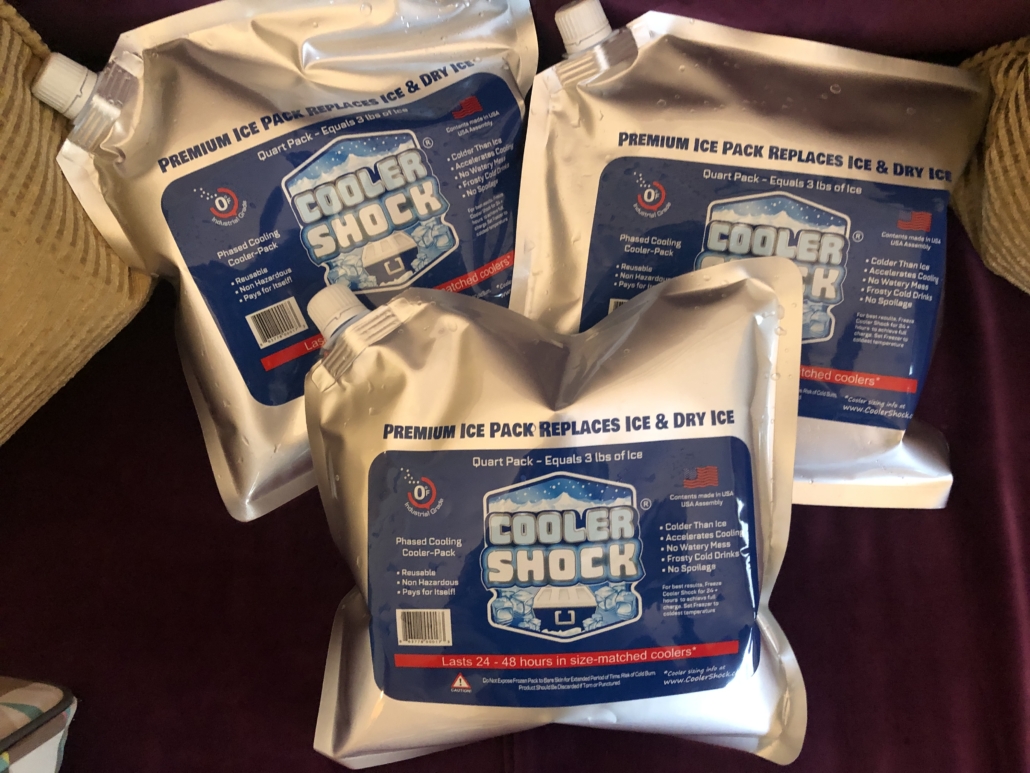
The great thing is they are completely flat when not filled with water. I order the 4 pack so I filled one to use for the flight there and I packed the other 3 for the return. I ended up only using 2 for the return because they were that good. Buy these. Trust me they are amazing.
These kept my frozen milk FROZEN in a cooler bag. And for non frozen milk, they kept it very chilly for the entire travel day. Learn why I decided to freeze some of my milk while traveling and how I did it in this post here.
FOR TRANSIT WITH MILK
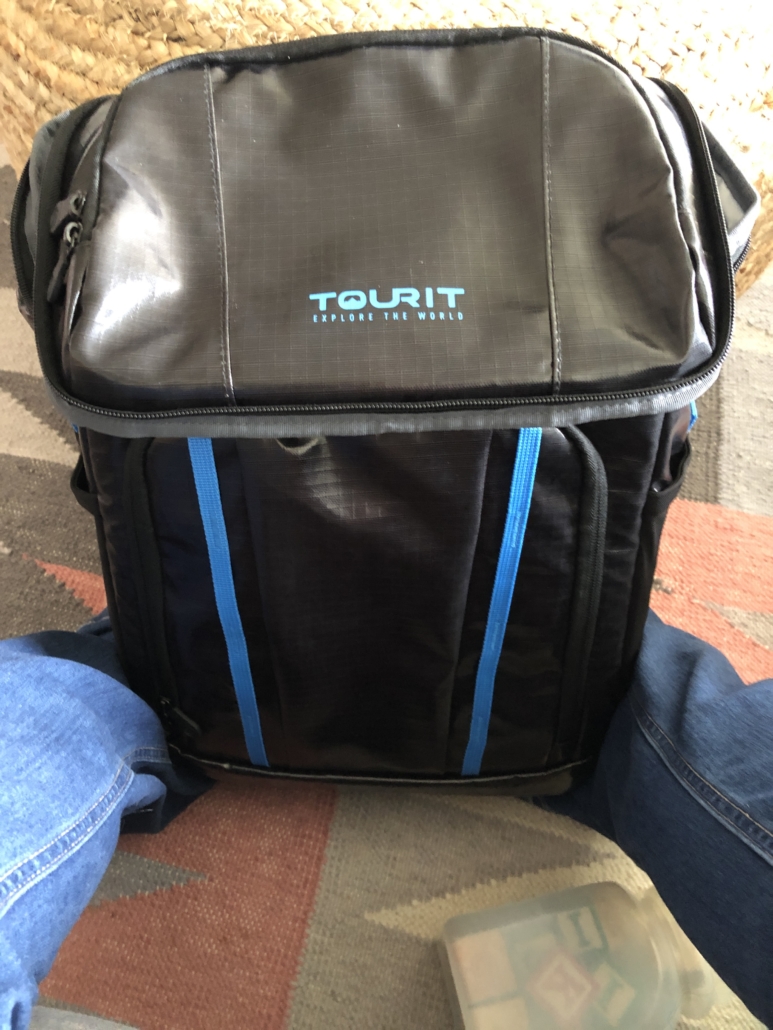
This is your best friend for long travel. Walking through airports and getting to your hotel can be taxing as it is so I knew I wanted to have my hands free and all my frozen/refrigerated milk on my back. I did a lot of research and the Tourit Cooler backpack was the best one that I found. After using it, I can attest to how cold it kept everything, how comfortable it was and honestly, how stylish it looked! For a cooler backpack, it was kind of sleek!
This is one of the most highly reviewed cooler/freezer bags on the market. It is guaranteed to keep the contents cool for a very long time–and it did. The AO bag is made of a thick material and I could fit a good amount of milk in there.
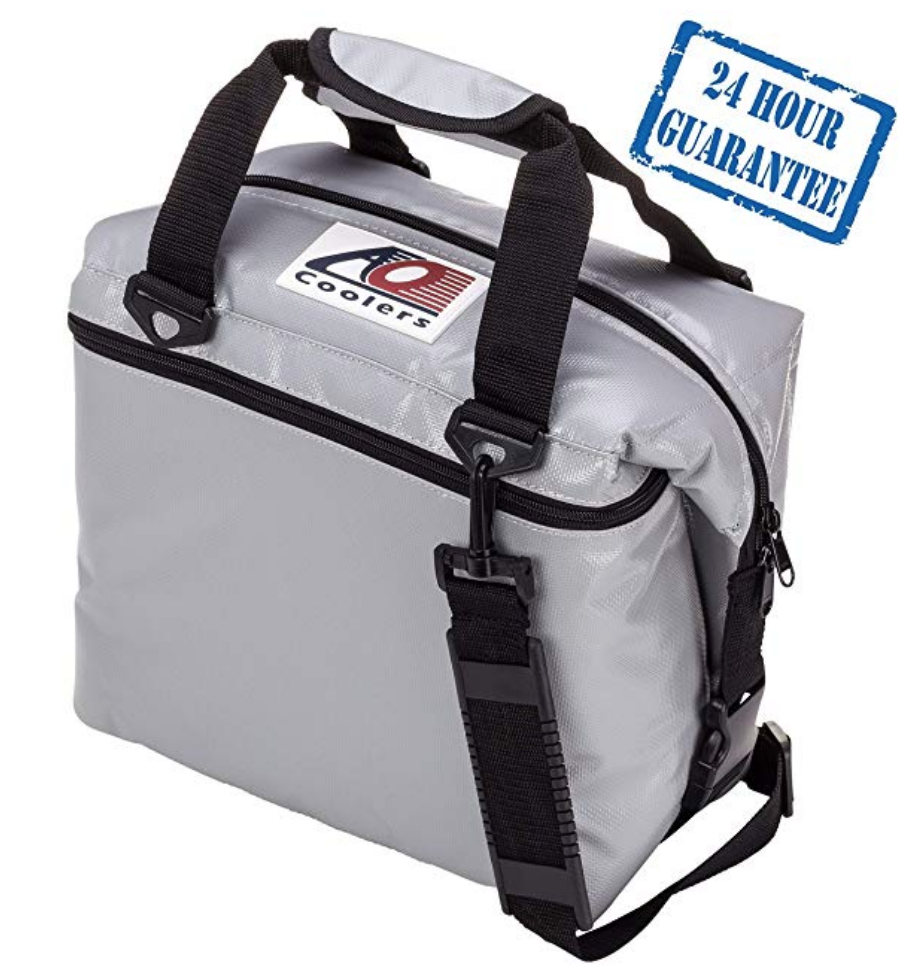
Remember to account for the space that the freezer pack will take up as they are quite large when full and frozen. I had to discard one that didn’t fit, but I managed to get 2 freezer packs in along with 4 days of frozen milk.
Note: This bag will be very heavy. I definitely pulled something in my forearms lugging this home.
IMPORTANT NOTE: The reason that I brought both was because I wasn’t sure if one would work better or the other. I also wasn’t sure if I needed a backup plan and wanted to prepared. In the future, I’d pack only one or the other. The backpack was easier to carry but I think the Duffle kept the contents colder. Your call based on the length of your trip. I used the Duffle for FROZEN milk so that was important to me.
For Pumping in Transit:
If all else fails, this little hand pump will get you through and it’s small and super easy to pack.
This was a lifesaver so I didn’t have to hand pump. It requires 8 AA batteries but it worked well all over. It is small and lightweight. I recommend bringing extra batteries in case they are drained but in my week of using it a few times a day, I did not need any new batteries.
This little leopard print bag was the perfect size and inconspicuous look for me to carry it to/from the bathroom and have it popped in my bag while I was out. It has water built in so you just need to freeze it the night before you take it out for the day.
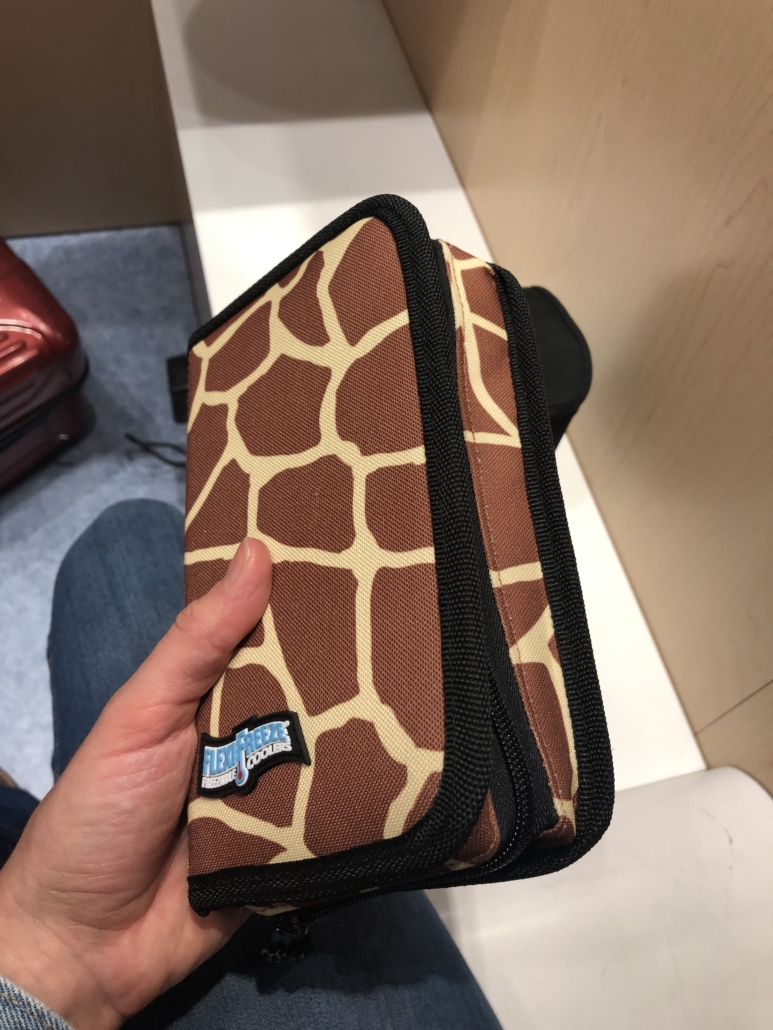
Note: it doesn’t stay frozen long and your milk will get warm if it is longer than 6 hours or so. I found this okay for my days out but it didn’t work well on the plane as my flight was 12 hours.
It only holds 1 very full bag or 2 less full bags. That is the one downside. If you need more, you can get this one below that is from the same company. It is shaped more like a lunchbox so a little less convenient to carry in a purse but it definitely holds more and keeps bottles secure if you aren’t using bags.
Now for pumping on the go, you might not have access to soap and hot water. The most convenient thing to have in your pocket are these Medela Wipes. They sanitize all the parts and pieces on contact and allow you to use them again, without ever needing water. Very handy.
For Pumping at your destination
Plugs and Converters
INTERNATIONAL TRAVEL ADAPTER VOLTAGE CONVERTER
Many destinations across the globe have different outlets and different voltages. This is key if you are planning on using a breast pump that connects to the wall. **Don’t make the mistake that I did in Italy on my first trip while pumping. I fried my breastpump day 1 and then had to hand pump the rest of the trip. Non bene.
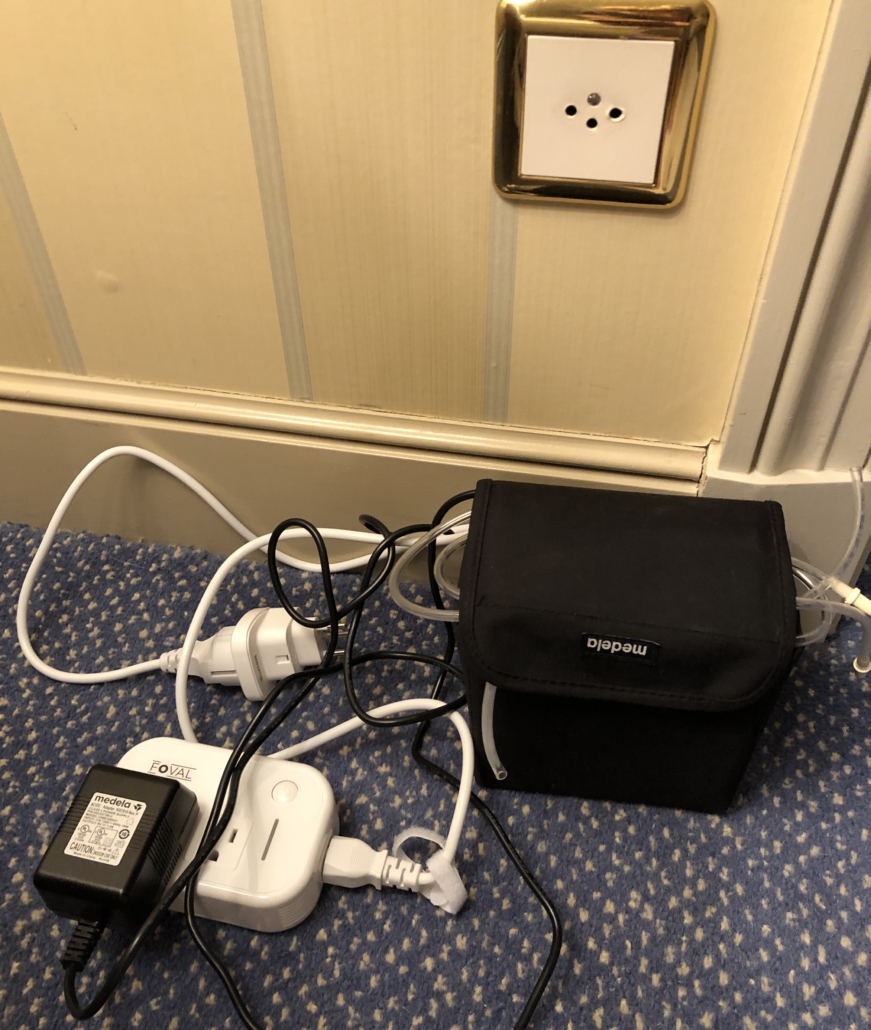
I was traveling to Switzerland and since the voltage and plugs, I ordered a converter strip so that I plug several things in at once. It worked like a charm!
This was my converter and it works in 150 countries, including the UK, Europe and Asia. I can promise that it will not fry your breast pump if you make sure that it apply to where you are going (and if you have the Medela Pump in Style 2 like I do).
EXTRAS PUMP PARTS
I brought one extra set of each part of my breastpump.I didn’t need them but I was glad that I had them.
- Extra Flanges
- Extra Breast Shields
- Extra Bottles
- Extra Pump Valves (the yellow things)
I hope this post helps you plan your next trip! Please leave any questions, tips or comments below.

 Connect with Kelley


